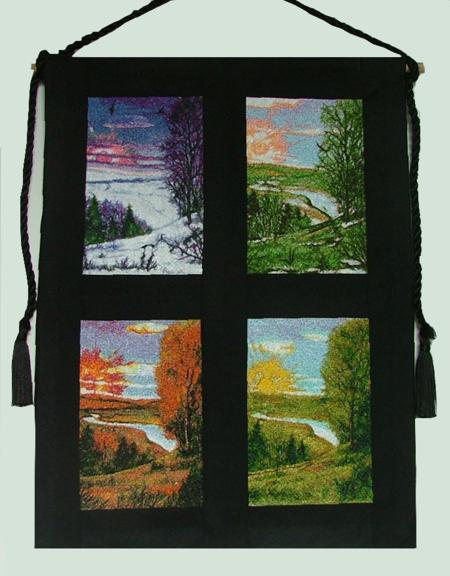
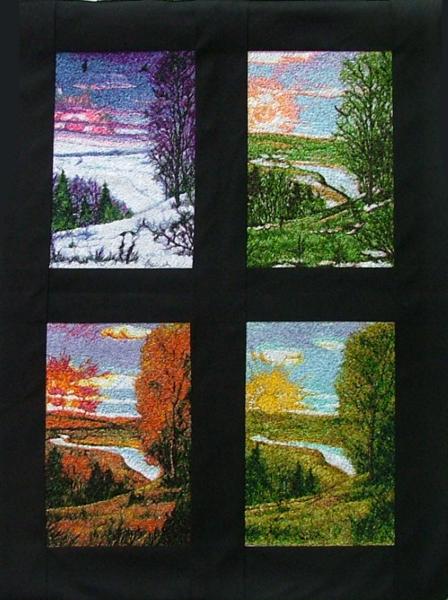
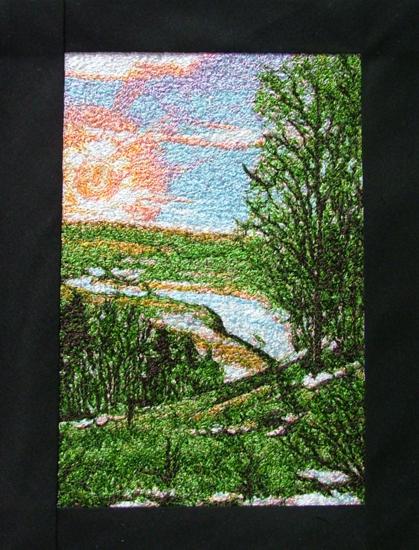
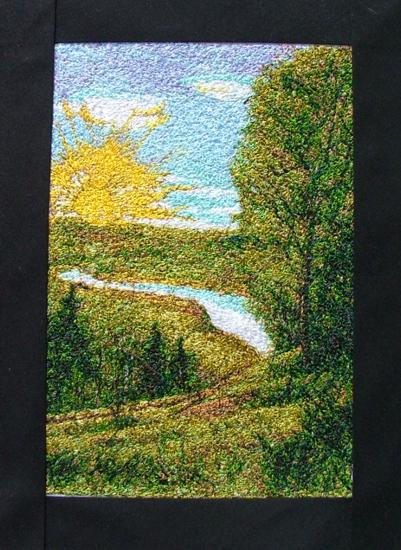
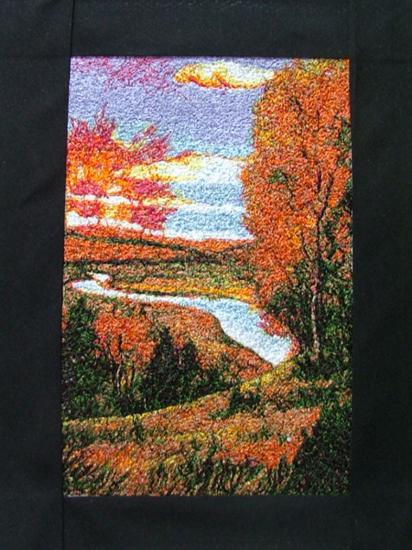
We made a wall hanging using all 4 pictures. It is supposed to imitate stained glass.
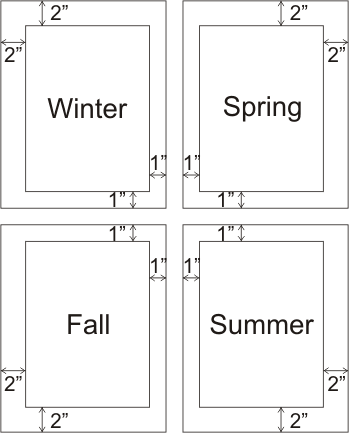
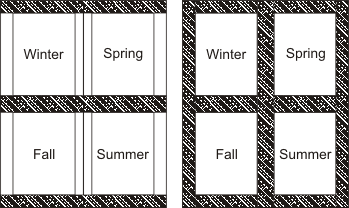
Step One: Embroider each picture separately. We used Timtex Interfacing without stabilizer. Then, draw fields around each picture and cut away the excess fabric. Make sure that the outer field is twice wider than the inner field, like in the diagram below.
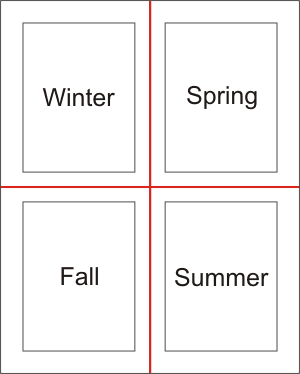
Step Two: Place the pictures together and connect using wide zigzag stitch. This is marked in red in the diagram below.
Step Three: Cover the fields with fusible web and iron it on. Cover the web with strips of black fabric and iron those on. Do first the horizonal strips, then the vertical ones.
Step Four: Cut out a lining. Place the embroidered part and the lining together, face to face and machine-stitch along three edges, leaving the upper edge unfinished. Turn the working piece right side out. Press. Finish the upper raw edge.
Step Five: Cut a strip out of the same fabric as the lining, measuring 4" wide and as long as the upper edge of the wallhanging. Stitch together the long edges of the strip to form a sleeve. Turn the sleeve right side out; press flat. Pin the sleeve to the back of the wallhanging close to the upper edge. Blindstitch to wallhanging along the top and bottom edges. Insert a rod.
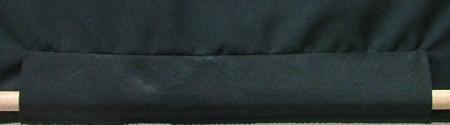
Tie a piece of cord with tassels to the ends of the rod.

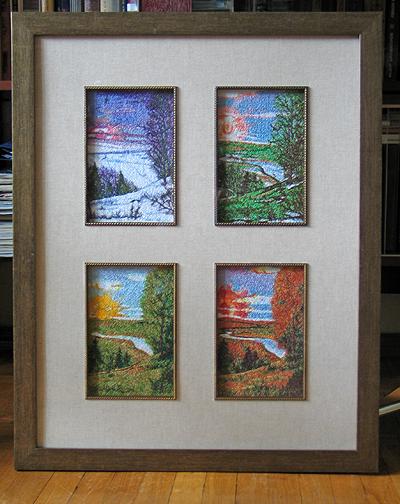
Back to the Seasons of the Years Set.


