The first step is to choose a design and embroider it. There is a large selection on our web site. When the embroidery is complete you are ready to mount the work into a card. Card mounts are readily available in an enormous variety of colors, shapes and sizes with pre-cut apertures for your finished work.
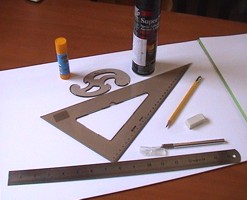 |
If for some reason you can't (or don't want to) use a ready card mount you may easily make it yourself. You will need: a sheet of dense paper (the size and color depends on your taste and the design), an HB pencil, a steel ruler and a triangle, a set of curves, a craft knife, a washable glue stick and spray adhesive, and a pair of sharp scissors. |
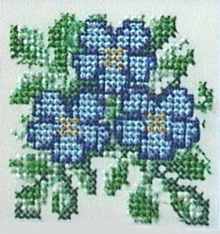 |
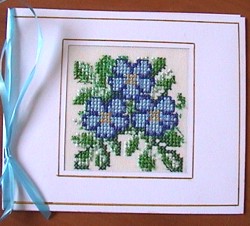
Decide on the size of the finished card, it will depend on the size of your finished embroidery. For our "Forget me not" card we have chosen the blue flowers design from set #14076. The size of the finished embroidery is 2 1/4" x 2 1/4" (57 x 57 mm). So we decided on a small card of 5" x 4" (125 x 100 mm) with a square aperture of 2 1/2" x 2 1/2" (62.5 x 62.5 mm). |
 |
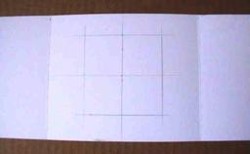
Cut out a strip of paper 15" long (375 mm or 3 times the length of the finished card) and 4" (100 mm) wide, marking the dividing lines softly in pencil, to divide the strip into 3 parts, 5" (125 mm) each (A, B, and C, see diagram). |
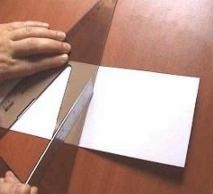 |
Placing the triangle on the first line, and holding it down firmly, indent a line with the blunt end of a pair of scissors or a ruler. Do the same with the second marked line. Now you can easily fold the card. Check that the card folds shut without a gap. |
 |
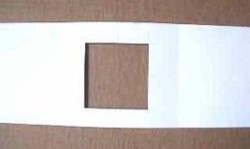
Now we should cut out an aperture in section "B", the middle one. First draw a square with a 2 1/2" (62.5) side. |
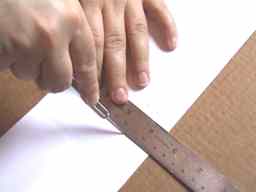 |
Now press the steel ruler tightly along each side of the square and cut along the line with the craft knife. When using a craft knife protect the table's surface with several layers of cardboard or a cutting mat. |
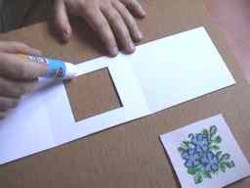 |
Using dressmaking scissors, trim the embroidery to fit the aperture, leaving 1/2" (1.25cm) spare fabric all round. Using the glue-stick smear glue in a thin layer around the aperture. Lay the embroidery face up on a flat surface. Hold the card with the glue facing downwards and position the aperture ovver the embroidery, checking that the work is straight and centralized, and press the card down on the embroidery. |
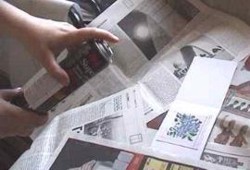 |
For the next operation you will need the spray adhesive. Before doing this, cover your working place with scrap paper. Place the card, right-side down, and mask off section "C" with scrap paper. Spray a squirt of spray adhesive onto sections "A" and "B". The scrap paper will stop the adhesive going where it is not wanted and the spray adhesive will give the embroidery a sticky surface onto where it can cling without rippling. |
 |
Fold section "A" over section "B", push down firmly. Put your card under a press (a heavy book will do) for a couple of hours. Decorated the card with a paper ribbon and write your message inside. |
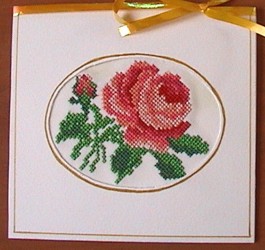 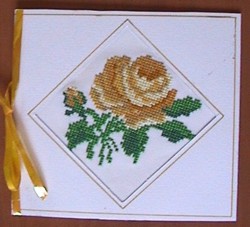 |
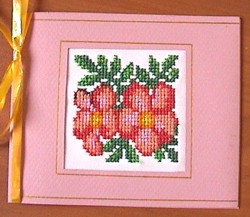
A rose is such a special flower that it can be used to decorate all kinds of cards - romantic, wedding and birth announcements, invitations, congratulations, and so on. The rose design comes from set # 14133 Small Roses Set The same design is used for all three cards, but the threads's colors are changed - it's OK to experiment with colors on small designs. |
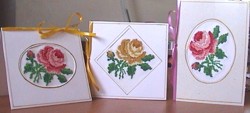 |
The cards have the following dimensions (from left to right) : small card with pink rose, 5" x 5 1/2" (125 x 137.5 mm) aperture size 4" x 3" (100 x 75 mm); small card with yellow rose, 5 1/2" x 5 1/2" (137.5 x 137.5) square diamond aperture size 3" x 3" (75 x 75 mm); big card with pink rose, 6 3/4" x 5" (168 x 125 mm), aperture size 4" x 3" (100 x 75 mm). |
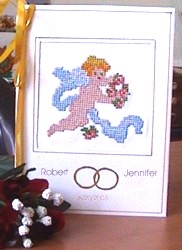 |
For this Wedding Announcement card the design of the angel is from set #14099 Angel with Vase. Dimensions: 7" x 5" (175 x 125 mm), aperture size 3 3/4" x 3 3/4" (93 x 93 mm). |
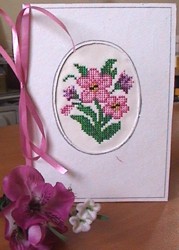 |
The "For a Very Special Person" card uses a design from set # 14076 Small Flowers Set. Dimensions: 6 3/4" x 5" (168 x 125), oval aperture 3 3/4" (93 mm) long diameter x 2 3/4" (68 mm) short diameter. Oval apertures are very hard to cut out yourself, but posssible with the help of the curves and some training. |
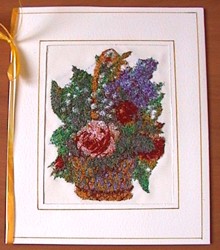 |
The big "Happy Birthday" card uses the design #14106 Basket of Flowers. Dimensions : 8" x 6 1/4" (200 x 156 mm), aperture size 5 1/4" x 4". |
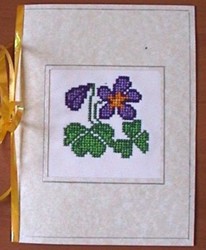 |
The large "Thinking of You" card uses the design of a violet from set #14076 Small Flowers Set. Dimensions : 6 3/4" x 5", aperture size 3" x 3" |
 |
This small pink "Thank You" card uses a design from set #14076 Small Flowers Set. Dimensions: 5 x 4 inches, aperture size 2 5/8" x 2 5/8". |


