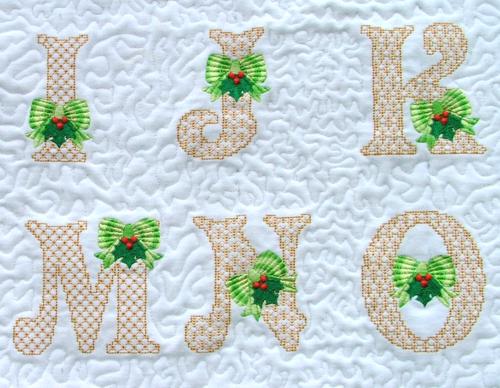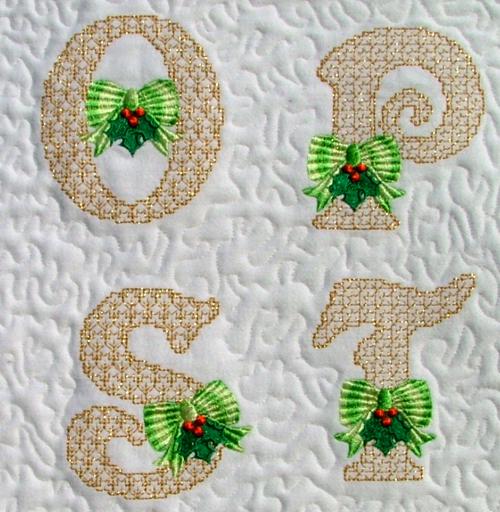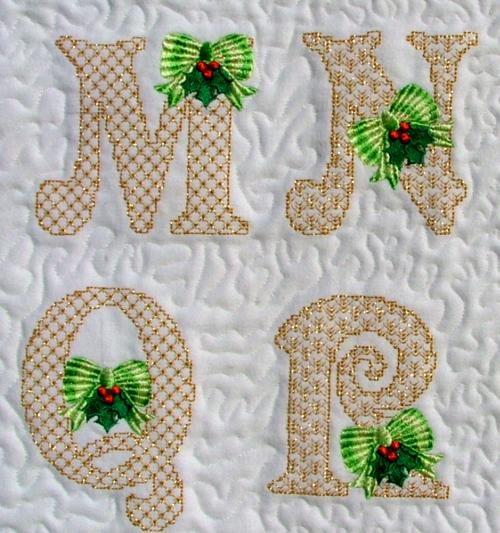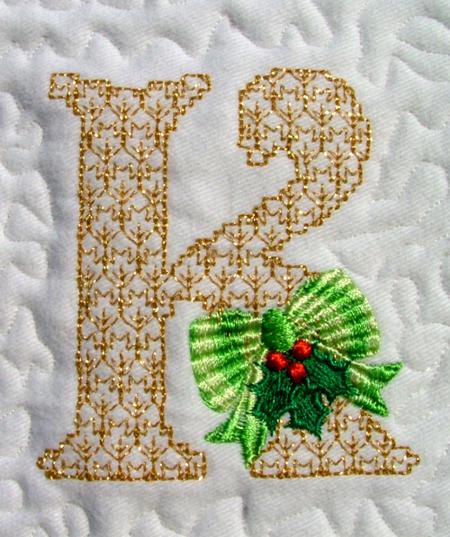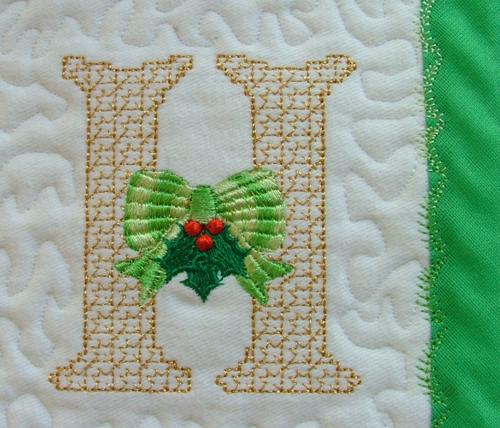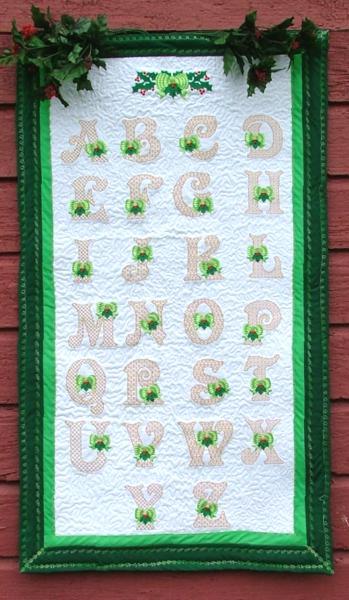
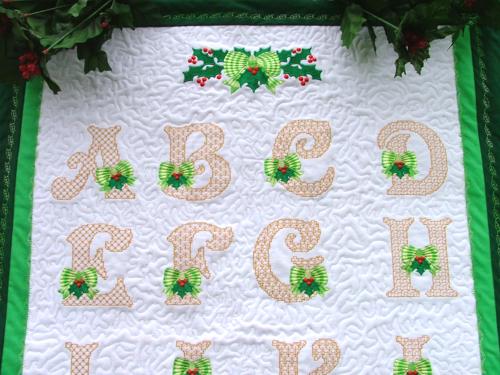
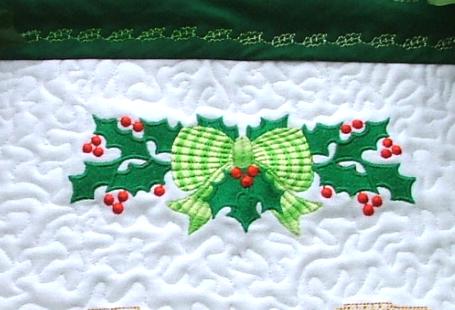
Step One: Mark a rectangle measuring 16" x 32" in the center of the fabric for the embroidery. Make a layout of the ABC designs: there is a bow with a holly berry in the first row, and there are are 4 letters in each row, except for the last which has only 2 letters (Y and Z). You can customize this however you want. Stitch out the letter designs.
Step Two: When the embroidery is done, iron the working piece. Place the backing on an even surface (table), cover with batting and then cover with the embroidered piece. Pin all 3 layers together and machine-quilt.
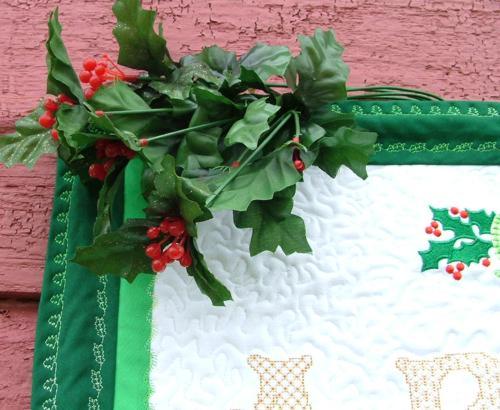
Step Three: Place on an even surface and trim all edges. Stitch the light green bias tape onto the fabric about 1" from the embroidery.
Step Four: Finish the raw edges with the quilt binding. Machine-stitch along the bias tape and the quilt binding with decorative stitches.

Step Five: Out of 2" x 23" piece of fabric, make a sleeve. First finish the short raw edges, then fold the piece long side to long side, face inside, and machine stitch along the raw edge. Turn the tube inside out. Slip-stitch the "sleeve" to the back along the upper edge of the wall hanging.

Step Six: Insert a rod into the sleeve. The hanging is ready!