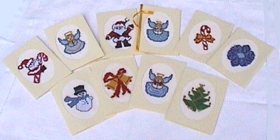
The mini-greeting cards are made with the help of die-cut card mounts and our Christmas Miniatures designs. Read more...
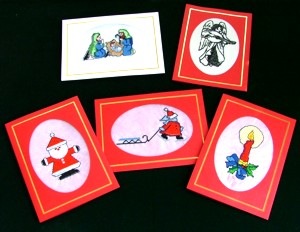
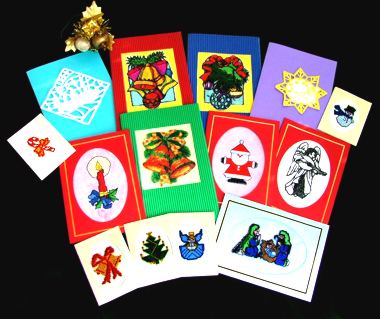
These larger greeting cards were also created using die-cut card mounts. Designs you can use include the Nativity Scene, Christmas Embellishments Set II, Christmas Ornaments, One-color Angel Set I and others...
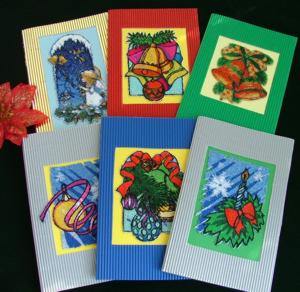
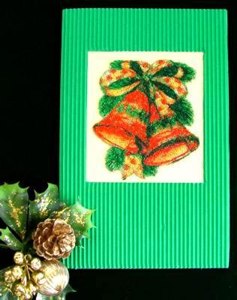
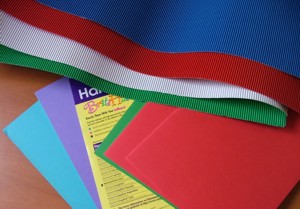
For this third type of Christmas Greeting Cards you will need Organza (or cut-away stabilizer), extra-stable water soluble stabilizer, letter size sheets of colored paper and letter size sheets of colored light corrugated cardboard.
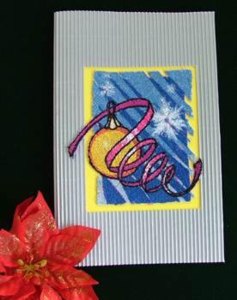
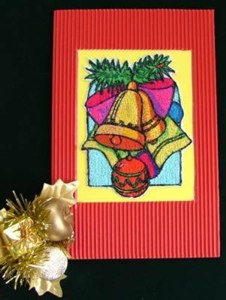
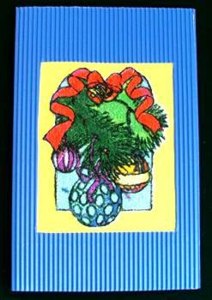
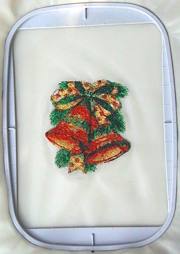
Step One: Choose any Christmas photo stitch design, such as Christmas Bells, Christmas Bells II, Christmas Card Set I, Christmas Card Set II, Christmas Card Set III, Christmas Card Set IV, Christmas Angel and others. Hoop the Organza together with 2 layers of the stabilizer and stitch out your design.
Step Two: Cut away the excess stabilizer and put your embroidery into a bowl of cold water for a couple of hours to remove the remaining stabilizer.
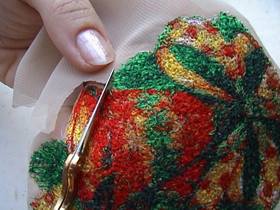
Step Three: Spread the embroidery out on a towel to remove the creases and leave it to dry in the air. Cut away the excess fabric.
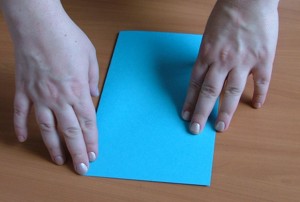
Step Four: Fold a sheet of plain colored paper in two.
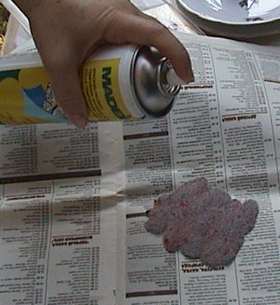
Step Five: Spray the reverse side of your embroidery with any liquid adhesive, such as 404 Spray & Fix. Press the embroidery onto the folded sheet of colored paper. Leave to dry.

Step Six: Measure your embroidery and add 1/2" to the figures you get. Thus, if your embroidery measures 3" x 4 ", you will get 3 1/2" x 4 1/2". This will be the size of the aperture of the card. On the reverse side of a sheet of the corrugated paper draw a rectangle 3 1/2" x 4 1/2". Cut it out with a sharp craft knife.
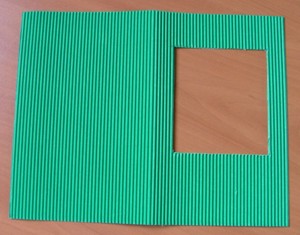
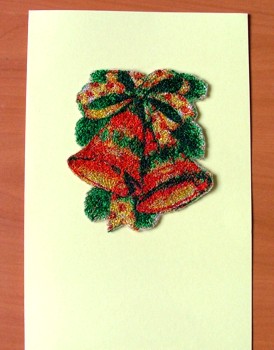
Step Seven: Spray adhesive on the reverse side of the corrugated paper and place it over the sheet of colored paper with embroidery, so that the embroidery is centered in the aperture. Press a little and leave to dry. The results should look something like this.