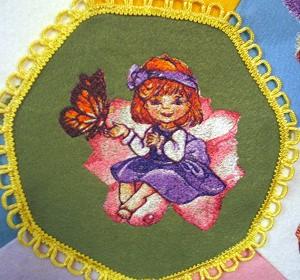
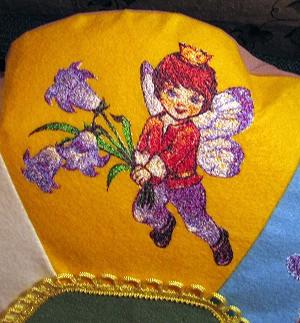
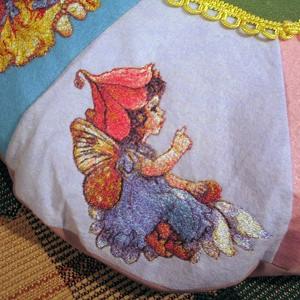
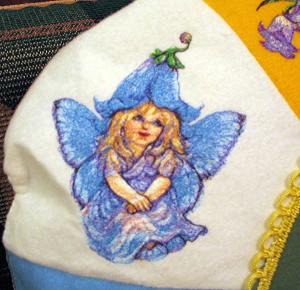
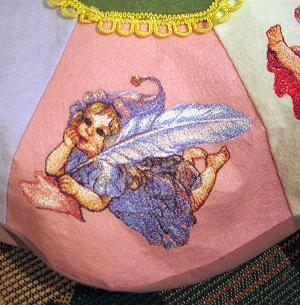
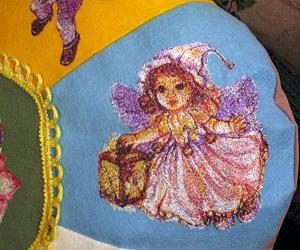
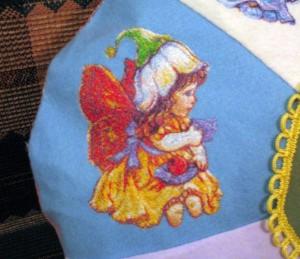
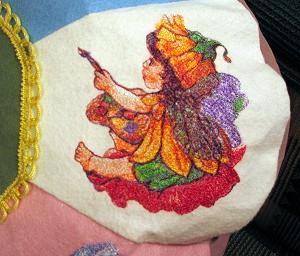
This is a pillow project that uses the designs Thumbelina, Fairy Prince and Little Fairies Set I and Set II. All these designs match up wonderfully and can be used together easily.
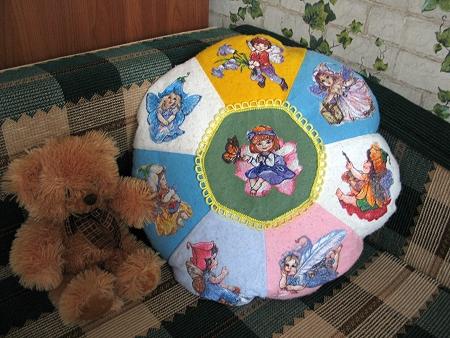
You will need 5 fat squares of wool felt of different colors (we used green, white, orange, pink and two shades of blue, but the choice is up to you; you can also use scraps of wool felt), felt of one color for the back of the pillow, about 26"x26", and fiber filling.
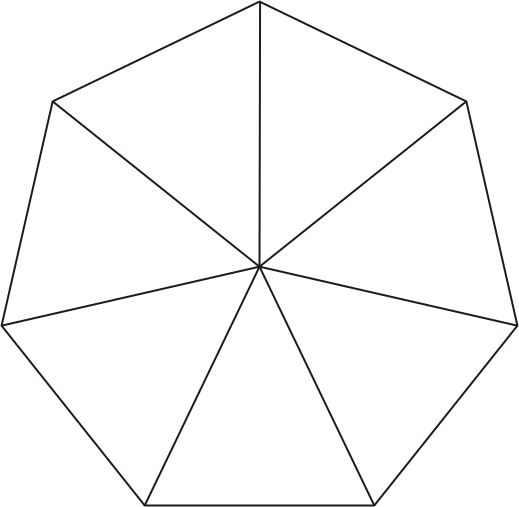
Step One: You will need to make a paper layout of the pillow. This is a bit complicated, but nothing too difficult. To make the septagon, use the template below. Click on the link to take you to a printable version and print it out. The septagon is slightly smaller than what you will need, because we wanted it to fit on standard Letter-size paper, so you will have to enlarge it. Read on for the instructions.
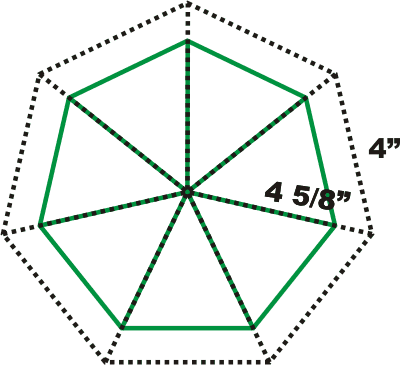
Step Two: Cut out the template that you have printed and attach it to a larger sheet of paper. Extend the rays coming from the center of the septagon until each is 4 5/8" long. Connect the ends of the rays. The septagon that you got has sides that are exactly 4". In the diagram below, the template is show in green, while the lines that you have to draw are dotted. Don't cut this out yet!
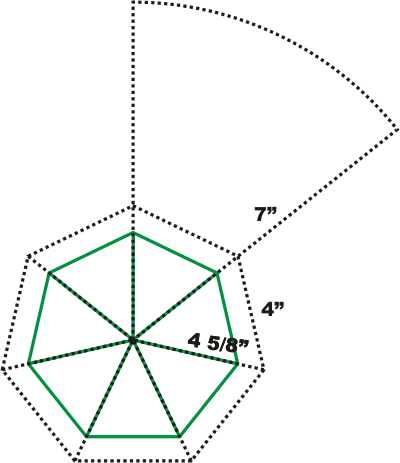
Step Three: To make a layout of the petal, extend two of the rays by 7". Connect them with a curving line. You should have a layout similar to the diagram below. Cut the layout out to get a septagon and one petal.
Step Four: Trace the shapes of the layouts onto the felt, leaving space for at least 1/2" seam allowance. One fat square should fit two petals. Do not cut out yet. Mark the place of the embroidery on each petal. Stablize the fabric with medium-weight iron-on cut-away stabilizer. Fulfill the embroidery.
Step Five: After you embroider all the designs, cut out all the parts, leaving 1/2" seam allowance. Press the embroidery if needed.
Step Six: Start assembling. First stitch the petals to each other. Then stitch to the center. Unfold the seams and press.
Step Seven: Place a piece of felt prepared for the back of the pillow on an even surface, face up. Cover it with the working piece, face down. Pin or baste. Machine stitch, leaving a small opening, of about 4" for filling. Cut away the excess backing fabric. Fold inside-out.
Step Eight: Insert fiber filling through the opening. Slip-stitch the opening.
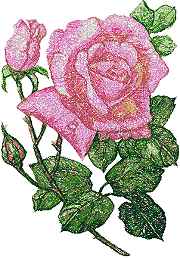
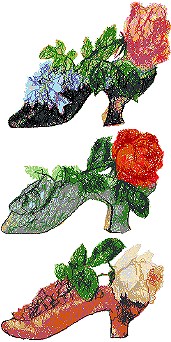
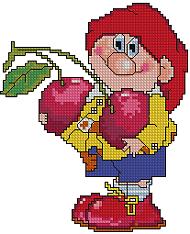
You can also make a quilt with these designs. Think of mixing fairies with flower designs. We have a great choice in our Floral section. Here are some that can be used:
 |
 |
 |


