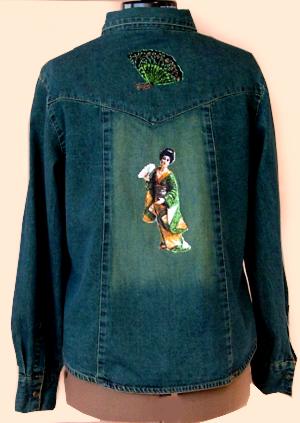
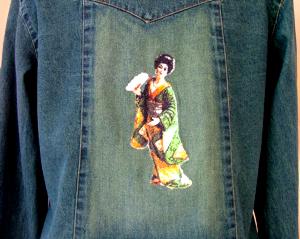
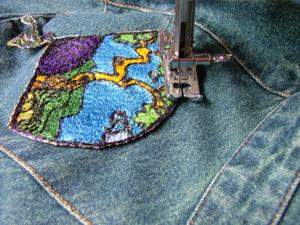
We've chosen the design Geisha with Fan (for large hoop) and one of the fans from the Oriental Fan Set I (for small hoop). We stabilized the fabric with extra-strong water-soluble stabilizer and used #40 rayon threads for the embroidery and #60 cotton threads for the bobbin. You can see the results on the photos below.
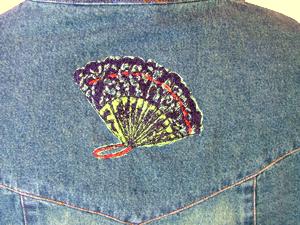
For this fan we've changed the colors a little bit to make it match the green kimono of the geisha.
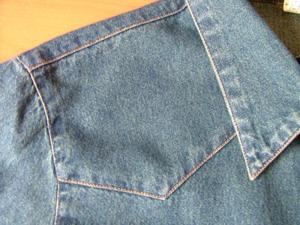
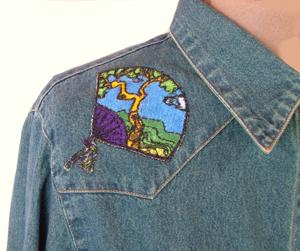
Next we went over to the front of the jacket. We wanted to put an embroidery on the shoulder, but as you can see this part can't be hooped because of the thick seams.
So we decided to use a free standing embroidery technique. You can read about this method in our Guide to Creating a Free-Standing Embroidery with a Photo Stitch Design.
Hoop a layer of organza with 2 layers of extra strong watersoluble stabiliser (you'll need 4 layers of thin watersoluble) and make the embroidery.

Cut away the excess stabilizer and put the embroidery into a bowl of water. Depending on the brand of the stabilizer, it will take from 15 min to 6 hours to dissolve it. Rinse the embroidery in running water and leave to air dry. Press. Cut away the excess organza and melt the edges.
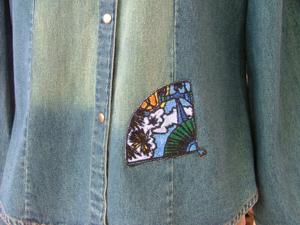
Now spray the back of the embroidery with a temporary fabric adhesive and place it on the jacket. (Alternatively, if you do not have a temporary adhesive, you can baste the embroidery. Do not pin! Both the fabric and the embroidery are dense and thick and the embroidery will be displaced and will pucker).
Now zigzag-stitch the embroidery onto the jacket.
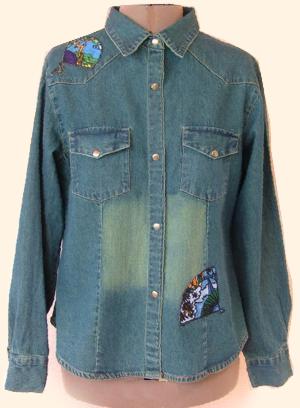
We did the second fan on the front in the same way.
You can browse our other projects involving photostitch embroidery on clothing: Shirts with Photo Stitch Embroidery, Sweat-Shirts Decorated with Embroidery.


