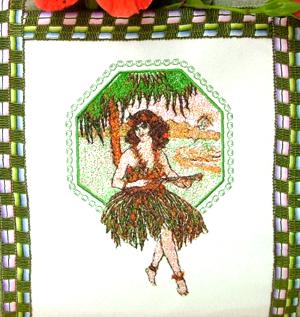
Step One: Hoop a piece of medium-weight fabric (we used cotton twill) with iron-on medium-weight tear-away stabilizer. Fulfill the embroidery. Unhoop. Carefully cut away the excess stabilizer. Press.
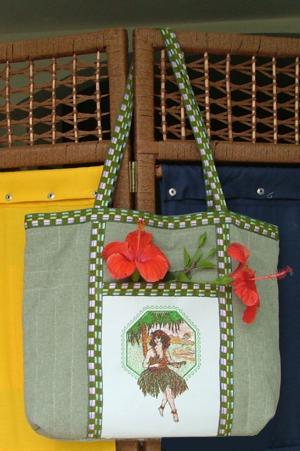
Step Two: Draw an 8" x 9" rectangle around the embroidery and cut it out. Attach a piece of tape to the upper edge of the embroidered piece. This is going to be a pocket of the tote. Put it aside for the meanwhile.
Step Three: Cut two 18" x 15" rectangles out of the fabric you are going to use for the bag itself. Mark the lines for quilting with a removable pencil.
Step Four: Cut two 19" x 16" rectangles out of synthepon or thin paralon. Place a synthepon rectangle on an even surface (table) and cover it with the first fabric rectangle, face up. Pin or baste both layers together. Quilt along the marks. Do the same with the second pieces of fabric and synthepon. Cut away the excess synthepon along the edges.
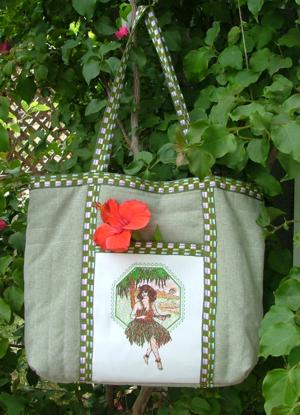
Step Five: Place the first rectangle on the table, face up. Choose a place for the pocket and pin on the embroidered piece. Baste the edges of the pocket to the face of the tote. Prepare 51" of the tape. Attach the tape according to the diagram (it is denoted in red). Stitch to within 1" from the upper edge of the tote (the white dotted line).
Step Six: Pin and then machine-stitch another piece of tape (18" long) along the upper edge of the tote, leaving about 1" from the edge.
Step Seven: Attach the tape to the back of the tote to make a second handle. Machine-stitch a piece of tape along the upper edge of the tote, leaving about 1" to fold inside.
Step Seven: Place both parts of the tote face to face, pin or baste together, and machine stitch the edges.
Step Eight: Stitch box corners at the bottom of the tote. For this separate the front and back sides at the corners. Center the seams on each side of the corner on top of each other. Measure 1 1/2" along the seam from the corner and draw a line perpendicular to the seam across the corner and machine-stitch it. Do not trim the seam.
Step Nine: Cut out two rectangles measuring 18" x 15" out of the lining fabric (we used cotton/polyester blend). Place them face to face and stitch along 3 edges, 1/4" from the edge.
Step Ten: Stitch box corners at the bottom of the lining. Read Step Eight for instructions. Turn the lining inside out.
Step Eleven: Place the tote into the lining. Fold the upper edges of the tote onto the lining, pin and slip-stitch.
Step Twelve: Turn the bag right side out. It's ready!
 |
 |
 |
 |
 |
 |


