Here we explain how to make a Nativity Book for a toddler with the help of our Nativity scene applique set and Nativity freestanding lace ornaments.
You will need: water-soluble stabilizer for freestanding lace (read about freestanding lace here), 1 yard of patterned fabric (choose a dark blue pattern with stars or snowflakes), 1 square of light one-color fabric (we used felt), scraps of differently colored fabric for the applique (we used felt squares), Velcro tape and fabric glue.
Step One: Draw a rectangle measuring 17" x 12" on the felt. Embroider the designs from the Nativity Scene Applique Set inside the rectange. First embroider the barn, then embroider the figures of the animals around it.
Step Two: Out of patterned fabric cut two rectangles measuring 8 1/2" x 36" and a rectangle measuring 17" x 24". Cut the felt square with the applique to the size of 17" x 12". See the diagram. Our measurements do not include seam allowance.
Step Three: Stitch the patterned rectangle measuring 17" x 24" to the embroidered felt piece. Fold the seam allowance to one side and iron. Set this piece aside for now.

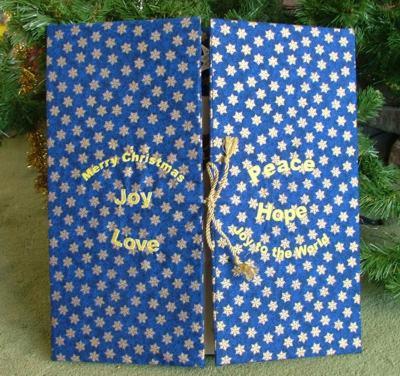
Step Four: Stabilize and hoop one of the 8 1/2" x 36" strips so that the hoop is centered around 9" from the bottom. Embroider the words "Merry Christmas", "Joy",and "Love" on it. Repeat with the second strip; embroidering "Peace", "Hope" and "Joy to the World". The writing should go in the red area on the diagram.
| *.ART | *.DST | *.HUS | *.JEF | *.PES | *.VIP | *.XXX |
Step Five: Place the work-piece with the applique on an even surface (table), face up, and cover its left part with the first strip, face down. The lettering has to be upside-down in relation to the applique. This is important. See the diagram for details.
Align the edges. Pin or baste the edges and machine-stitch. The seams are marked on the diagram with a dotted line. Repeat with the second strip. Press the seams towards the center.
Step Six: Open the whole thing out and pin two 12" lengths of cord or ribbon about 9" from the bottom of the working piece. Make sure that they are at the same level!
Step Seven: Fold in half breadthwise.
Align the edges and machine-stitch along the sides, marked in red on the diagram.
Turn inside-out. Machine-stitch along the seams, as shown by the dotted lines in the diagram below.
Step Eight: Out of craft foam (we recommend Darice's Foamies, extra firm super thick) or cardboard cut out 3 panels: 2 side panels measuring 18" x 8 1/2" and one center panel, measuring 18" x 17". Cardboad will make the book heavier, while foam is very light and stable at the same time.
Step Nine: Insert the foam/cardboard panels into the working piece. Fold the lower edges inside and slip-stitch them.
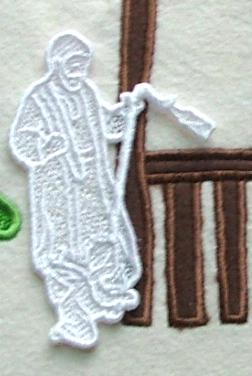
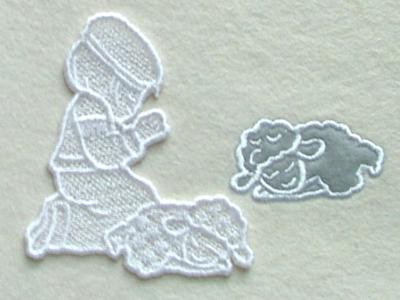
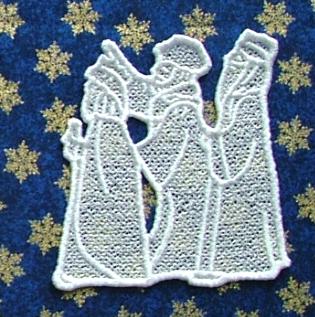
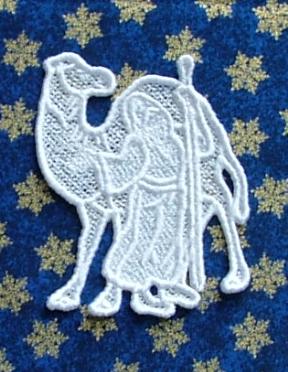
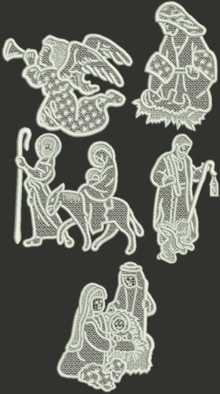
Step Ten: Embroider the free-standing lace designs. Choose the designs from the Nativity Ornament Set, Nativity Ornament Set II and Childhood of Jesus Ornament Set. You can read about how to make freestanding lace ornaments in our guide.
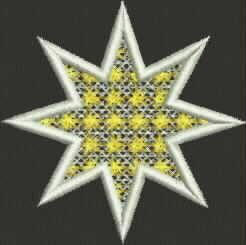
The design of the Bethlehem Star can be downloaded here.
| *.ART | *.DST | *.HUS | *.JEF | *.PES | *.VIP | *.XXX |
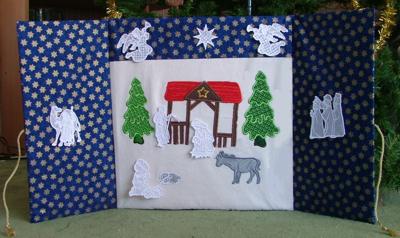
Step Eleven: Cut Velcro tape into small pieces and glue them to your freestanding lace ornaments. Glue the other parts of the Velcro tape pieces into the book. After the glue dries, attach the ornaments:
Place the figures of Mary with the Infant into the barn.
Place the figure of Joseph beside the barn.
Place the other figures that you embroidered in the middle panel.
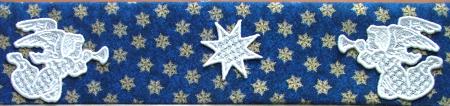
Place the Star and Angels on the upper part of the middle panel.
Place the Wise Men on the each side panel
You can use the following freestanding lace ornaments for this project:
 Nativity Ornament Set |
 Nativity Ornament Set II |
 Childhood of Jesus Ornament Set |
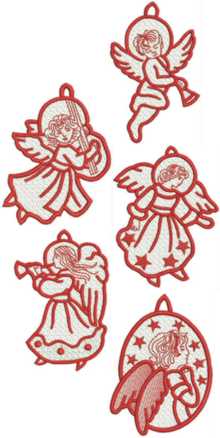 Angel Ornament Set |


