Photo stitch uses very densely placed stitches, often overlapping each other, to give an almost Impressionist effect, which is why this technique is often used when digitizing works of art. The colors are put down in layers, layer after layer, and go from the lightest to the darkest. That is why it's very important to follow the order of colors as they are on the color card.
There are also one-color photo stitch designs. They are not difficult to work with but are very interesting. See our Lesson I to find out about one- to three-color designs.
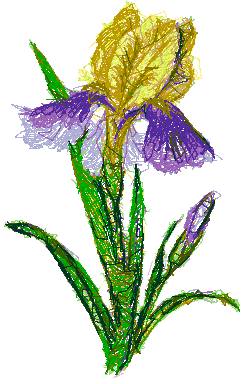
Step One: Download the design of the Iris. The embroidery file, together with the color card are compressed into a ZIP file. Unzip the file to a folder on your computer using WinZip or a similar program. Copy the embroidery file to your machine card or floppy. Print out the color card.
Click to download a zip file containing the corresponding format:
Step Two: Select the threads in accordance with the color card.

We used regular #75/11 needles. For heavier fabric you can use # 80/12-#90/14 needles.
The bobbin thread should be #60-70. Our machine works at 600SPM, but beginners should work at a lower speed. Choose the lowest speed of your machine. The tension of the upper and the bobbin thread is also very important, but we cannot help you there, because it's very individual for every machine. The general rule is that if the bobbin thread appears on the face of your work, reduce the tension of the upper thread. If your upper thread starts breaking, reduce its tension.
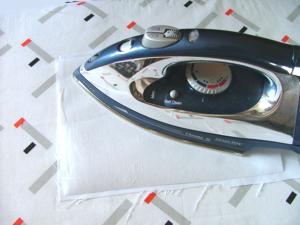
Step Three: Photo stitch is very dense. That is why it's very important to choose the fabric and stabilizer correctly. For our lesson we've chosen linen-like synthetic, medium-weight, evenly-woven fabric, and medium-weight, iron-on, tear-away stabilizer. Iron the stabilizer onto the fabric.
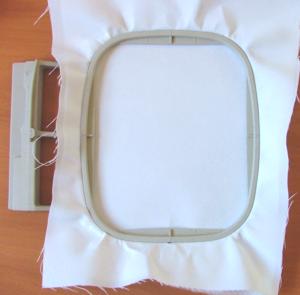
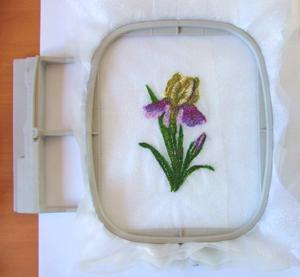
Step Four: Hoop the fabric with the stabilizer, stretching them in the hoop tightly. There should not be any folds or areas where the fabric has puckered.
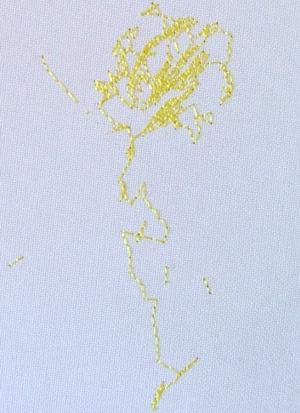
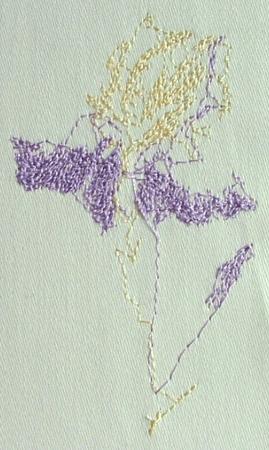
Step Five: We can now start embroidering. The photos below show the result after every color.
This is the first color
The second color:
The third color
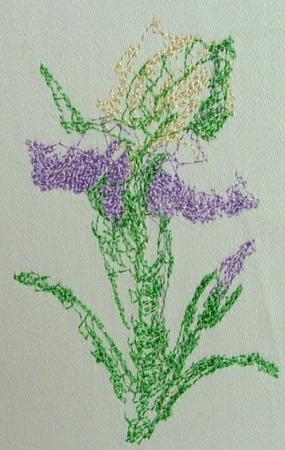
The fourth color
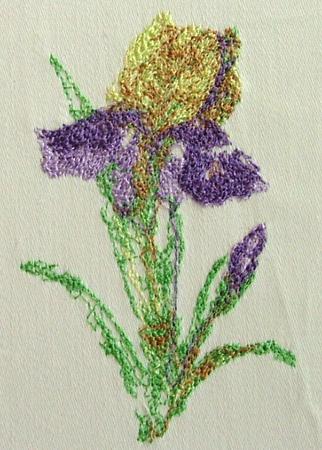
Color five is a light golden brown, which can seem out of place. However, photo-stitch designs are formed by the interaction of different colors that together form one whole image, so it is still too early to judge what the result will look like. Follow the color chart, for now.
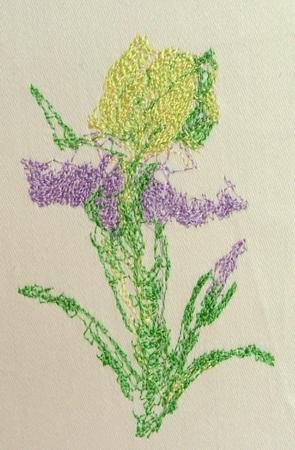
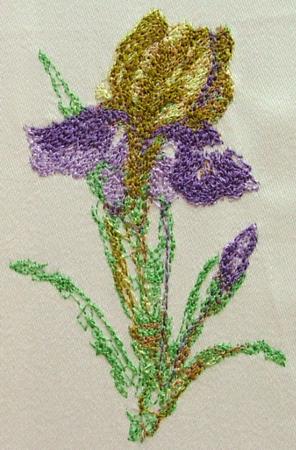
The embroidery after color six, below
Correspondingly, this is color seven.
This is what the embroidery looks like after the eighth color has been used. There is one jump stitch here, trim it now. It is extremely important to trim jump stitches after every color! If you do not do this, the design will be ruined completely by the end.
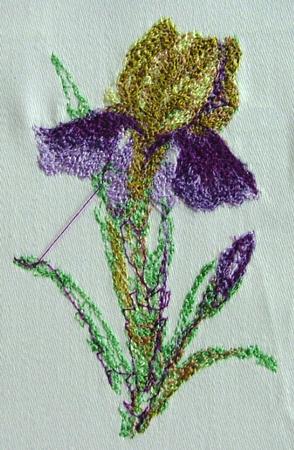
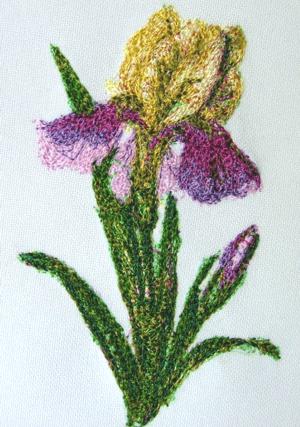
This is the embroidery after color nine. There is one more jump stitch. Trim it.
After nine colors, the design is practically ready. You can stop here, if you like. There are only three colors left, which will be used to add some artistic touches to the picture, like a painter who adds color strokes here and there to make his painting more lively.
Next is color ten.

The photo below shows the embroidery after its eleventh color.
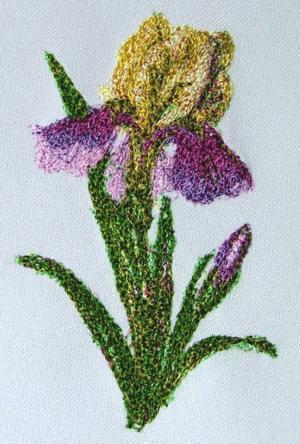
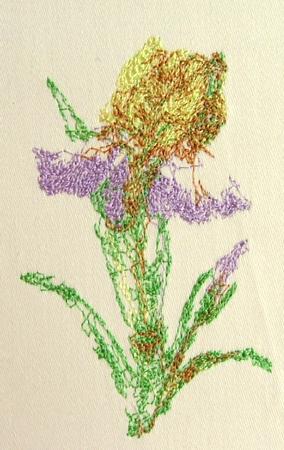
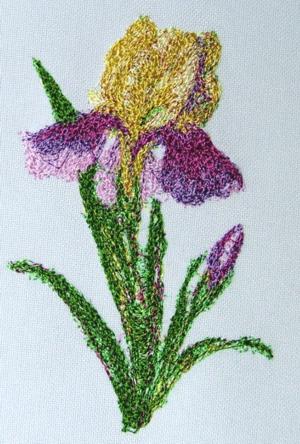
The twelfth color is also the final one. This is what everything should look like:
The iris is ready. If you did everything correctly, you should get a similar result. Notice that the embroidery is very dense. Though it can be done on practically any fabric, we do not recommend to decorate light clothes with it. However it's great for decorating different household things like place mats, kitchen towels, glasscases, tote-bags, denim-clothes, etc. Browse our Projects section for more ideas and instructions.
On this photo the same design is embroidered on Organza with 2 layers of a heavy water soluble stabilizer. We used it to make a greeting card.
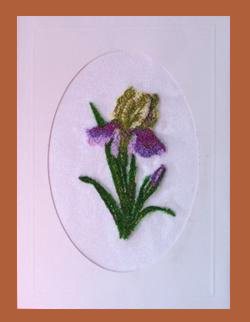
We used a pink pre-cut card. The pink background shows through the organza and gives the iris additional mild coloring.
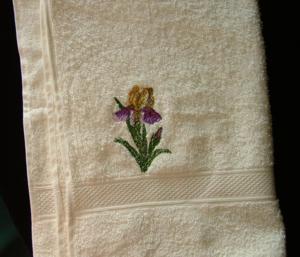
The same design was used on a terry-cloth towel. We used a heavy water soluble stabilizer for backing and a regular water soluble stabilizer for topping. In this case we embroidered only the first 9 colors.
The Iris design has 12 colors. But it's not very difficult due to a comparatively simple picture.
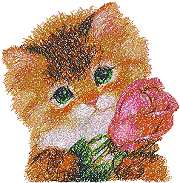
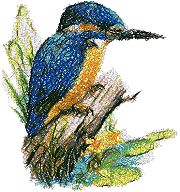
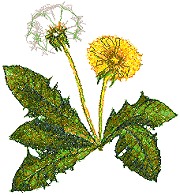
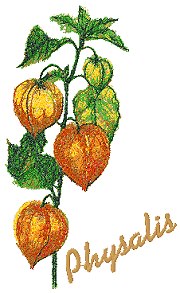
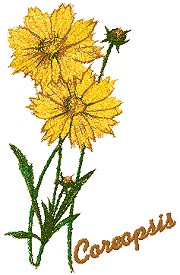
Here are some other designs of the same level of difficulty:
Kitty with Rose, Pancies, Poppies, Porcelain Teapot I and II, Bird Collection, I Will Give You the Moon, The Best Valentine and many others.
 |
 |
 |
 |
 |
 |
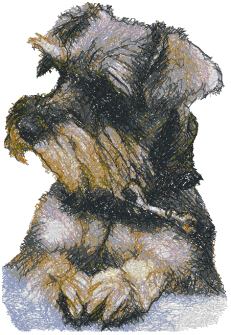
For you homework we offer a design of a minuature schnauzer. Please don't forget to trim all the jump stitches and in time.
|
|
|
EXP |
|
|
JEF+ |
|
|
VP3 |
|
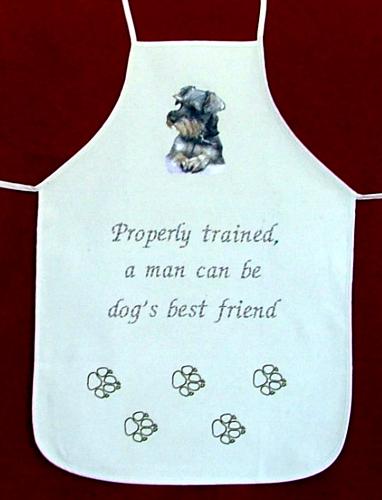
After finishing you should get a result similar to this:
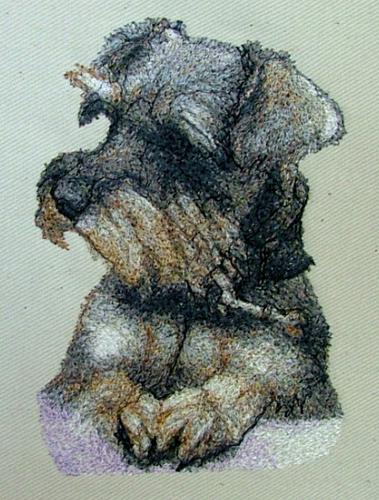
We used the design to make this funny apron. You can read more on the project page Funny Aprons for Every Occasion.
To help us to improve this tutorial please don't hesitate to ask questions.
Our next lesson will involve more complicated designs, particularly those including human faces and figures, where color and stitch accuracy are even more important.


