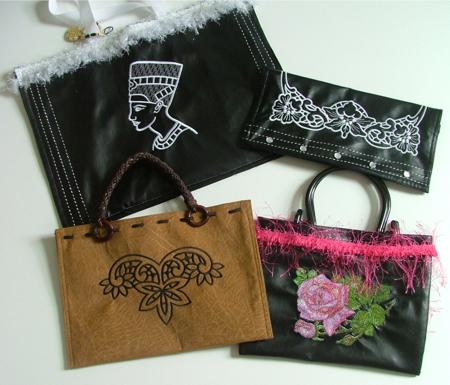
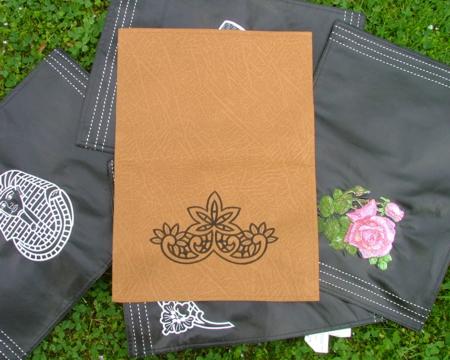
You can simply embroider the placemats and use them as placemats. However, it's very easy to turn them into interesting and unique purses or tote bags. The time required is minimal -- we made all the ones shown here over one weekend.
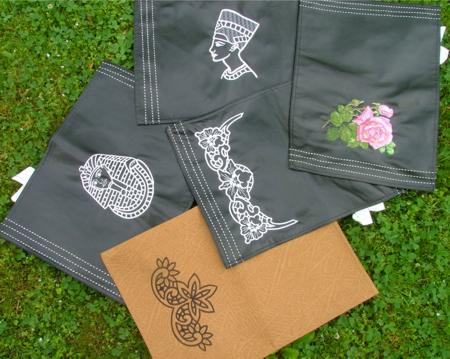
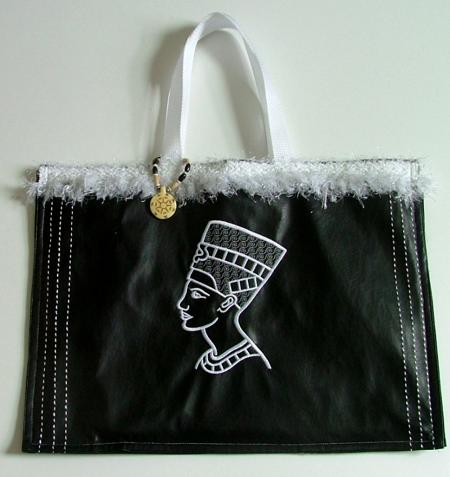
For the Egypt tote bag, we used two black placemats. We embroidered both of them with designs from the Egypt Lace Set. The placemat material doesn't have to be stabilized. When the embroidery was ready, we pinned strap handles to each panel and pinned a decorative trim along the upper edge, covering the spots where the handles were attached. We then machine-stitched the trim in place, attaching both the trim and the handles. Then we placed both placemats back to back, and machine-stitched twice along the side and lower edges, 1/4" and 1/8" from the edge. Actually, the hems of the placemats will tell you where better to stitch. We stitched in the ditch.
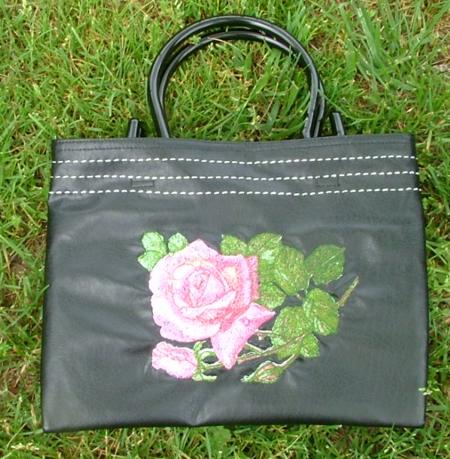
For the rose purse we used the Pink Rose design. This design is in the photo stitch technique and it will take you about an hour to do the embroidery. We put a layer of light weight tear-away stabilizer on top, but this wasn't because the placemat needed any stabilizing. Rather, the stabilizer provided a light background for the embroidery, so that it didn't come out too dark. Secondly, the stabilizer prevent the hoop from making marks on the leather-like surface of the placemat.
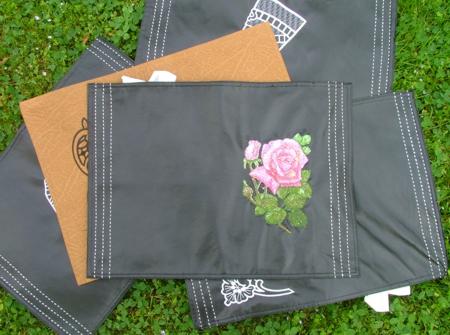
After the embroidery was finished, we attached small fabric loops to the back of the placemat near the top and bottom, two on each side. Then we folded the placemat with the embroidery inside and machine-stitched the sides. After that, we turned the working piece inside out. and inserted plastic handles into the loops. See the diagram below.
Here is what we got - an elegant and simple purse.
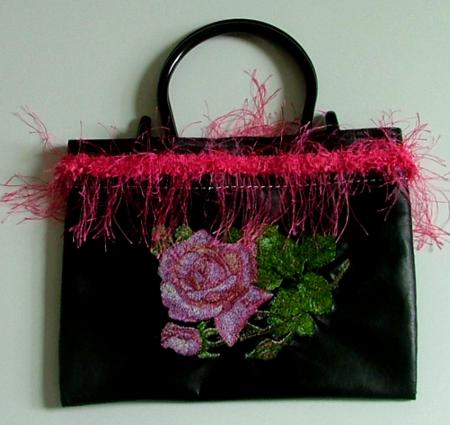
To make this purse more attractive and eye-catching, you can add decorative trim.
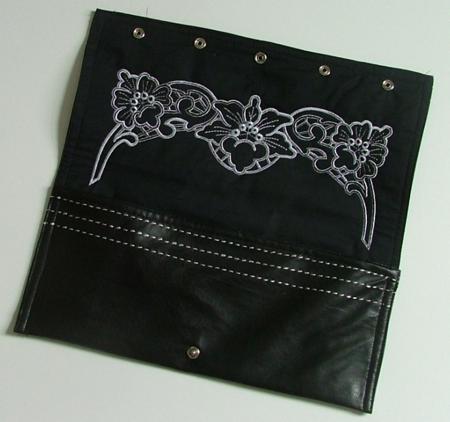
For the next purse we used the Hibiscus Border design.
When the embroidery was ready, we folded the the placemat in three, then opened the cover flap and pinned the two remaining thirds together. We machine stitched the sides and then inserted decorative pearl snap fasteners.
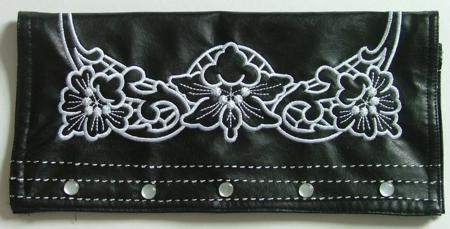
This is what the purse looks like when closed.
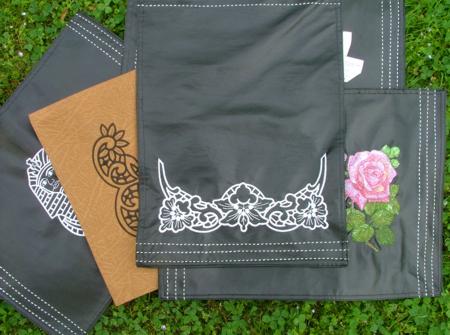
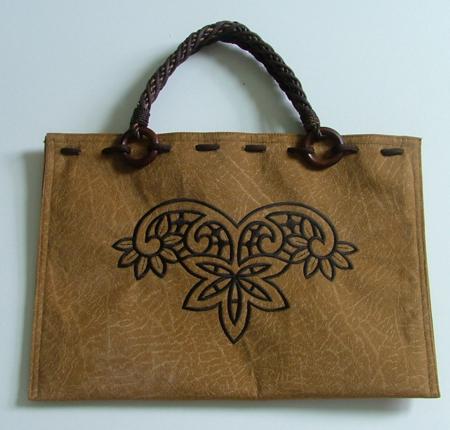
For the camel suede-like purse we used the Floral Lace Corner design.
We folded the placemat in half and machine stitched the sides. Then we punched holes along the upper edges of the purse and passed leather lace through the holes, fastening the handles with it.
We hope that you liked our purses and will come up with your own projects.


