Step One: Hoop the scrap of fabric, and using a grid to make measurements, mark the center with a marker. Alternatively, if you do not have a grid, then insert your hoop into the machine and center it; the needle will be located directly over the center of the hoop. Embroider the design and cut it out. You will need this template to make a layout of the doily.
Step Two: To make the layout, you will need a removable fabric marker!
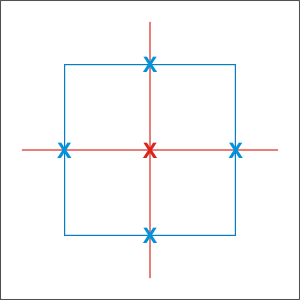
Mark the center of the piece of fabric (red X on the diagram) you are going to use for the doily and draw two lines through it, perpendicular to each other (red on the diagram). Place the template design along each of the lines in turn, aligning the center of the template with the center of the fabric. Mark the ends with crosses (blue Xs on the diagram) -- this step is important! Through each of these points, draw lines perpendicular to the ones drawn first.
In the end, you should get a square each side of which measures the size of the design exactly.
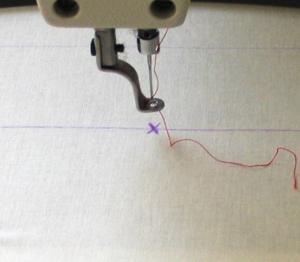
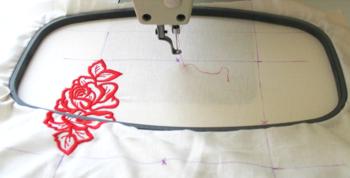
Step Three: Hoop the fabric so that one of the blue crosses is in the middle of the hoop -- use a grid to make sure; the line that makes up a side of the square should be aligned with the center line of the grid. Start embroidering. The first punch of the needle must go into the center of the cross!
Finish embroidering the design. Tip: You do not need to stabilize the fabric, but pull it tight in the hoop.
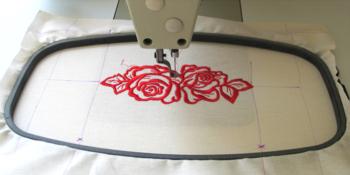
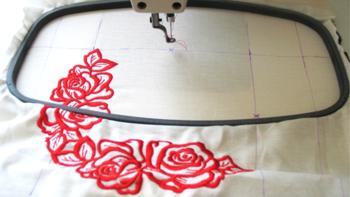
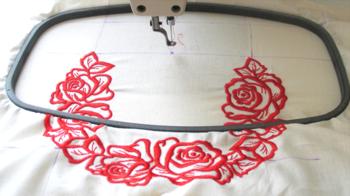
Step Four: Re-hoop the fabric. The cross should be in the center of the hoop. Repeat Step Three. Go through this procedure for each side of the doily.
Step Five: When the embroidery is finished, take it out of the hoop. Cut away the excess fabric with sharp scissors.
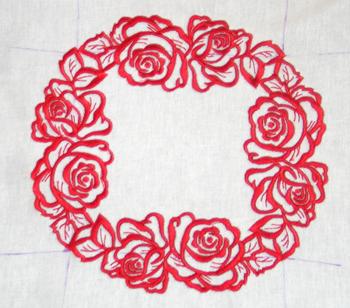
Step Six: Sprinkle the doily with starch and press it.
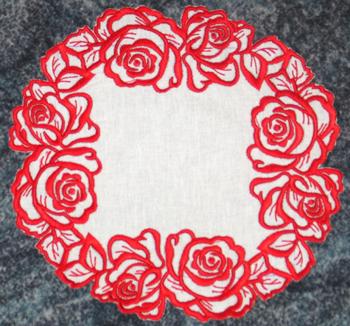
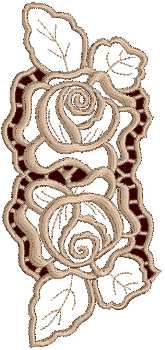
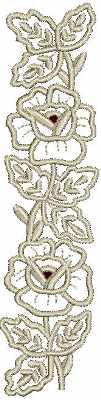
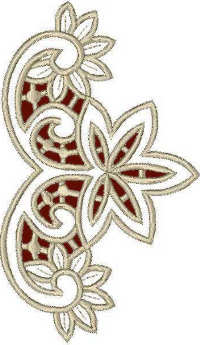
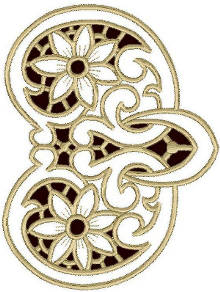
You can make a similar project, using other lace border designs...
 |
 |
 |
 |
 |
 |


