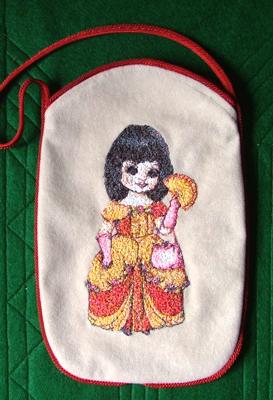
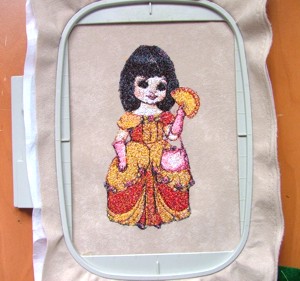
Step One: Press iron-on tear-away medium-weight stabilizer on a piece of leatherette or suede. Hoop and embroider.
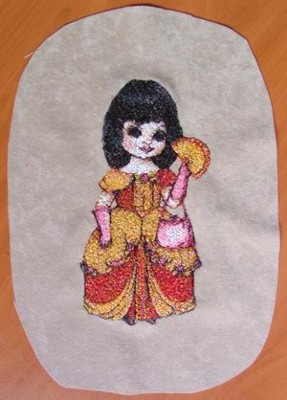
Step Two: Un-hoop your embroidery. Your hoop will leave an outline on the leatherette. Cut the embroidery out along these lines. Place it on another piece of leatherette, trace and cut out a second piece for the back of the purse.
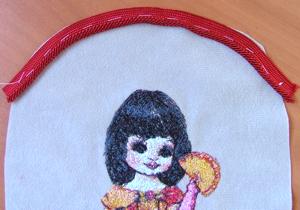
Step Three: Now, you can either attach a 7" zipper to the upper edges of the front and of the back of the purse, or, alternatively, you can finish the upper edges of the front and of the back with a bias tape or twisted welting with tape. This will be the opening of the purse.
If you finish the edge with the twisted welting, then place it as shown on the photo, baste and machine-stitch using a zipper foot. Fold the welting back and stitch again.
Step Four: Prepare twisted welting, about 45"- 50" long. If you want a longer handle, take a longer piece of welting. Place the purse with the front and back unfolded and unzipped on the table, face up. Place the twisted welting around the edges of the front so that its ends meet at the bottom and the middle make a loop over the upper edge of the purse. Pin or baste.
Step Five: Cover the the front with the purse's back. Baste all three layers together (front, welting tape and back). Machine stitch using a zipper foot.
Step Six: Turn the purse inside-out. Cut away the tape from the twisted welting, which forms the handle. The purse is ready.
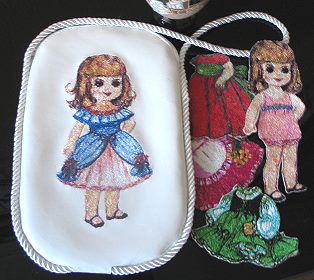
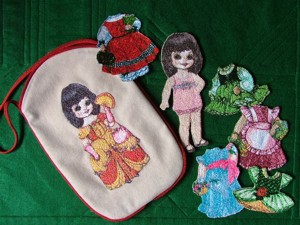
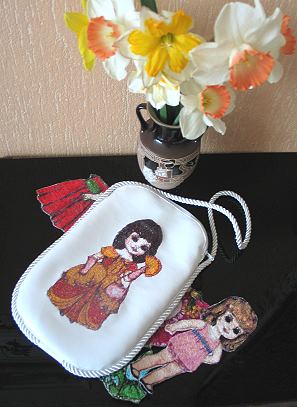
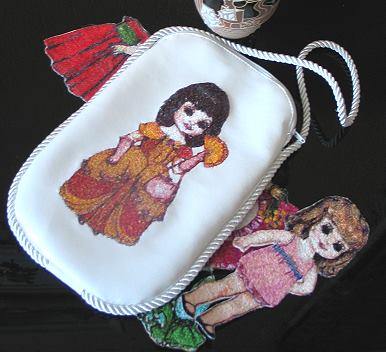
If you did not use a zipper, then adhere two pieces of Velcro tape inside the opening of the purse. Your purse is now complete! You can see some more photos below.