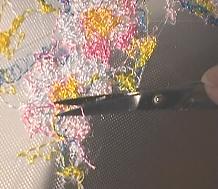
Step One: The stabilizer will need to be very thick, so fold the stabilizer into several layers. You will need approximately 3-4 layers of Sulky's Solvy, Madeira's Avalon or equivalent. Hoop all the layers together.
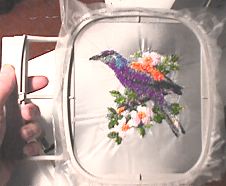
Embroider a photostitch design of your choice. Don't forget to remove all jump stitches after each color.
Step Two: If the stabilizer should rip during the embroidery proccess, just lay another small piece under the spot, moistening it slightly.
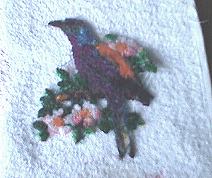
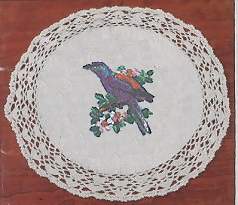
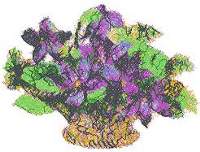
Here, we used a design from Bird Collection.
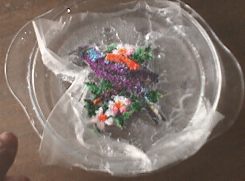
Step Three: Place the embroidery into a bowl of cold water for a couple of hours to dissolve the stabilizer.
If you use a particularly heavy stabilizer, such as Sulky's Ultra Solvy, first cut away the excess, because it can easily clog drains or might not dissolve fully. Don't dispose of the scraps: they can later be used to make liquid stabilizer.
Dispose of the water from the bowl into a toilet, not into a sink, to prevent clogging!
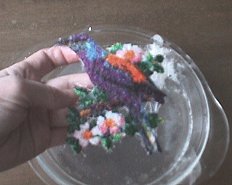
Step Four: To get rid of the remnants of the stabilizer, you can place the embroidery under running water. Collect the run-off into your bowl, and then pour it down the toilet.
Step Five: Let the design dry and cut away all unneeded bottom threads.
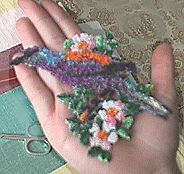
Step Six: You are left with a wonderful free standing embroidery, whose uses are limited only by your imagination. Look further for ideas.
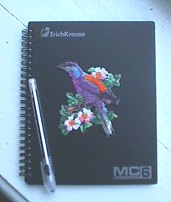


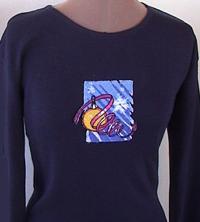
You can decorate clothing that you are afraid of embroidering directly or use it to embellish clothing that can't be embroidered with photo-stitch at all, such as light t-shirts and knitted sweaters.
The advantage of the method is that you can easily remove the embroidery if you like and when you like.
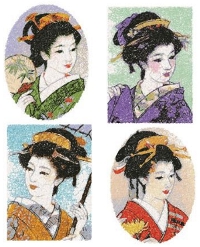
For the white sweater we used the design Red Hat.
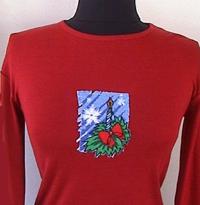
For the long-sleeved T-shirts we used the designs from the Christmas Card Set.
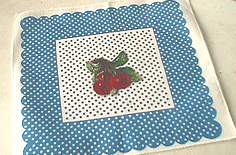
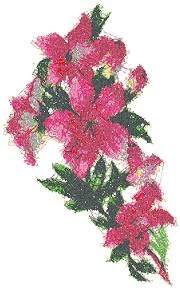
For this place mat we used the design Cherry.
 |
 |
 |
 |
 |
 |


