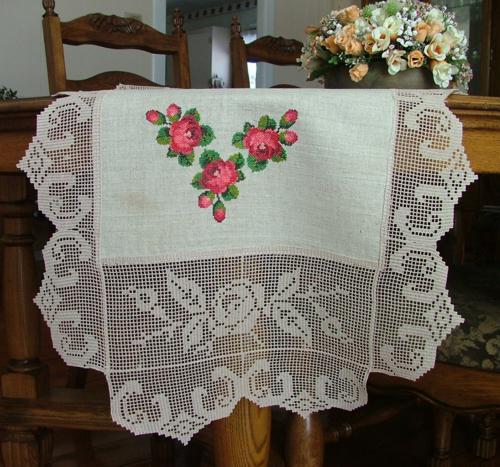
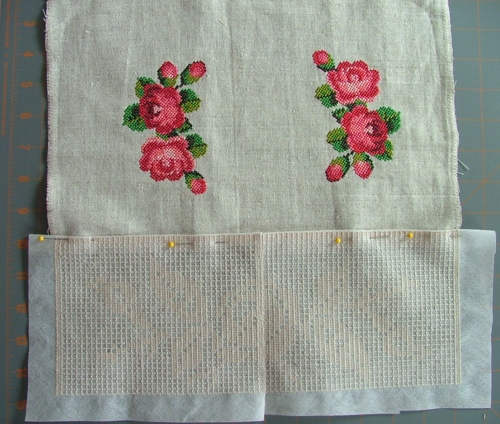
Step One: Pre-wash the fabric. Stabilize it with Vilene water-soluble stabilizer and embroider. Finish the raw edges, press and set aside for a while.
Before proceeding to step two, please read the General Guidelines and Step-by-Step Guide to Embroidering our Crochet-Style FSL designs.
Step Two: Embroider both files with the rose four times each, so that you have eight total. Embroider both the edge designs nine times each, so that you have eighteen edge parts.
Trim the stabilizer close to the designs, leaving at least 3/4" around each design. DO NOT dissolve the stabilizer yet.
Please read the Step-by-Step Guide to Assembling crochet-style FSL Designs into a Project first.
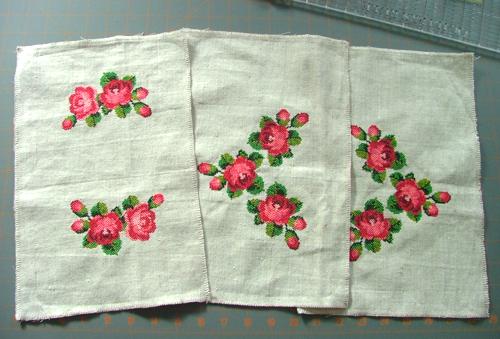
Step Three: Using a zigzag, connect the parts with the rose first, to get a total of four roses. Then stitch two parts with the rose to the both sides of the central fabric insert. The central part of the table runner is complete.
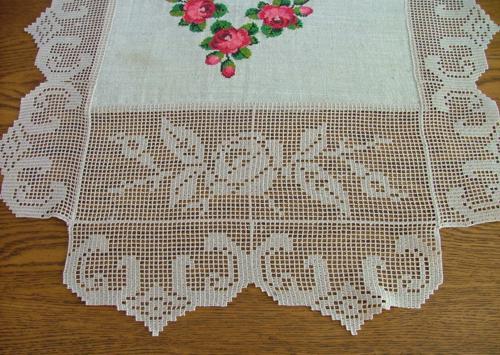
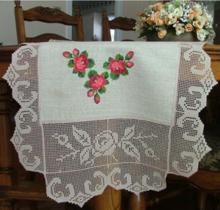
Step Four: Stitch two edge designs to each other, and stitch them to one of the remaining lace rose parts. Repeat for the remaining lace rose part.
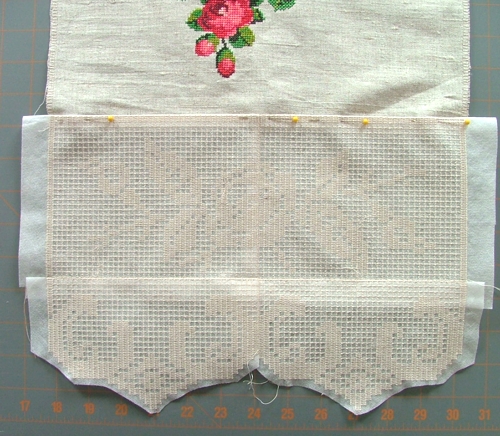
Stitch the lace parts to the fabric pieces. You'll get the two side parts of the table runner.
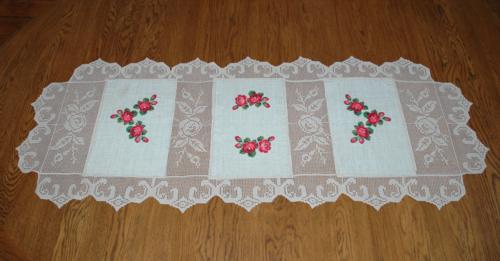
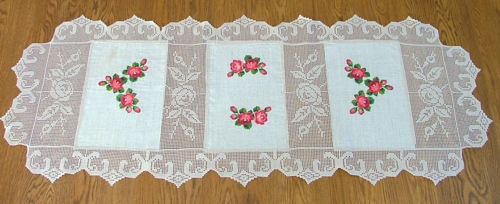
Step Five: Stitch all parts of the table runner together.
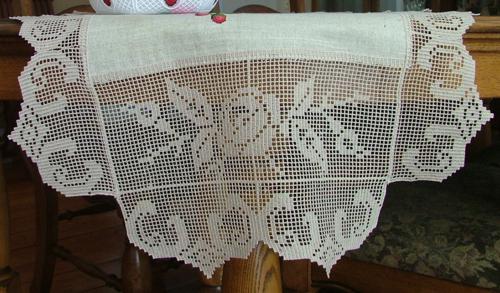
Step Six: Stitch seven lace edges to each other to make a long row. Repeat with the seven remaining parts. Now stitch the edge lace to the table runner's sides.
You can now go ahead and dissolve the water-soluble stabilizer.