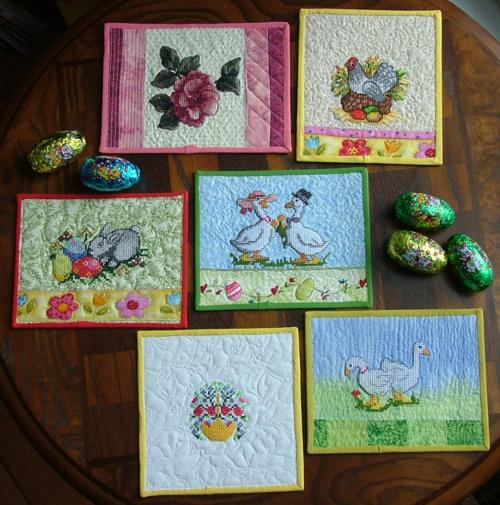
These greeting cards are very easy to put together and a pleasure to receive. In this tutorial we show how to make greeting cards, using either cross-stitch, photo-stitch or satin-stitch designs. Later, we're planning to create tutorials showing how to make the cards with cutwork and redwork designs.
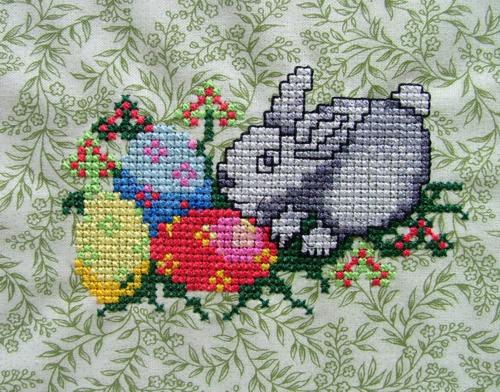
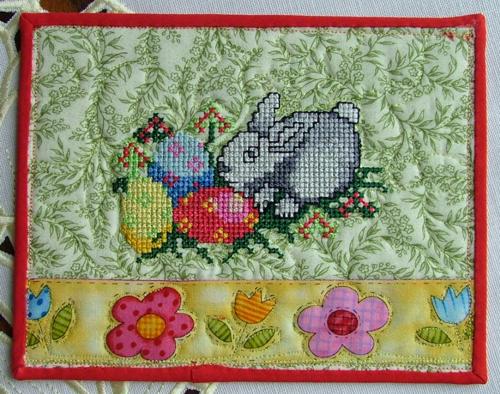
For the first card we used the free design of the month - Easter Bunny. You can download it on the Free design page.
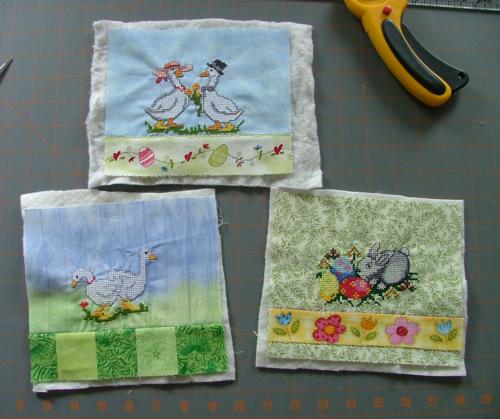
Step One: The pieces of cotton fabric for embroidery should be about 8" x 9" in order to be hooped. You'll trim the excess fabric later. Embroider the design in the center of the fabric. Press the embroidery.
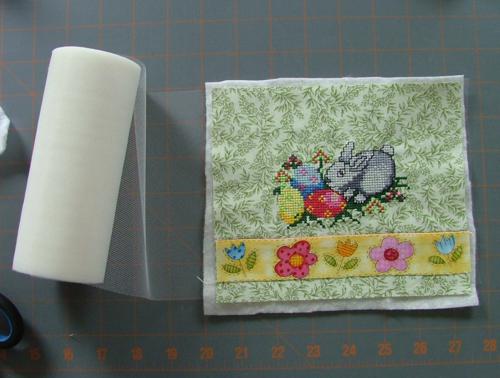
Step Two: You can leave the embroidered piece as it is or you can add some borders out of different fabrics. Thus, to the bunny card, we added a flower strip; to the top card with geese, we added a strip with eggs and, to the bottom card with geese, we added a pieced border.
Step Three: Now make a sandwich - place a layer of tulle (it will serve as backing in this case), cover it with a piece of low-loft polyester batting (we used very thin PolyDream) and place your embroidered top over it.
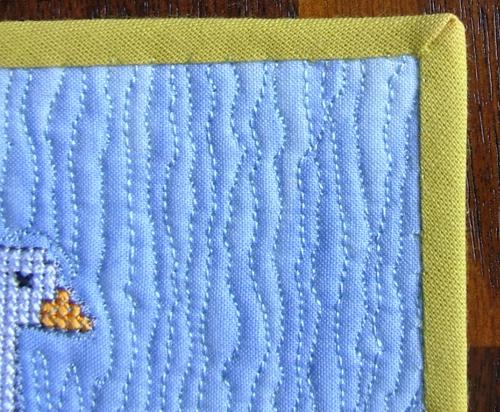
Step Four: Quilt your cards. You do not need to pin the layers because the cards are so small that you can easily handle them. Press with steam. Trim and square your quilts. They should measure 4 1/2" x 6 1/2".
Step Five: Out of heavy-weight paper cut rectangles measuring 4 1/2" x 6 1/2". Using a glue stick, glue the quilts onto the paper cards.

Step Six: To finish the raw edges, we used a ready single fold bias tape. Machine-stitch the tape to the paper backing, so that it folds onto the face of your card.

Step Seven: Now fold the bias tape onto the face of the quilt and hand-stitch in place.
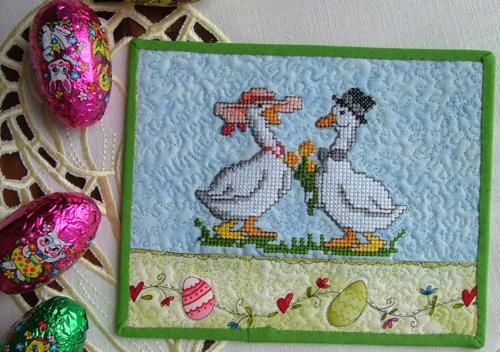
The design for this card is from the Goose Set.

For this card we used the Mother Hen design.
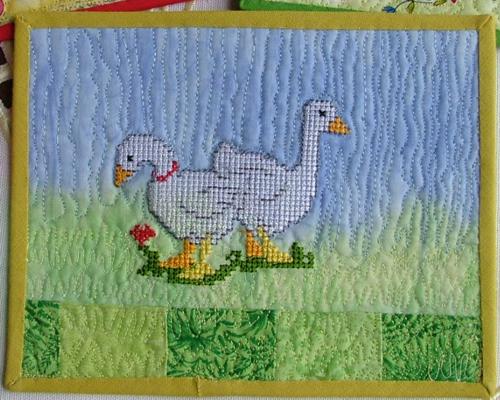
The design for this card is from the Goose Set.
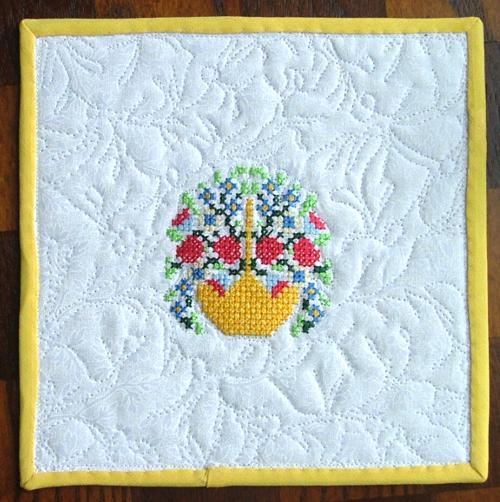
The design for this card is from the Floral Miniature Set.
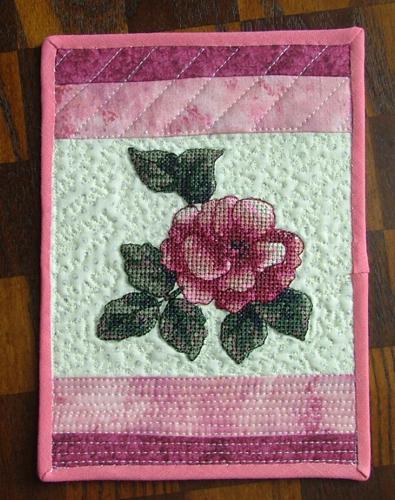
The design for this card is from the Camelia Linen Set.


