| Items decorated with trapunto are very attractive. Traditional trapunto, done manually or by machine free-motion, is a little bit complicated - water soluble threads, washing and correct drying are involved. Here we show how to achieve trapunto results with the help of machine embroidery. The process is very easy and the results are just as attractive.
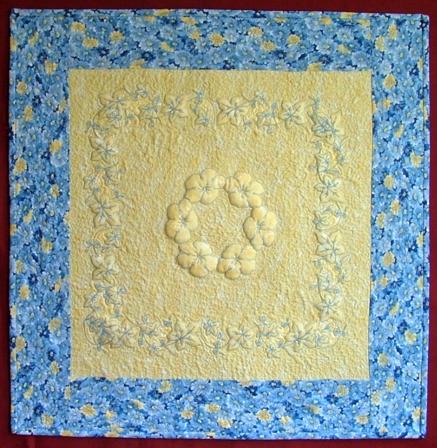
As an example we made this little quilt. The finished size is 21" x 21".
|
|
| You will need embroidery and sewing threads; a fat quarter of light-colored fabric for embroidery, 1/2 yard of patterned fabric for borders and binding, a 23" x 23" square of any cotton fabric for backing, a 23" x 23" piece of medium loft batting, and several pieces of Dream Poly (Weighty Loft) batting. These pieces should be large enough to hoop in a 5" x 7" hoop. |
| We used the designs from the Primrose Quilting Set and Redwork Flower Borders II. Many redwork designs can be used for trapunto. When looking for a design for trapunto, choose those that don't have too many details. |
Step One: Out of the fabric for embroidery (middle part of the quilt) cut a square measuring 15 1/2" x 15 1/2".
Out of the fabric for borders cut borders:
two strips measuring 15 1/2" x 3 1/4" and
two strips measuring 21" x 3 1/4". Stitch the borders to the square to get a quilt top. First, stitch the shorter strips to the top and bottom edges; press the seams towards the border. Then stitch the remaining strips to the left and right edges of the quit. Press the seams to the border.
|
|
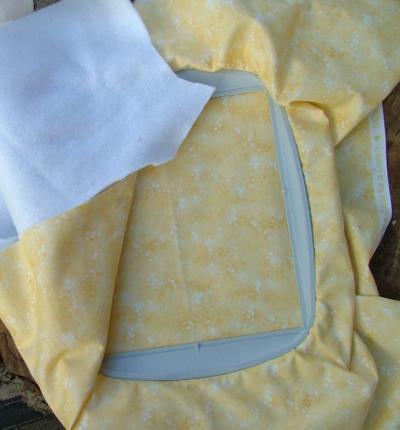
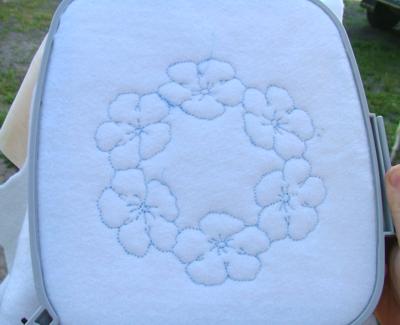
| Step Two: Mark the center of the quilt top. Hoop your fabric for embroidery with Dream Poly batting. We need this batting for trapunto and it will also play the role of the stabilizer. |
|
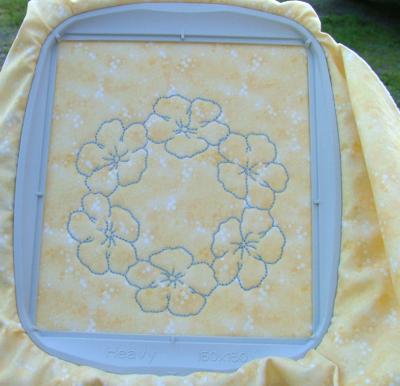
Embroider the design in the center of the quilt top.
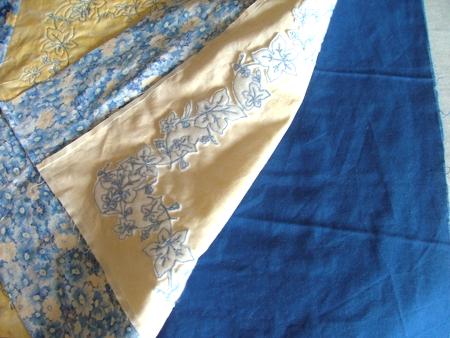
Note: Classical trapunto is made with the threads which match the color of the fabric. We chose contrasting threads to get better photos. This is what the right side of your work will look like.
|
|
| This is the back of your work. |
|
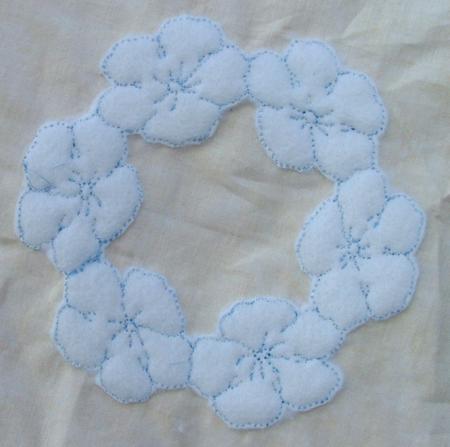
| Step Three: With a pair of sharp scissors, cut away the excess batting as close to the embroidery as possible. |
|
| Step Four: Now mark the place of the next design, hoop the fabric with Dream Poly and embroider the design; repeat as many times as you need. We embroidered the Ivy design eight times to make a border. |
|
| Step Five: Now cut away the excess Dream Poly batting as close to the embroidery as possible. The back of your working piece should look like this. |
|
Step Six: Make a quilting sandwich. On a flat surface spread the backing, face down, cover it with the batting and cover with the quilt top, face up.
If you want to make a so called shadow trapunto - that is to make the surface around the trapunto flowers darker, place a piece of dark fabric on the batting under the quilt top.
Pin all layers together. |
|
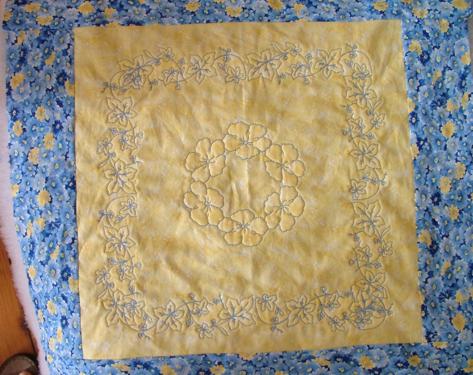
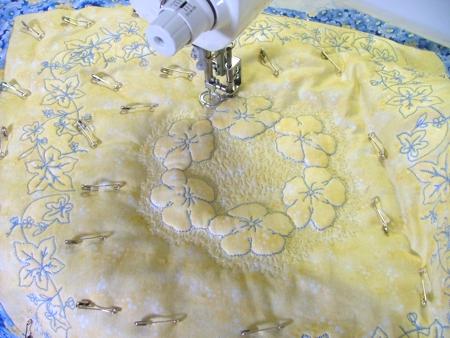
| Step Seven: Quilt. Start from the central wreath. Quilt along the inner outline of the wreath, then make stippling inside the wreath. After that, quilt along the outer outline of the wreath and go on making stippling evenly in all directions from the wreath. When you reach the border designs, quilt along the inner outline of the designs, then along the outer outline of the designs, fill in the space between the colored borders and the designs with stippling. |
|
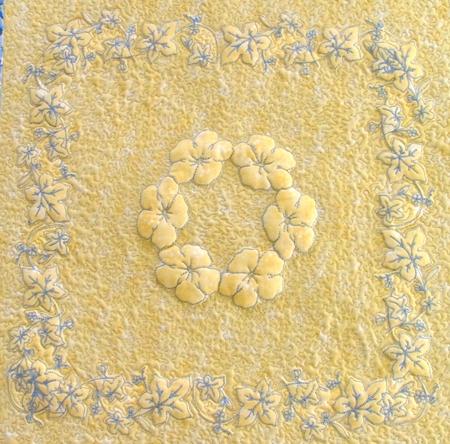
| Your work will look like this. |
|
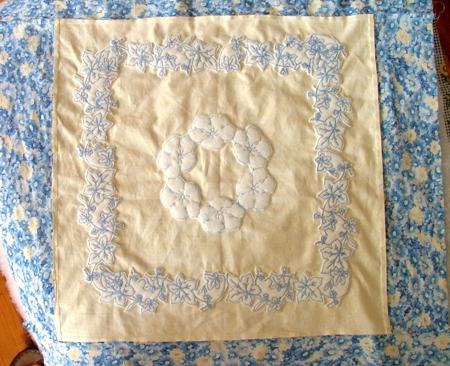
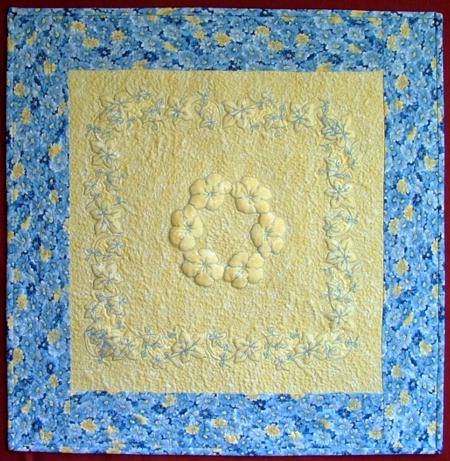
| Step Eight: Quilt the borders. You can choose any pattern for the borders, we echo-quilted the fabric pattern, so we have small quilted daisies on the borders. |
| Step Nine: Square the quilt and finish the raw edges with the binding. |
|
|
The little trapunto quilt is ready. Enjoy!
|
|
As we said, many of the redwork designs can be used for trapunto. It's also worth while experimenting with cutwork designs. Here are some examples:
|
|
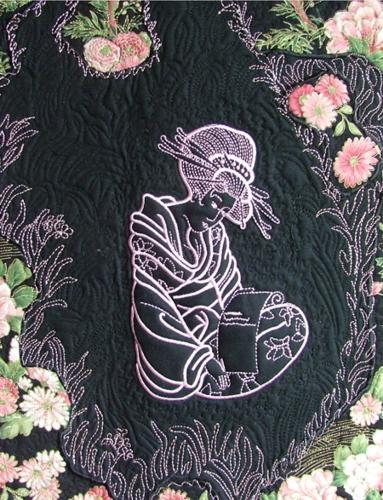
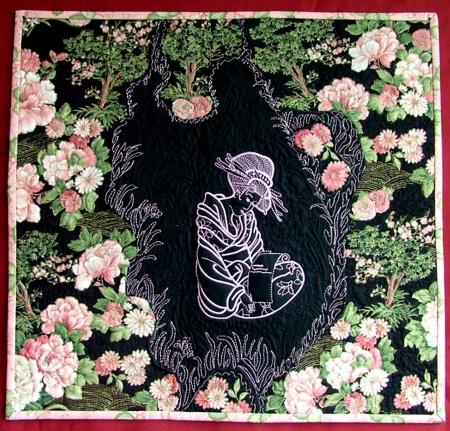
| This small quilt, the finished size of which is 18" x 18", features the design Geisha with Letter, embroidered as described above to achieve a trapunto effect. |
|
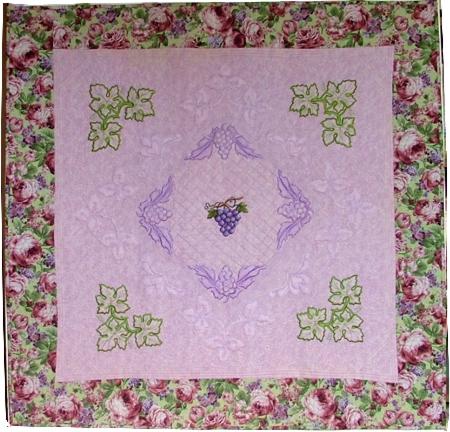
For the "Grape and Vine" quilt we used the designs from Grapes and Vine Lace Set, and Grapes.
To see more pictures of this quilt, click here. |
|
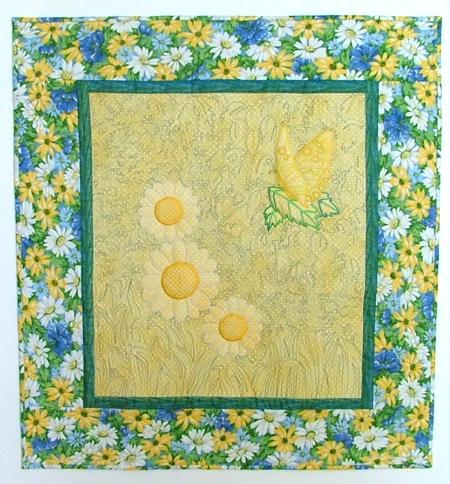
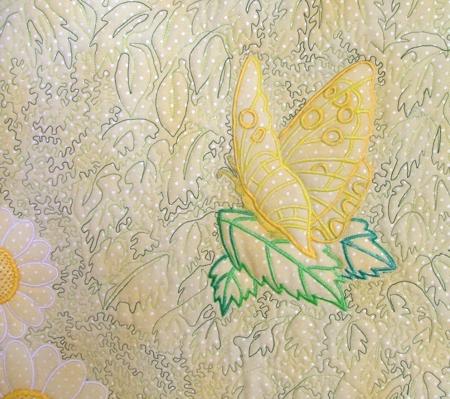
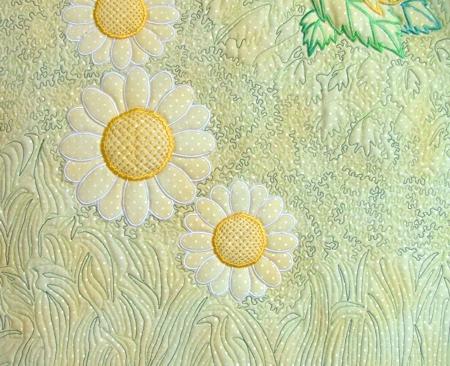
| The quilt "In the Meadows" features two cutwork designs - a Butterfly and a Sunflower. |
|
| All designs are embroidered as described above to achieve the trapunto effect. |
|
| The work is quilted with variegated threads. The finished size is 26 1/2" x 28". |
|
| We hope that you like the idea of making trapunto with the help of machine embroidery and will come up with many of your own projects. We'd be happy to receive your pictures. |
|
Back to Tutorial Page
|


