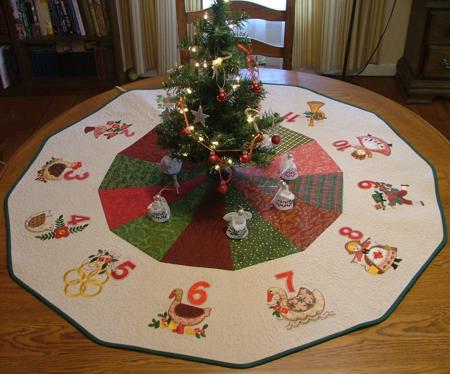
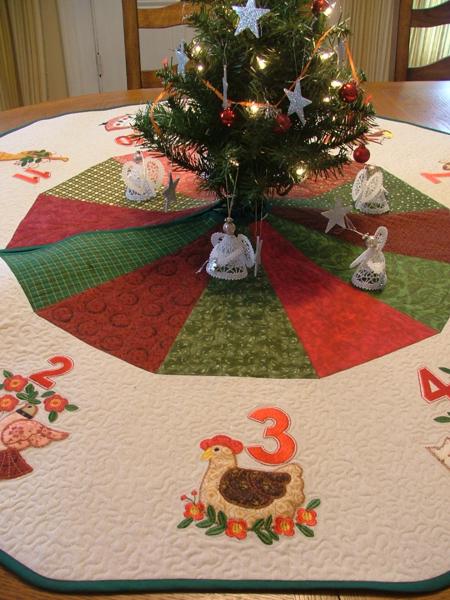
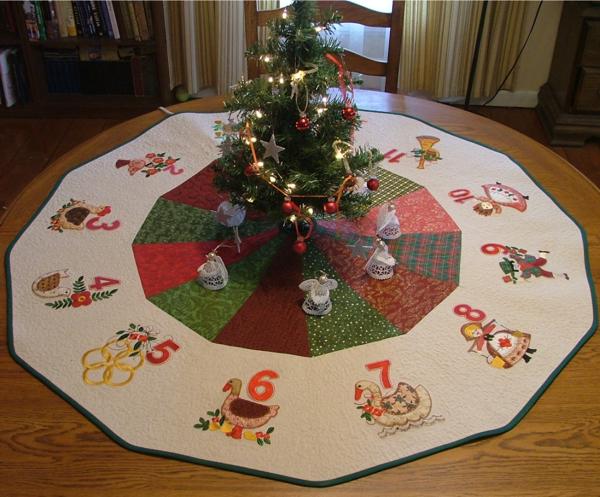
Christmas Tree-Skirts are a great project for us machine embroiderers. The large embroidery fields around the edge of the skirt give you a lot of room to decorate and plenty of possibilities. The finished size of the tree-skirt is about 44" in diameter.
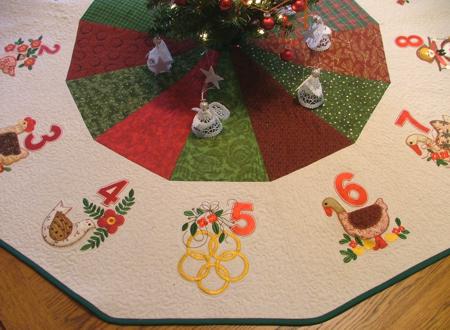
The designs used are 12 Days of Christmas Applique Set.
For the project you will need:
First make the template. On a piece of paper draw a rectangle measuring 13 1/2" x 22 1/2".
On one of the shorter sides of the rectangle, measure 6 1/8" from the corner to the center and place a mark. Measure 1 1/4" from the first mark and place another mark.
Take the ruler and connect the first mark with the left corner of the opposite side. Connect the second mark with the right corner of the opposite side.
Cut out the paper template.
Now measure 12 1/2" from the narrow end of the template along one of the sides and and place a mark. Repeat for the other side and place a mark. Use a ruler to connect both marks and cut along this line.
You'll have 2 templates for the central, colored, part of the skirt and for the outer, light, part of the skirt. Note: the template does not include seam allowance!
Using the template for the center of the skirt, cut out 6 red and 6 green parts. Don't forget to add 1/4" on all sides for the seam allowance.

Using the lower template, cut out 12 light parts. Don't forget to add 1/4" on all sides for the seam allowances.

Sew the central and outer parts together to get 12 sectors.
Sew the 12 sectors together. Alternate green and red pieces. Do not sew the final seam between the 1st and the 12th sectors:
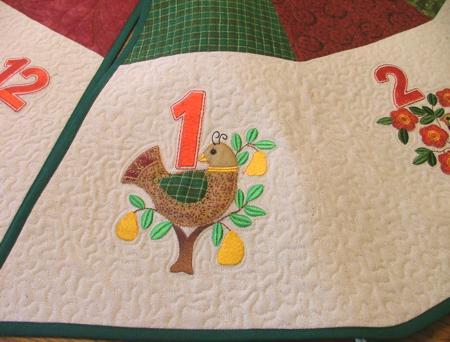
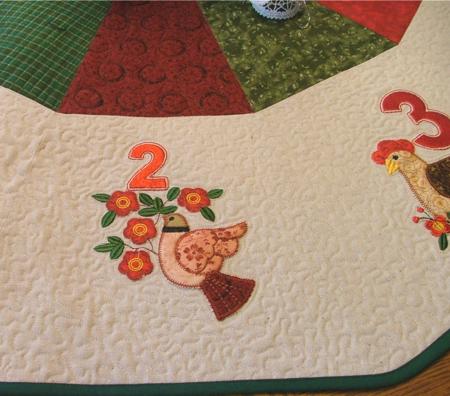
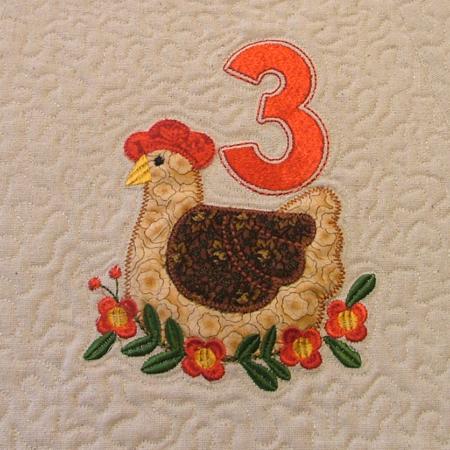
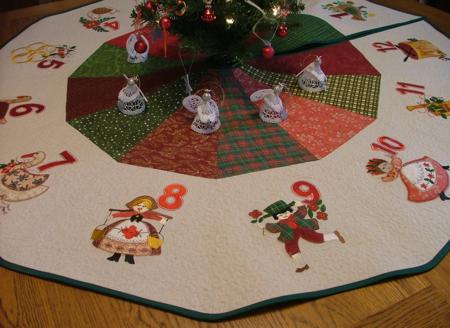
Make the embroidery of the 12 Days of Christmas Applique on each light part of the sectors. You can use a light-weight cut-away stabilizer, or polyester craft felt. We used the latter. After the embroidery is finished, cut away the stabilizer.
Now place the backing on a flat surface (table) face down. Cover with batting. Spread your working piece over it.
Pin all three layers together with 1" pins and start quilting. We quilted along the lines of the embroidery and made stippling all over the background fabric.
After the quilting is finished, press the piece with heavy steam and trim all edges. Using roller cutter and the ruler, first trim the short sides of each sector, then trim the long sides of the 1st and the 12th sectors.
Using scissors, trim the inside circle to make it even.
Finish the raw edges with the bias binding.


