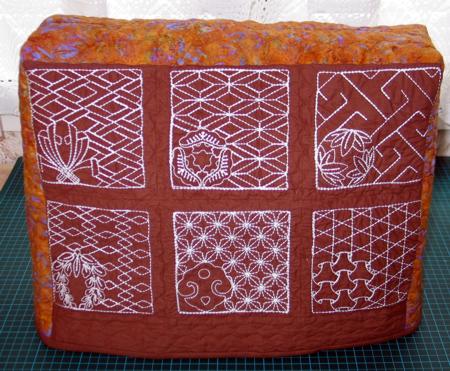
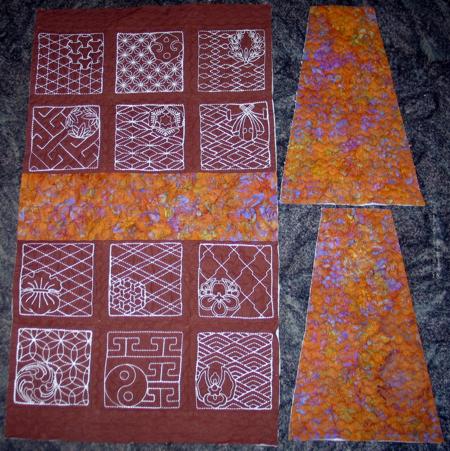
This cover for a sewing machine features the designs from the Sashiko Set II for the large hoop. Sashiko is a form of decorative embroidery that comes from Japan and it inspired us to make this oriental-style project.
The finished size of the cover is about 17" (long) x 13" (high) x 9" (deep). You might have to make corrections depending on the size of your machine.
For the project we used 1/2 yard of bright cotton batik
Out of solid (dark red) fabric, cut
Out of batik fabric, cut
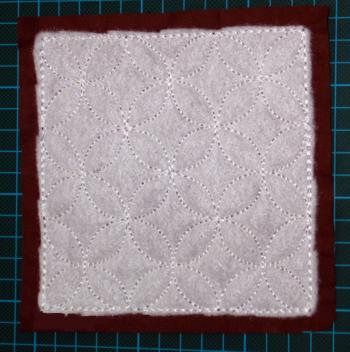
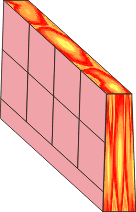
Stabilize the solid (dark red) squares with craft felt and embroider the Sashiko designs for a large hoop.
Trim each square to 6 1/2" x 6 1/2".

With the scissors, trim the polyester close to the stitches.
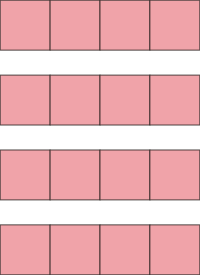
Sew the Sashiko squares into 4 rows, 3 blocks per row.
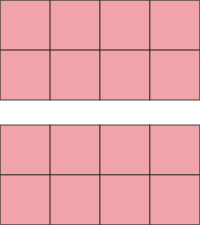
Sew each 2 rows into a panel.
Sew the 5 1/2" x 18 1/2" batik strip between the panels.
Sew the red 3" x 18 1/2" strips to the upper and lower edges.
Spread the backing on the table, face down, cover with batting, place the top, face up. Pin all three layers together. Quilt all over.
Press with heavy steam and square the work. Trim to 18" x 33".
Make quilting sandwiches - backing - batting - top - with the batik 10" x 14" strips as tops. Quilt all over. Square. Trim to 9 1/2" x 13 1/2".
Turn the strips wrong side up. Using a ruler and a chalk (chalk pencil or fabric marker),
divide the short sides in half and draw a line.
On the upper edge, measure 4 3/4" from the line on both sides and make marks.
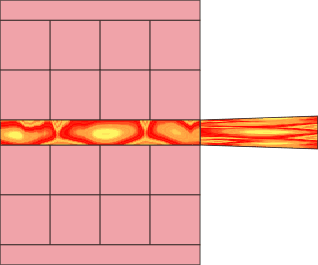
Connect the marks with the conners on the lower edge. Cut along the line. You will get two trapezoid shapes, like you can see below on the right.
Place the first side panel over the top's batik strip - align the upper short edge of the side panel with the short edge of the batik strip. Pin. Sew together with 1/4" seam allowance. Start stitching 1/4" from the side edge and finish stitching 1/4" from another side edge.
Align the side edges of the side panel and the top. Pin. Sew together with seam allowance 1/4".
Finish the raw edges either with zig-zag stitch or with binding.
Repeat with the second side panel.
Finish the lower raw edges with binding.


