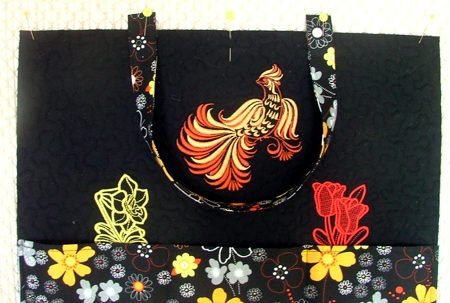
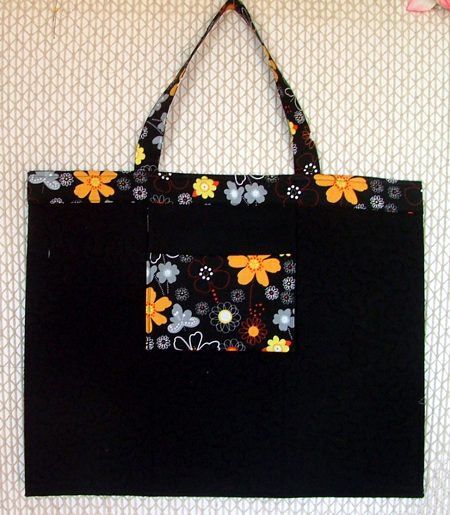
This roomy tote bag is a great gift for crafters. The main compartment is roomy enough to hold any crafting project, while the 1 inner pocket and 6 outer pockets provide storage for notions and materials. Both the front and the back panels are embellished with embroidery. We used the designs from the Fairy Tale Bird Set, Flower Embellishment Set II, and Flower Embellishment Set III.
The finished size of the tote is 14" high x 17" wide x 4" deep. The original tote is available for sale in our Etsy store!
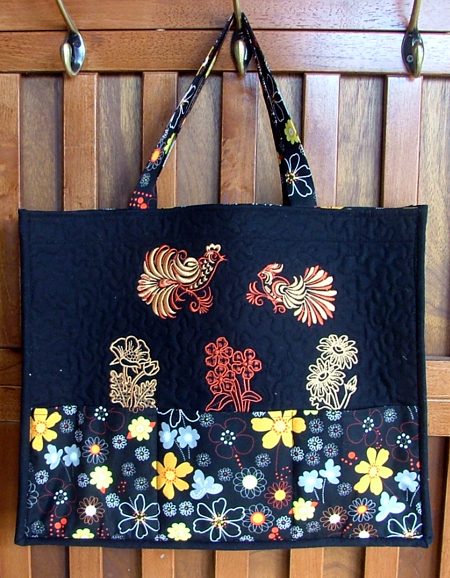
We made the tote black as a contrast to the bright threads we used in the embroidery. However, feel free to make it any color you like. The embroidery designs all have 1-2 colors, so they are easy to change. We used colors to match the pattern on the pockets.
You will need
Cutting:
Out of plain fabric, cut
Embroidery:
For embroidery, select threads to match the patterned fabric. Make test stitch-outs to be sure that you like your choice.
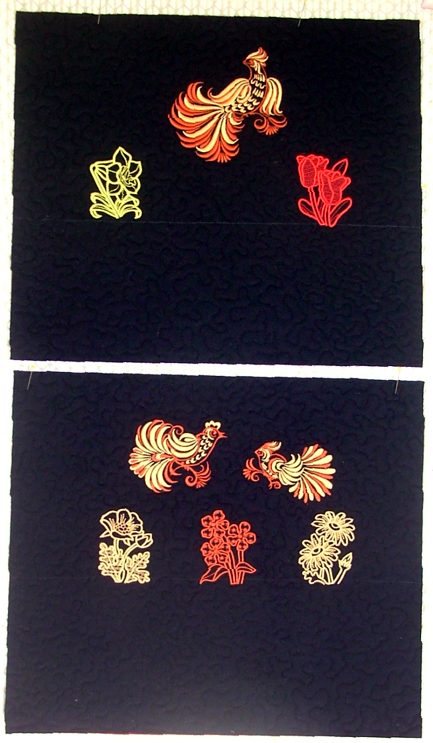
Take one of the black panels, position it on your table, face up. With a ruler and thin chalk draw a line parallel to the lower edge 6 1/2" from the lower edge. This area is going to be where the pockets go, so you don't want your embroidery to go there.
Using paper templates, mark the position of the embroidery. The flowers should be exactly on the drawn line, the birds should be above, over the flowers. Stabilize the fabric and make the embroidery.
Repeat for the second panel.
Quilting:
Spread one of the remaining plain panels on your table, face down. Cover with the batting piece. Place one of the embroidered panels over the batting. Pin all three layers together with 1" pins.
Make the second sandwich with the remaining plain panel, batting piece and the second embroidered panel.
Sew all three 5" wide strips together. Subcut them into 2 strips measuring 5" x 48". Make the third sandwich with the 5" x 48" plain fabric and batting strips.
We quilted all three sandwiches in a free-motion style. Remove the pins while working.
When you are finished, press the work with heavy steam and square the work -- all corners should be 90 degrees and opposite sides should be of the same length.
Trim both panels to 14 1/2" x 17 1/2".
Sewing the Outer Pockets:
Take the patterned fabric rectangles measuring 12" x 18". Fold them lengthwise, wrong side inwards. Press.
Open them and spread them out with the wrong side facing up. Position the 5 3/4" x 17 1/2" interfacing piece as shown below - leaving 1/4" margins along the raw edges.
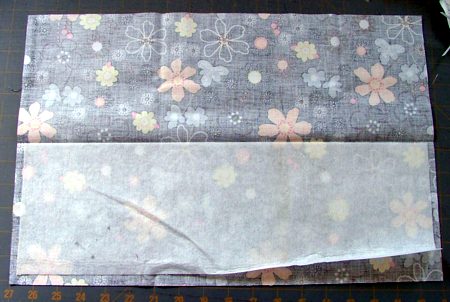
Fold again and press so that the interfacing fuses with the fabric.
On your sewing machine topstitch along the folded edge, 1/4" from the edge.
Baste with a large stitch (6-8mm) along the lower, raw, edge.
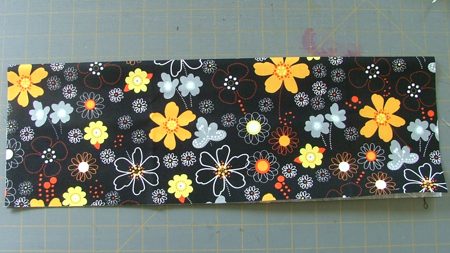
Slightly pull the threads to make little ruffles along the lower edge.
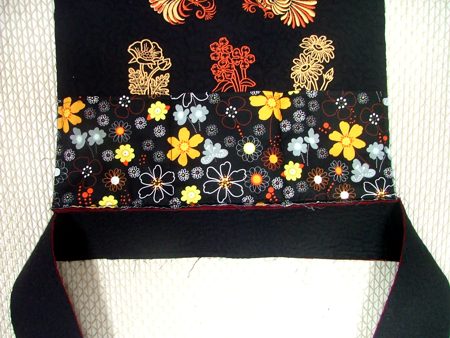
Place the pocket on the face of the panel. Align the upper edge of the pocket with the marked line - it should slightly overlap the flowers, align and pin the side edges.
Pin the lower edge in place.
Machine stitch along the edges of the pocket 1/4" from the edge. Divide the pocket into 3 equal parts. With thin chalk draw lines and machine stitch along the line to make 3 divisions in the pocket.
Repeat for the second panel.


Making the Handles.
Fold the patterned fabric strips measuring 3" x 20" in half lengthwise, face outwards. Press. Place the strips of iron-on interfacing measuring 1" x 20" inside. Align one long side of the interfacing strip with the folded crease. Press so that the interfacing fuses to the fabric. Tuck in the raw edges of the strips 1/2" inside. Press again.
Topstitch along all edges twice - 1/8" and 1/4" from the edges.
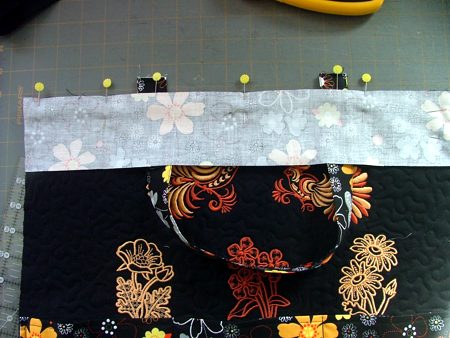
Position the panels on the table, face up. Pin the handles as shown 4 1/2" from the edges. Each end of the handles should protrude 1" above the upper edge of the panel.
Cover the upper edge with the 2 1/2" x 17 1/2" strips, face down. Align the upper edges and pin in place.
Topstitch twice 1/4" and 3/8" from the edge.
Press. Unfold and turn the trimmimg strip and handle to the back of the panel. Press again.
Fold the raw edge 1/2" inside, press, pin.
Making the Inner Pocket:
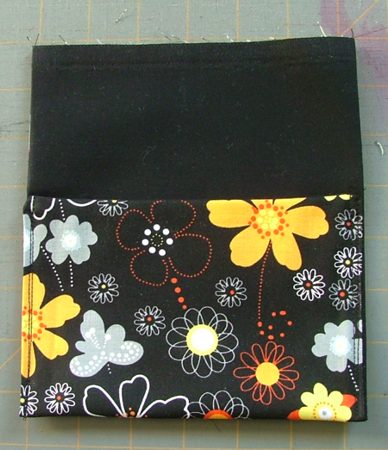
Place the plain and patterned rectangles measuring 7" x 12" face to face. Machine stitch along 3 edges, 1/4" from the edge. Leave the forth side open.
Turn the work right side out. Press.
Fold the closed edge 4" onto the work. Pin and topstitch the sides.
Tuck the pocket under the upper edge and trim between the handle. Pin.
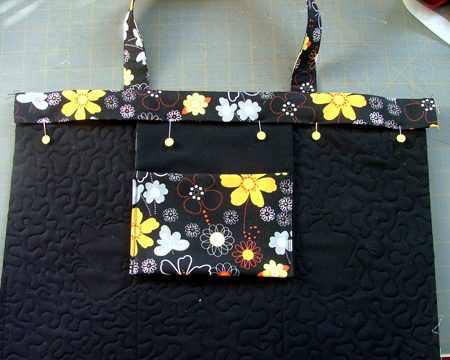
Topstitch along the upper edge of the panel 1/4" from the edge.
Then topstitch along the lower edge of the trim 1/8" from the edge.
Repeat for the second panel. You can stop at 1 inner pocket, or you can add a 2nd one.
Attaching the Bottom and the Side Panels:
Measure the length of the side and bottom edges of your panels. Trim the quilted strip to 4 1/2" wide and the length of the side plus bottom edges. In our case it is 14 1/2" + 17 1/2" + 14 1/2" = 46 1/2". However, please measure your panels, they might be sligtly larger or smaller, so adjust the length of this piece accordingly.
Finish the short raw edges of the strip with binding or bias tape.
Position the strip on your table. Working with the upper edge of the strip, measure from the length of the side panel (14 1/2") from each corner and mark those points.
Now measure the length between the marks. In our case it should be 17 1/2", the length of the bottom panel.
Make small (1/4") deep notches at the marked points.
Repeat with the lower edge of the strip.
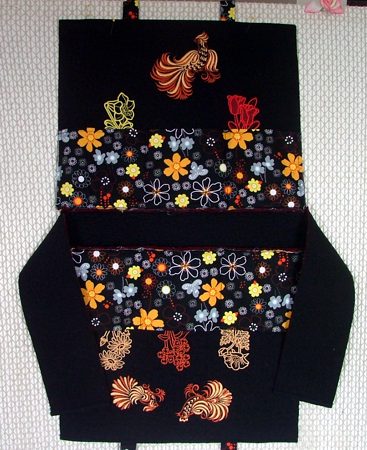
Position the first tote panel, face up, over the strip between the 2 notches. Align the edges. Pin. Topstitch 1/4" from the edge. Start stitching 1/4" from the upper edge and stop stitching leaving 1/4" of the bottom edge unstitched.
The unfinished seams should be on the face of the working piece!
In the same way, sew the second panel to the bottom. Your work will look like this:
Now stitch the sides of the tote panels to the strip. It's easier to work with one tote panel at a time.
Finish the raw edges with bias tape or binding.
The tote is ready.