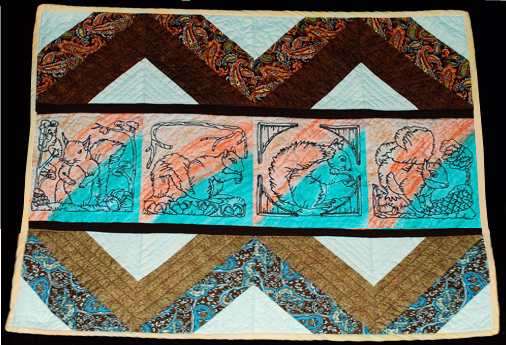
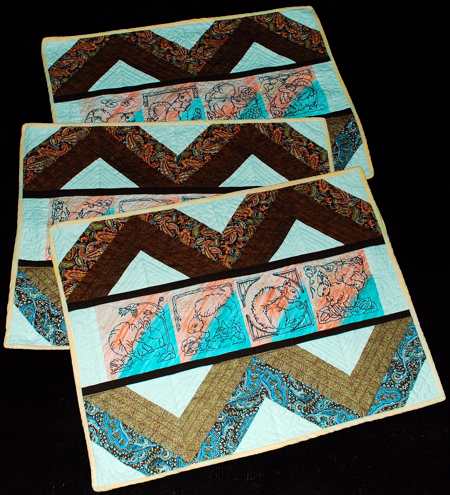
These super-easy placemats feature the designs from the Redwork Squirrel Set for a large, 5" x 7", hoop.
The finished size of the placemats is about 15" x 20".
Besides embroidery thread (either polyester or rayon), you will need
Embroidery:
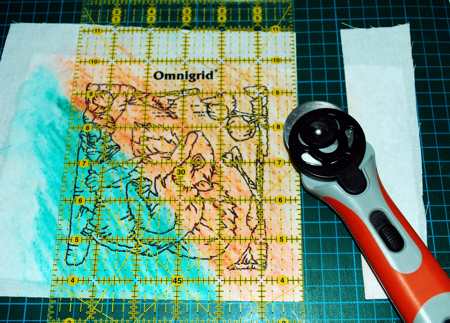
Stabilize the light-colored fabric with iron-on cut-away stabilizer.
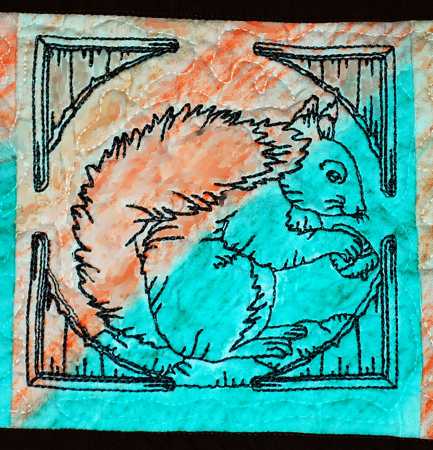
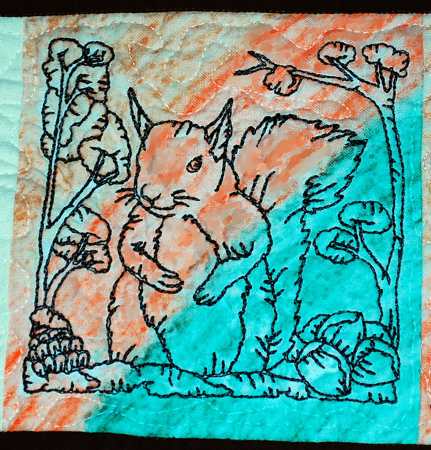
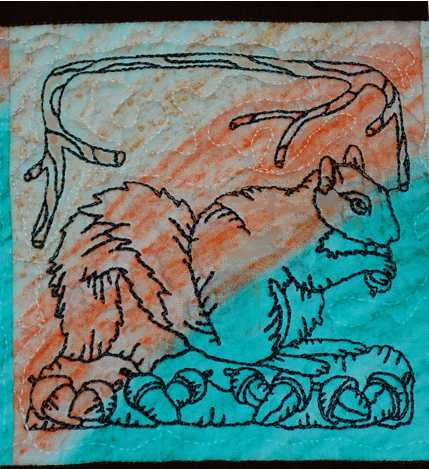
Embroider the designs from the Redwork Squirrel Set. For one placemat you will need 4 embroidered squares.
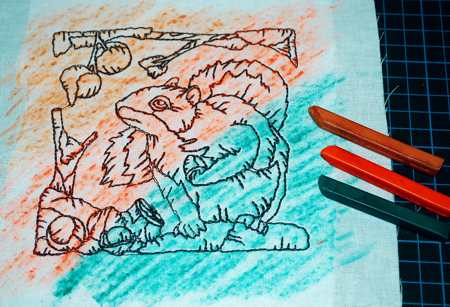
If you are going to color the blocks, do this now.
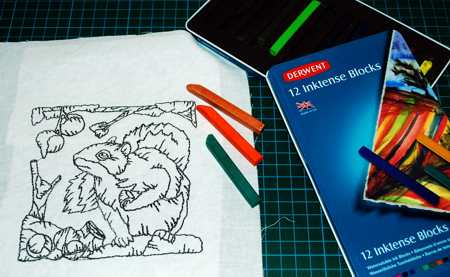
We picked a "modern art" look for the blocks. If you prefer, you color the squirrels in as you would in a coloring book. The result will be completely different from ours!
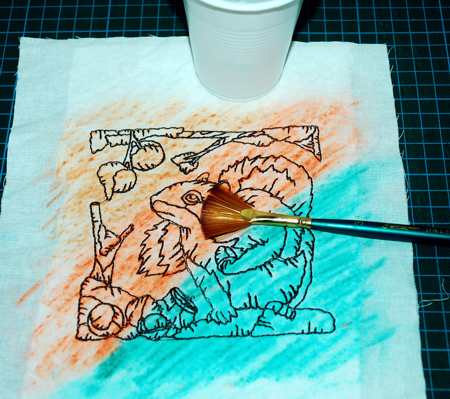
The Derwent colors need to be dampened slightly to fix them. We applied water to the fabric using a brush and let it air dry.
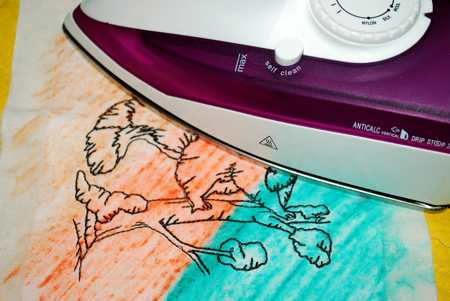
When the fabric is dry, press with a hot iron to finish fixing the paint.
Trim the blocks to 5 1/2" x 5 1/2".
For each placemat:
Out of each of the 4 patterned fabrics, cut 2 squares measuring 5 7/8" x 5 7/8".
Out of light-colored fabric, the same which you used for embroidery, cut 16 squares measuring 2 1/2" x 2 1/2"
Sewing the Block:
Seam allowance is 1/4" throughout the project.
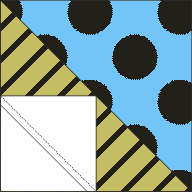
Take two 5 7/8" squares of the first patterned fabric and pair them up with the two squares of the second patterned fabric. Position the first squares on top of the second squares and align the edges.
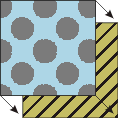
With a pencil, draw a diagonal on the top square. Stitch 1/4" from the pencil line on both sides.

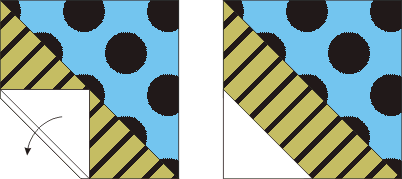
Cut along the line. Open the new squares. Press the seam towards the darker fabric. Trim the "ears". Repeat for all the pairs. You should get 4 half square triangles measuring 5 1/2" x 5 1/2" of one set and 4 half square triangles measuring 5 1/2" x 5 1/2" of another set.
Repeat for the two 5 7/8" squares of fabric 3 and the two 5 7/8" squares of fabric 4.
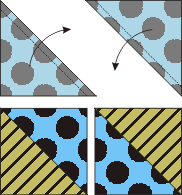
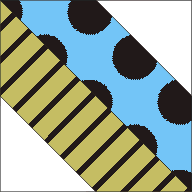
Now take one of the 5 1/2" half triangles and position a 2 1/2" square on a corner of the half square triangle. It should be one of the corners that does not have the diagonal seam running through it.
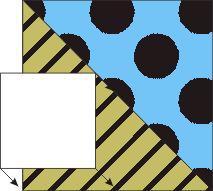
With a pencil, draw a diagonal on the top square. Machine-stitch along the line.
Cut away the excess fabric 1/4" from the stitched line. Open and press.
Repeat with the other corner.
Repeat for all of the 5 1/2" half triangle squares.
Sewing the Placemat:
Stitch the 4 embroidered blocks in a row.

Stitch the pieced blocks in 2 rows as shown below.
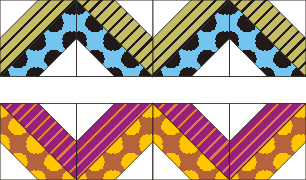
Sew one of the rows to the upper and the second row to the lower edges of the embroidered row.

Quilting and Finishing
Spread the backing on your table, face down. Cover the backing with batting. Cover with the working piece. Pin all three layers together with 1" pins.
We quilted around the embroidery and all over the quilt in a free-motion style.
Press the work with heavy steam and square the work -- all corners should be 90 degrees and opposite sides should be of the same length.
We further adhered the fusible bias tape along the seams between the rows.
Finish the raw edges with binding.
Your placemats are ready! Enjoy!