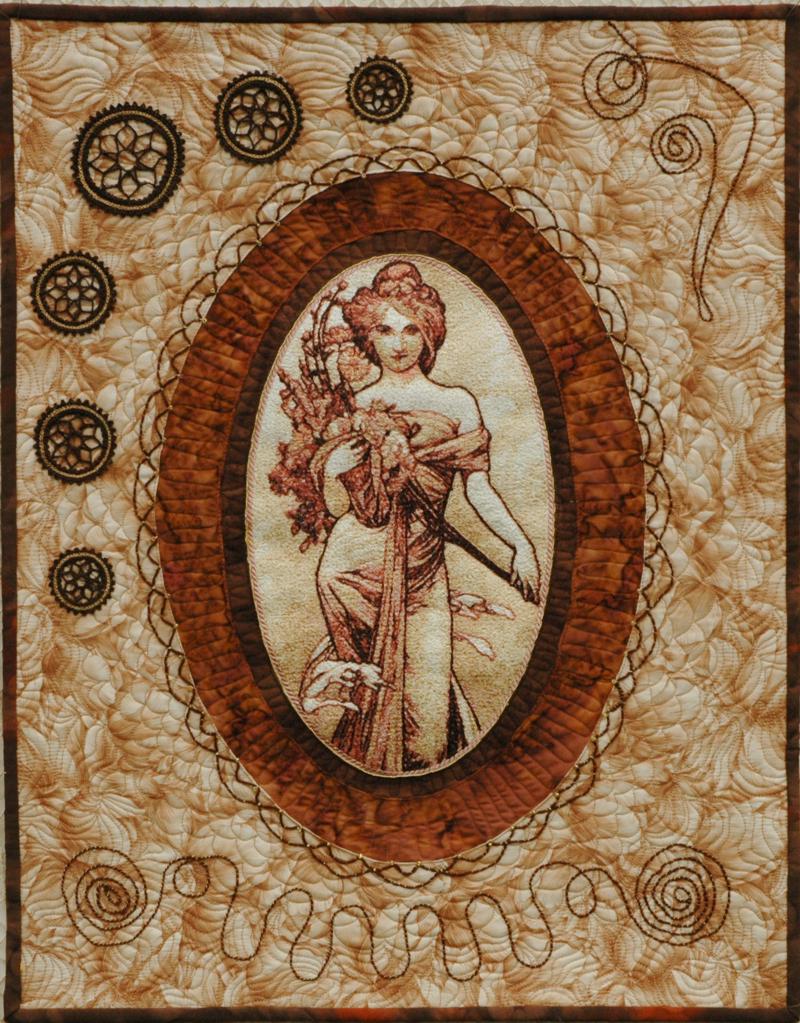
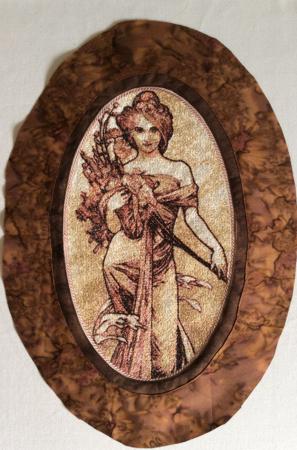
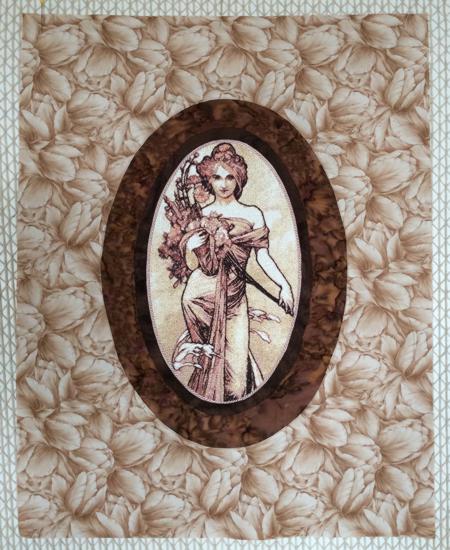
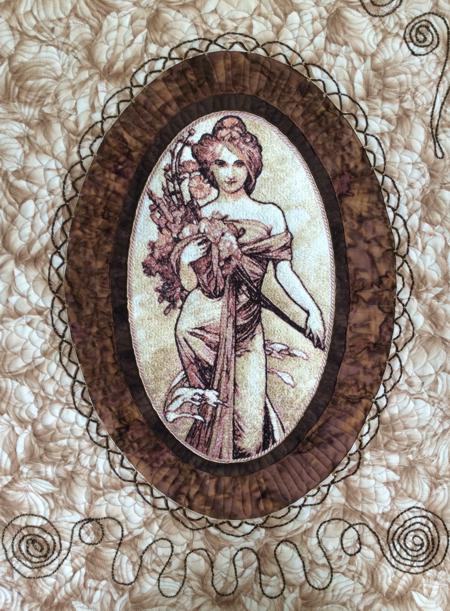
For this gorgeous miniature art quilt, we used the embroidery design The Seasons: Spring by Alphonse Mucha. For embellishment, we used stitch-outs of the FSL Battenberg Wheel of Fortune Earrings.
|
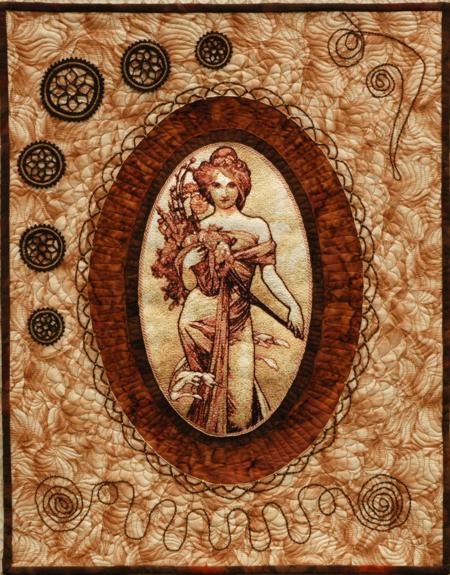
Click to enlarge
|
You will need
- embroidery threads
- medium-to heavy-weight cut-away embroidery stabilizer, or a piece of polyester craft felt to use instead of stabilizer,
- a piece of light-colored cotton fabric for embroidery,
- 3 cotton fabrics to match the color of the embroidery (it's best to choose them after you make the embroidery), 1 fat quarter of each,
- batting,
- quilting thread to match the fabrics,
- quilter's ruler and rotary cutter,
- graphic pencil, chalk pencil and sharp scissors,
- for embellishment, besides lace stitch-outs, we used a small amount (about 5 yards) of Aunt Lydia's Fashion Thread # 3, dark gold seed beads and golden metallic thread.
|
| Emboridery |
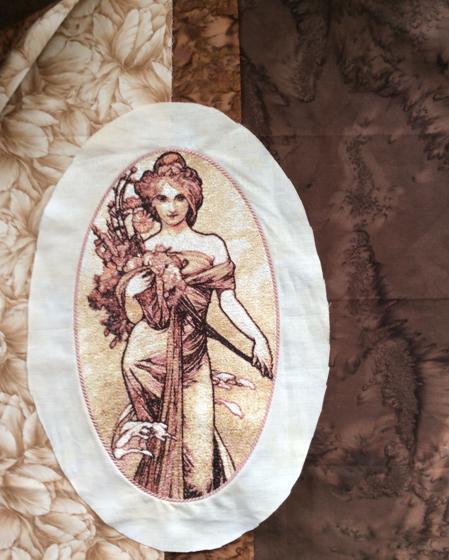
Stabilize the light-colored piece of fabric with medium-to heavy-weight cut-away stabilizer for embroidery. Upload the design into the machine and embroider it.
|
| After the embroidery is finished, cut the embroidery out, leaving about 1" border around it. |
Select 3 complementary fabrics that match the colors of the embroidery.
For the first border we chose dark chocolate batik, for the second, we used a lighter brown batik, and beige patterned fabric was used for the main body of the quilt. |
|
Making the Quilt:
|
| Download the template file with the oval frame for the quilt. To open and print the template, which is a PDF file, you will need Adobe Reader or a similar program. Adobe Reader is free to download and install. |
| Template Download (PDF) |
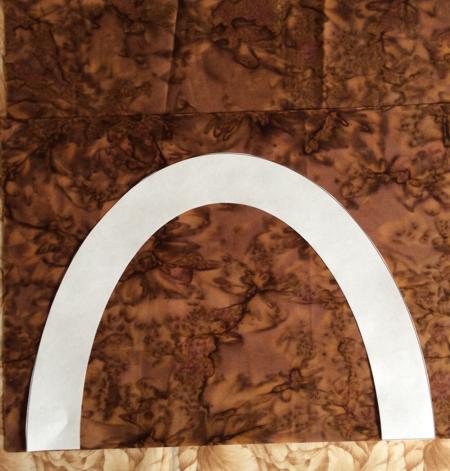
| Print out the template. Cut out each of the 2 frames, marking them 1 and 2. |
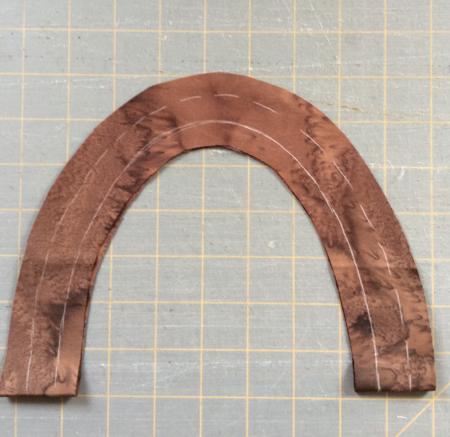
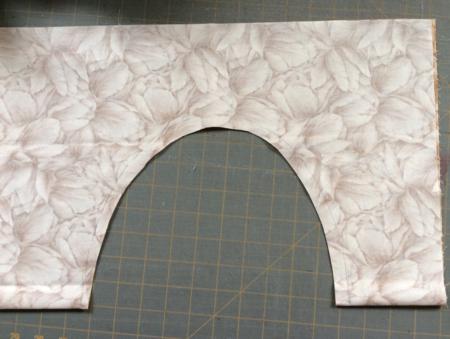
| Fold the fabric for the first border, pressing the folded line lightly. Position the template on the fabric and trace it with the chalk pencil. |
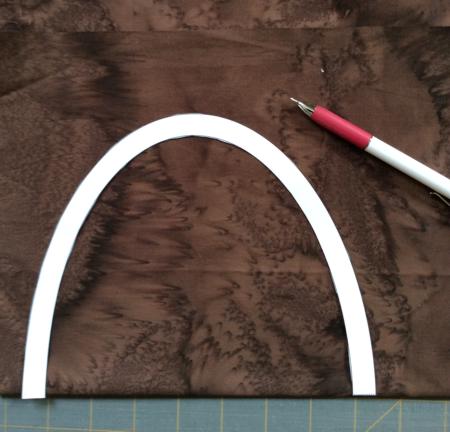
|

|
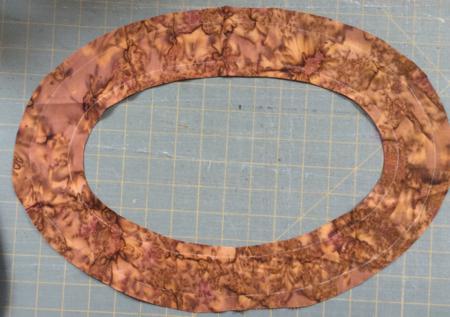
Cut out the fabric leaving about 1/2" for seam allowance.
|
|
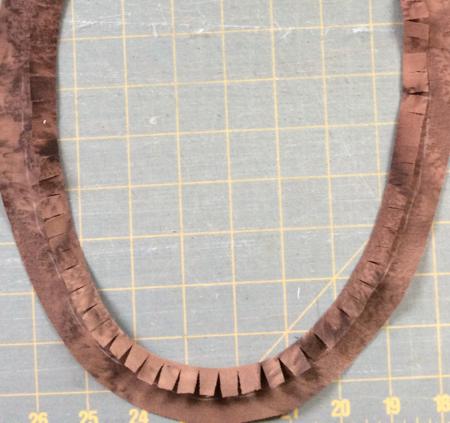
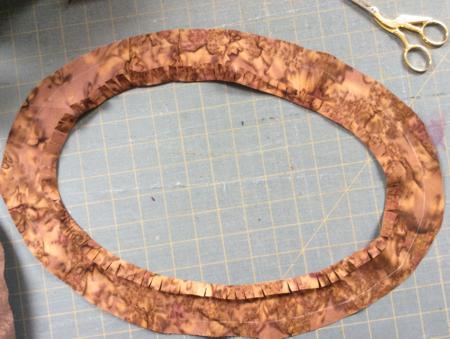
Cut notches through the inner seam allowance. Fold them back and press.
|
|
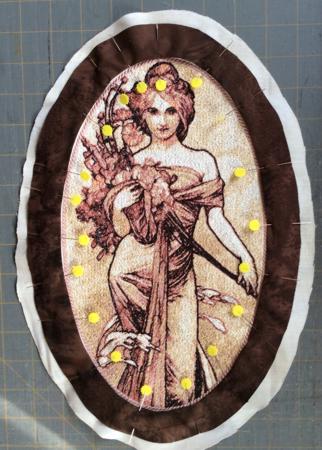
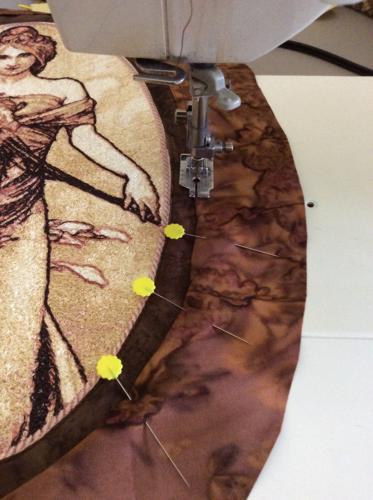
| Place the frame over and around the embroidery. Pin in place. Using thread the same color as the first border, top stitch along the inner edge, as close to the edge as possible. |
|
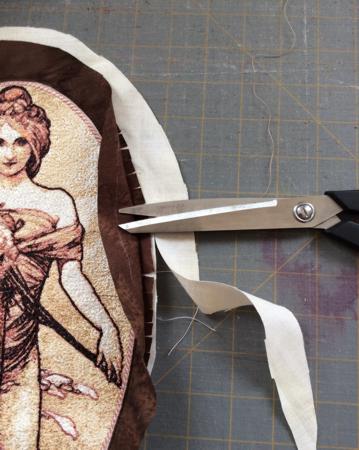
| Fold the border up and trim the excess fabric of the stitch-out. |
|
| In the same way make the second border, but using the second template. |
|
| Cut the border out with seam allowance about 1/2". |
|
| Make notches in the inner seam allowance. Fold them back and press. |
|
| Place the frame over and around the embroidery and 1st border. Pin in place. Top-stitch along the inner edge, as close to the edge as possible. |
|
| Your working piece will look like this: |
|
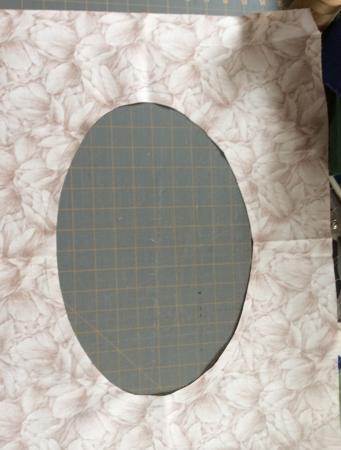
| To make the main body of the quilt, use the second template. Fold the fabric, face inwards, pin the template to the fabric and trace the outer edge. |

|
| Cut out with seam allowance 1/2". |
|
| Unfold the piece. |
|
| Cut notches in seam allowance. Fold them back and press. |

|
| Place the frame over and around the embroidery with its 2 borders. Pin in place. Using matching thread, top-stitch along the inner edge, as close to the edge as possible. |
|
| Your working piece will look like this: |
|
| Quilting and Finishing: |
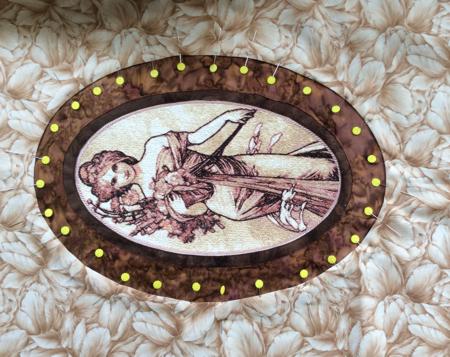
Now place the backing on a flat surface (table) face down. Cover with batting. Spread your working piece over it.
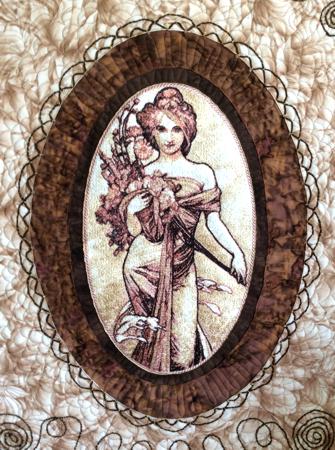
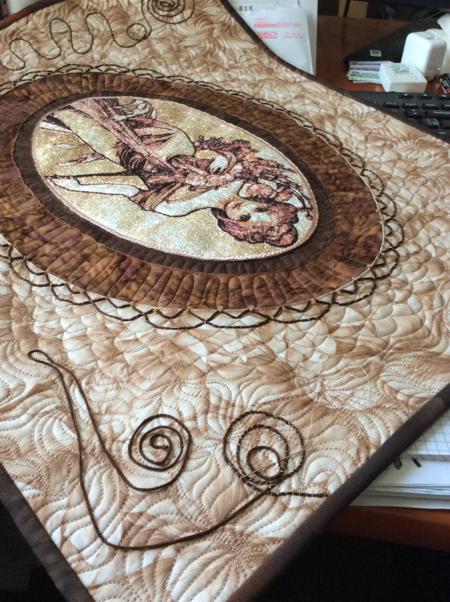
Pin all three layers together with 1" pins and start quilting. We quilted with parallel lines along the light margin around the embroidery, and around the first and the second borders. The third border is quilted with a meandering pattern. |
After the quilting is finished, press the work with heavy steam and square the work -- all corners should be 90 degrees and opposite sides should be of the same length.
Finish the raw edges with the binding.
|
| Embellishment: |
As a final touch, add embellishments to your taste.
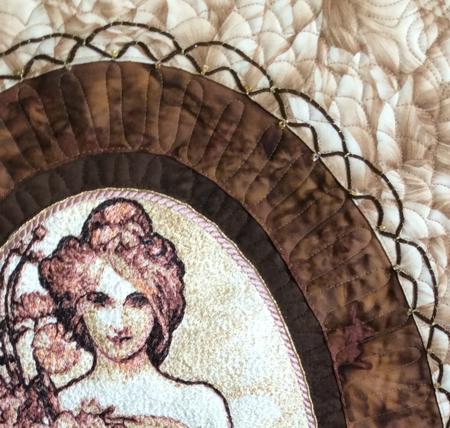
We used a couching stitch to apply some brown crochet thread around the 2nd border and in the corners of the quilt. |
|
| Gold metallic thread and seed beeds were used to make the couch stitches stand out. |
|
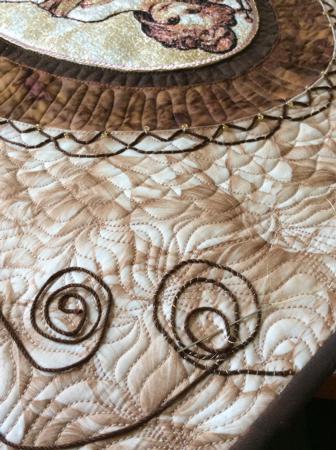
| Here is the couching in the corners of the quilt. |
|
|
|
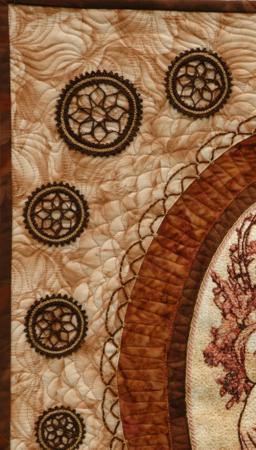
| As a final touch, we stitched out the FSL Battenberg Wheel of Fortune Earrings and top-stitched them onto the quilt. This actually looked better than trying to embroider the pattern directly onto the quilt. |
|
Your quilt is ready. Enjoy!
|
|
Enjoy!
|
|
Happy Stitching!
|
|
Back to The Seasons: Spring by Alphonse Mucha
|
Back to the Project Page
|