Mobile Menu IconMenu
Advanced Embroidery Designs -- Online Center for Machine Embroidery Designs
Earth Day Sale! 40% off Floral, Landscapes, Redwork Flowers and Seasons!

Quilted Place Mats with Spring Basket Embroidery

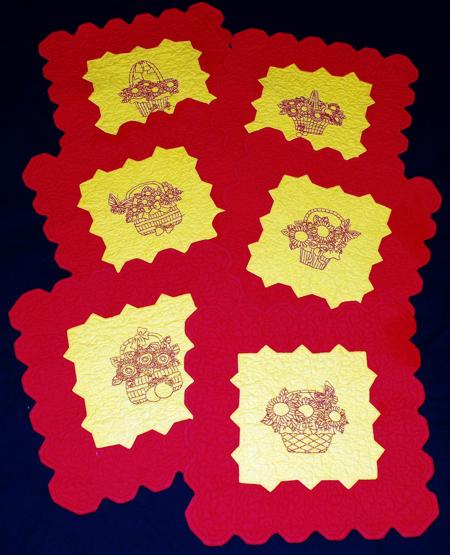
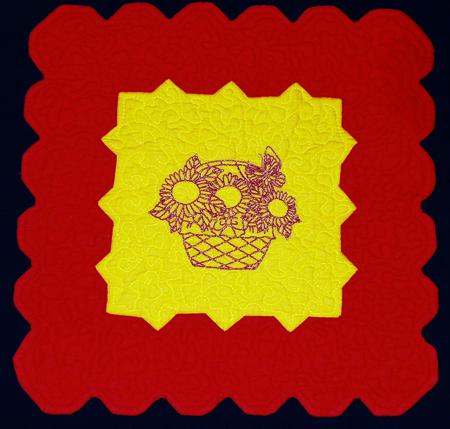
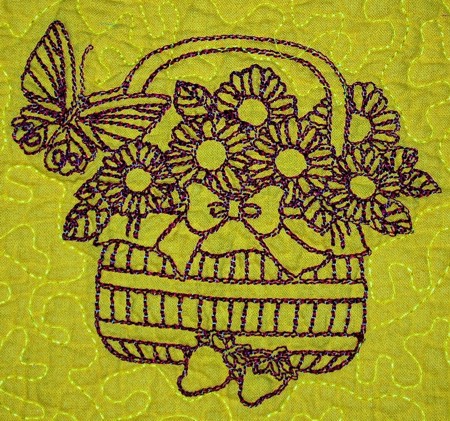
These easy-to-make place mats feature the patterns from the One-Color Spring Baskets Set for the large (5" x 7") hoop.

The finished size of each mat is about 15 1/2" (40 cm) square.

Quilted Place Mats with Spring Basket Embroidery image 1

You will need:

  • embroidery thread (either polyester or rayon)
  • medium- to light-weight iron-on stabilizer or interfacing,
  • fabric for the central embroidered part,
  • fabric for the border and back of the mat,
  • batting,
  • graphic pencil,
  • scissors and
  • fabric glue.

Sewing the Table Mat

Step One: Although it's not too difficult to make the template from scratch, using our ready-made one is much easier! Download the file with the template. To open and print the template, which is a PDF file, you will need Adobe Reader or a similar program. The program is free to download and install.

Template Download (PDF file)

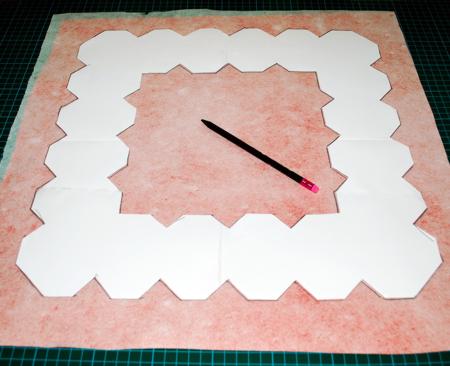
Step Two: Print out the template.

Step Three: Adhere the fabric for the top to the iron-on cut-away stabilizer or interfacing.

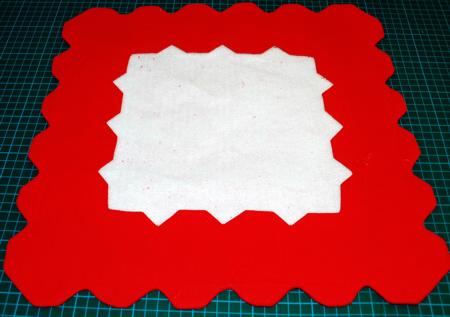
Lay the piece out with the stabilizer facing up. Position your template over the stabilizer and trace the template with a pencil.

Quilted Place Mats with Spring Basket Embroidery image 2

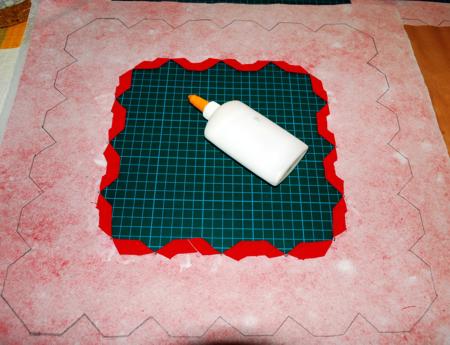
Step Four: With a pair of sharp scissors, cut out the central part 1/2" from the inner line.

Cut notches into the seam allowance from the edge to the inner line.

Quilted Place Mats with Spring Basket Embroidery image 3

Step Five: Fold the notched fabric back, press. Using fabric glue, adhere the notches to the stabilizer. Leave to dry.

Quilted Place Mats with Spring Basket Embroidery image 4

Step Six: Position the batting on the table and cover with the fabric for the backing, face up. Cover with the working piece, face down.
Pin all the layers together.

Quilted Place Mats with Spring Basket Embroidery image 5

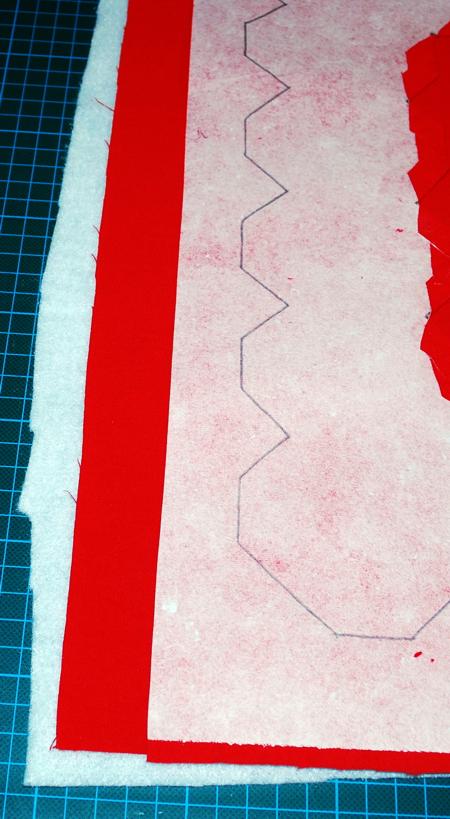
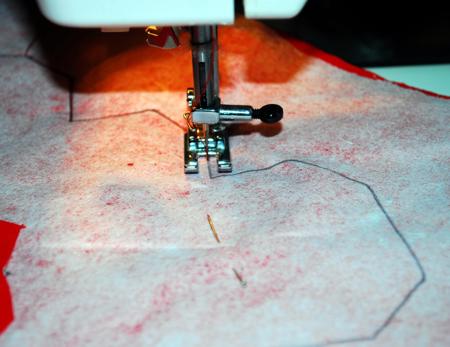
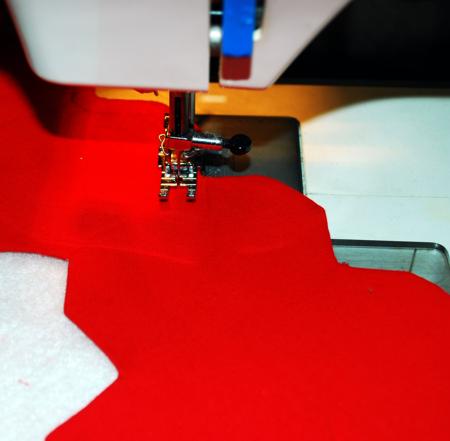
Step Seven: On your sewing machine, topstitch along the outer line.

Quilted Place Mats with Spring Basket Embroidery image 6

Step Eight: Cut away excess fabric and batting along the outer line leaving about 1/4" of seam allowance.

Quilted Place Mats with Spring Basket Embroidery image 7

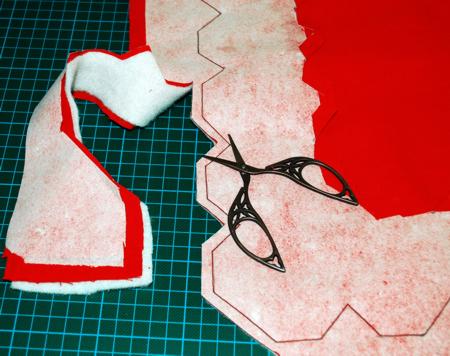
Then cut away the batting under the seam allowance close to the stitches.

Quilted Place Mats with Spring Basket Embroidery image 8

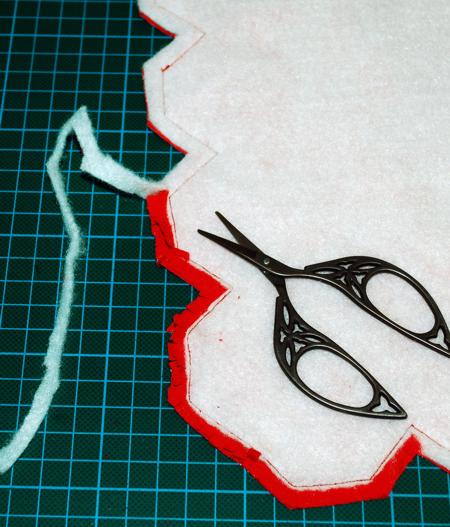
Cut notches in the seam allowance.

Step Nine: Turn the working piece right side out and lay flat.

Quilted Place Mats with Spring Basket Embroidery image 9

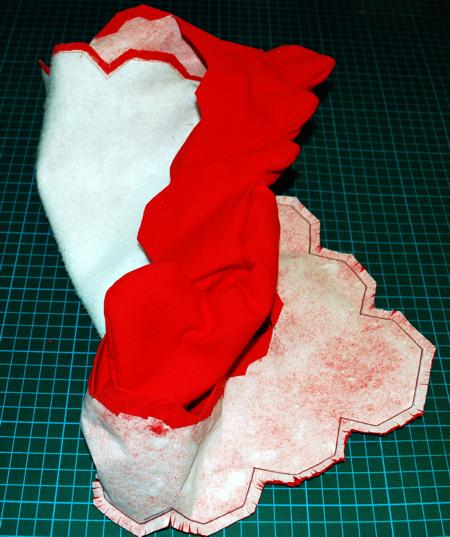
Take your time to straighten all of the angles and corners. Press the seams, if needed.

Quilted Place Mats with Spring Basket Embroidery image 10

Step Ten: Top-stitch 1/4" (6 mm) from the outer edge.
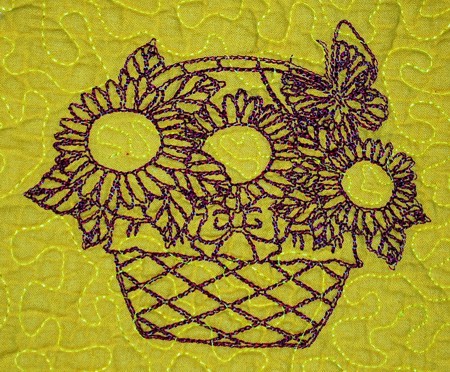
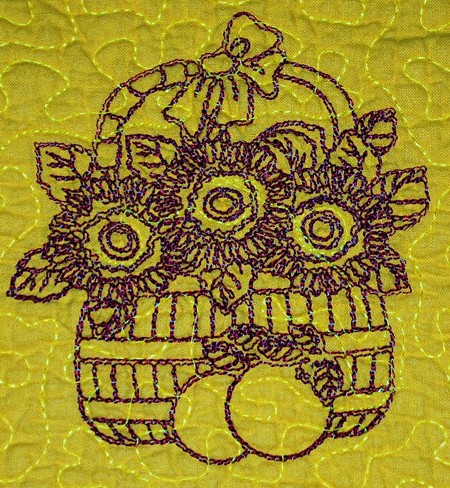
Quilted Place Mats with Spring Basket Embroidery image 11

Embroidery:

Step Eleven: On the fabric for the central part, make the embroidery.

Step Twelve: Trim the stitch-out to a 11" x 11" square.

Quilted Place Mats with Spring Basket Embroidery image 12

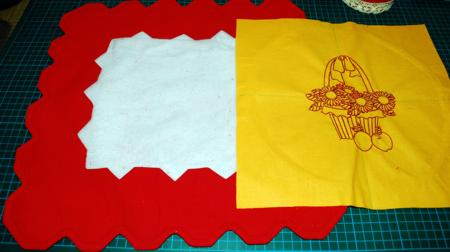
Step Thirteen: Insert the square with the stitch-out into the "frame". Straighten all the angles and corners.

Quilted Place Mats with Spring Basket Embroidery image 13

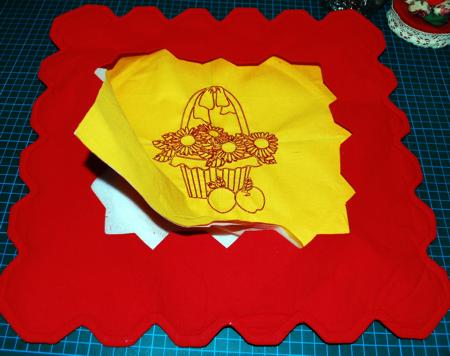
Step Fourteen: Pin all layers together. On your sewing machine, topstitch along the inner line of the frame 1/8" from the edge.

Quilted Place Mats with Spring Basket Embroidery image 14

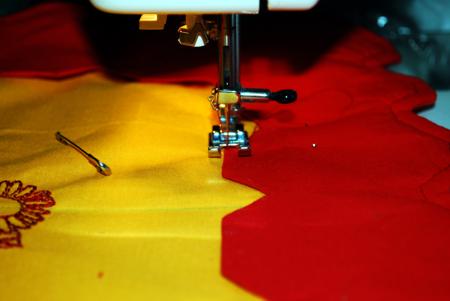
Then quilt around the embroidery and all over the piece.

That's it! The plac e mat is finished!

Quilted Place Mats with Spring Basket Embroidery image 15

Enjoy!

Happy Stitching!

Quilted Place Mats with Spring Basket Embroidery image 16

Quilted Place Mats with Spring Basket Embroidery image 17

Quilted Place Mats with Spring Basket Embroidery image 18

Back to Project Page

Back to One-Color Spring Baskets Set


Mailing List
Enter your e-mail for news, discounts and exclusive special offers.


Find us on Twitter

Special Offers
Bonus design on all orders over $50
Ivy Vine Border Set

Shop Now!

Announcement
Best Project Contest
The results are in!
Featured Project
Check out our latest project Birds and Blooms Quilted Tablerunner
Tutorials
Never heard of photo stitch? - Check out our What is Photo Stitch? page
Most Popular Designs
|| Home || Shop || Free Designs || New Designs ||
|| Projects || Tutorials || Links || About Us || Contact Us ||
|| Store Policy || Licensing || Accessibility ||

Social Media:

Copyright © Advanced Embroidery Designs. All Rights Reserved.