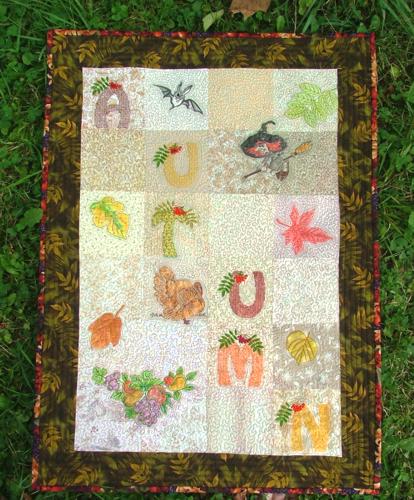
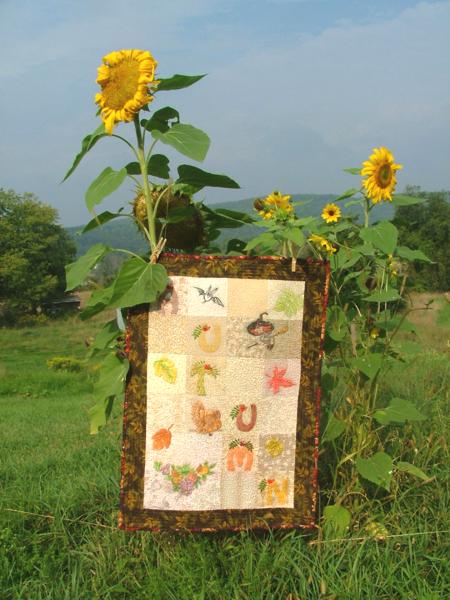
The finished size of this small quilt is about 23 1/2" x 32 1/2". We used different redwork designs, which we later colored with fabric markers.
|
Click here to enlarge |
All measurements are based on 40" fabric and 1/4" seam allowance.
For the background, you will need twenty four 5" squares of light cream and beige shades (use all the scraps you have!). For the borders and binding, you'll need 1/2 yard of "autumn-themed" fabric. We used fabric featuring leaves on a dark background. You will also need fabric for the backing and a 25" x 35" piece of batting. |
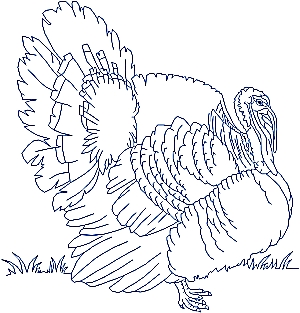
| For embroidery you will need embroidery threads, stabilizer and the designs from Rowan Alphabet, Halloween Redwork Set, Redwork Fruit Set and Leaves Bluework Set. The design of the Turkey is free and can be downloaded here. |
|
|
|
|
Assembly:
|
| Step One: Lay the 5" squares in a 4 x 6 grid. You should get 6 rows of 4 squares each. Join the squares in rows first, then join the rows. |
| Step Two: Out of fabric for the borders, cut two strips measuring 3" x 27 1/2" and two strips measuring 3" x 23 1/2". |
| Step Three: Attach the the longer strips to the right and left of the central piece. Attach the shorter strips to the upper and lower edges of the cental piece. |
|
Embroidery:
|
| Now the top is ready for embroidery. The paper print-outs of the designs will help you arrange them on the quilt top. Embroider the designs one by one. Use your favorite stabilizer. |
|
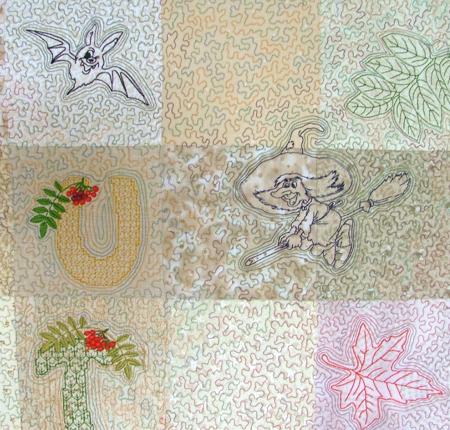
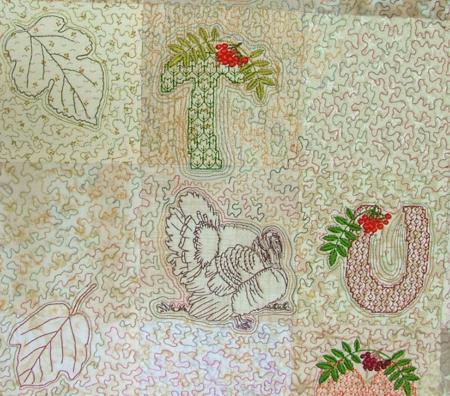
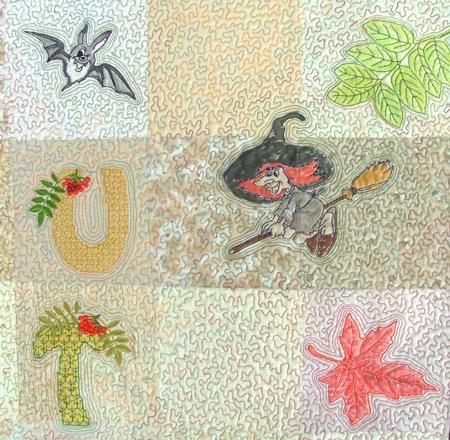
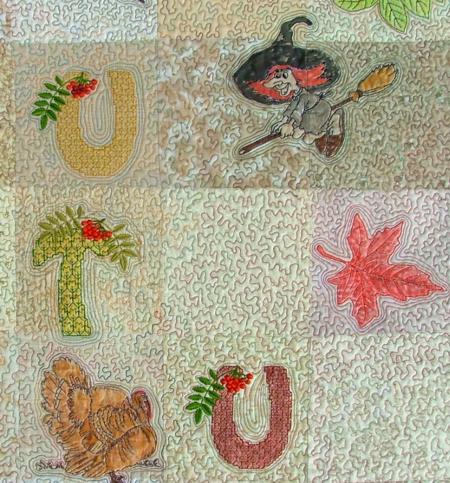
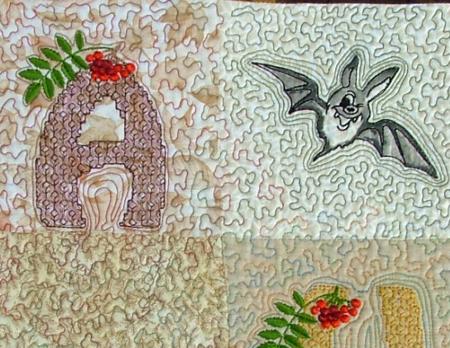
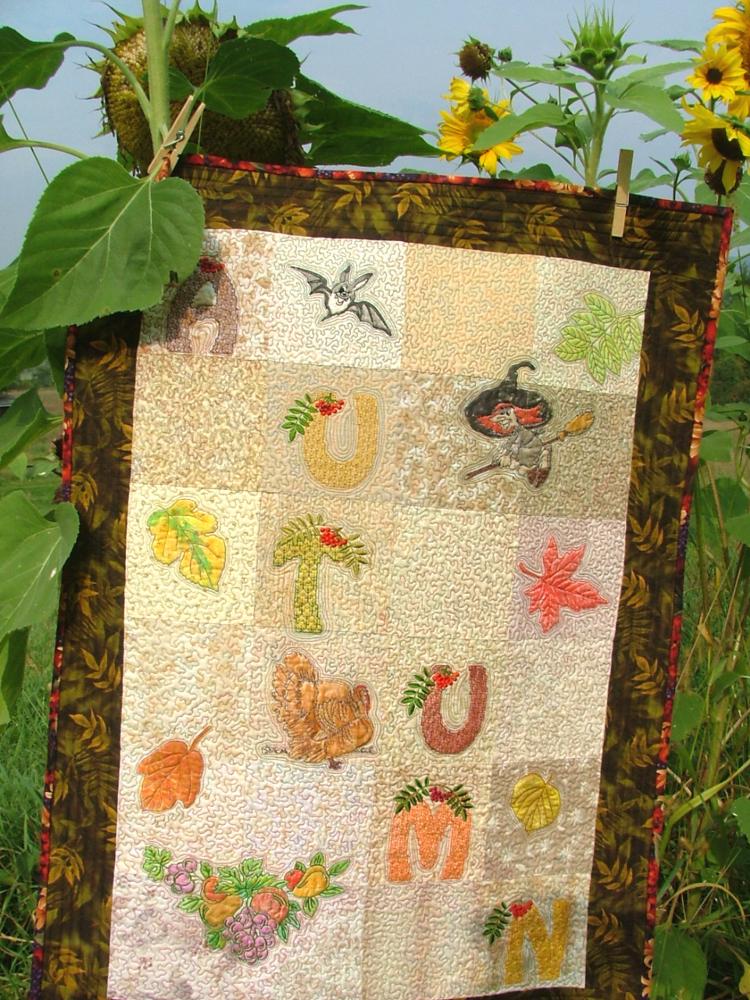
| On this close-up you can see the designs from the Rowan Alphabet, Halloween Redwork Set and Leaves Bluework Set. |
|
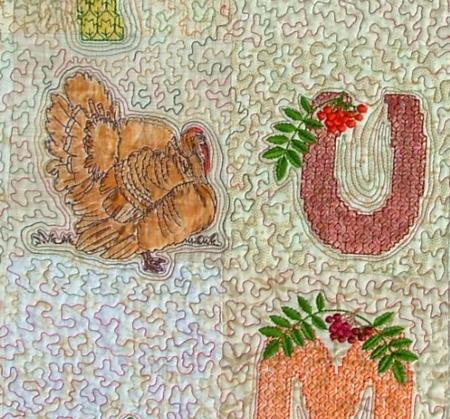
| On this close-up, you can see the free design of the turkey, which you can download on this page (see download links above). |
| After the embroidery is finished, place the backing on a flat surface (table) face down. Spread the batting over it and spread your working piece over the batting. Pin all layers together with 1" pins and quilt. |
| Press the quilt with heavy steam. Square the quilt and finish the edges with binding. |
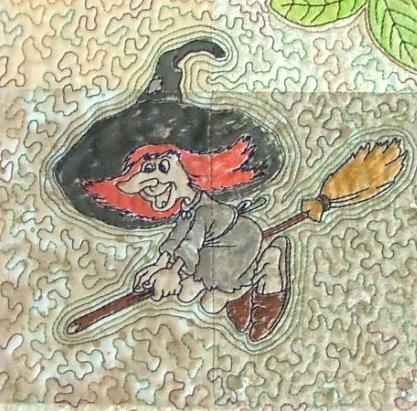
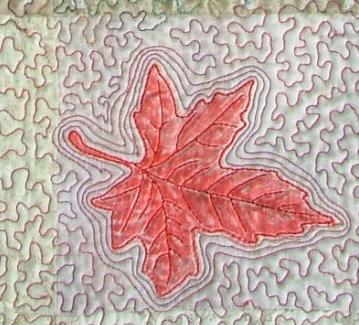
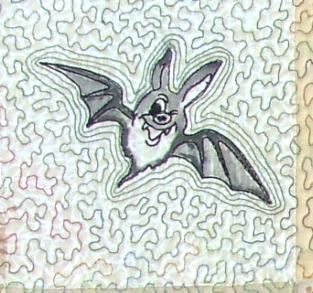
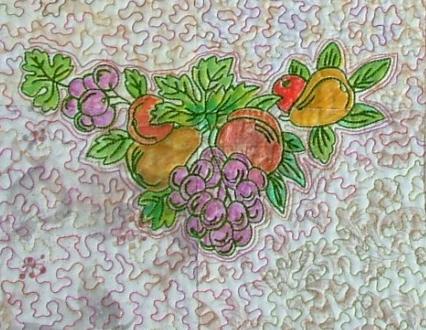
| Now the quilt is ready for coloring. On these photos you can see close-ups of the colored embroidery. |
|
|
|
|
|
| Redwork Fruit Set |
|
|
|
|
| We hope that you liked our idea and will come up with many of your own. |
|
Back to the Projects Page
|


