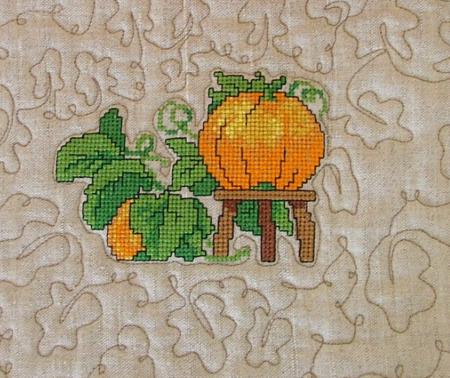
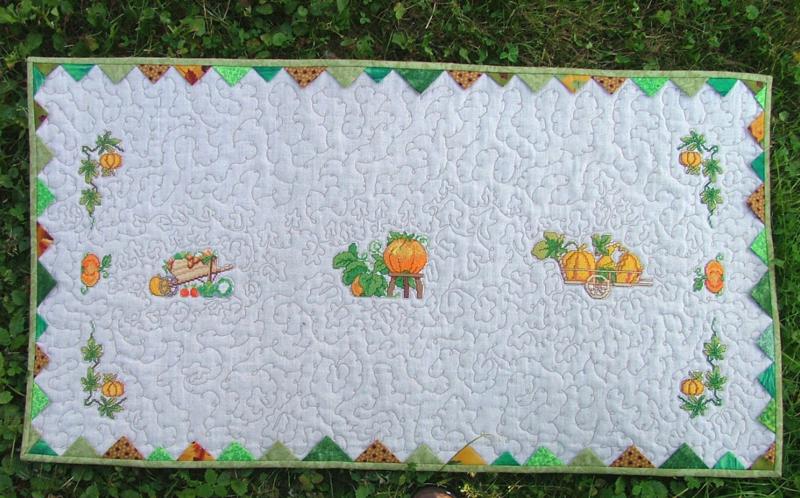
For this wholecloth quilted tablerunner we used designs from the Pumpkin Set and Thanksgiving Pumpkin Set. These designs are in the cross-stitch technique which gives this table runner a rustic, old-fashioned look. The finished size of the table runner is 19" x 36".
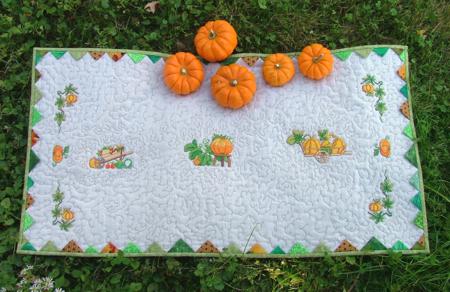
You will need a 20"-22" x 37"-38" piece of cotton, linen or cotton/linen blend fabic of natural color for the top. You will also need cotton fabric for backing (around 23" x 39"), a piece of batting (around 23" x 39"), scraps of cotton green, orange and brown fabrics, and fabric for binding.
Step One: On the fabric for the top, mark the position of each design. Embroider the designs one by one. Use medium-weight iron-on cut-away stabilizer of any brand.
Cut away the excess stabilizer and press the working piece after the embroidery is finished.
Step Two: Make a quilting sandwich. Place the backing face down, cover it with batting and place the embroidered piece on top, face up. Pin all three layers.
Step Three: Quilt as you like. This quilt offers many possibilities. We quilted in a free-motion style.
Step Four: Press with heavy steam from the back of the work. Square the piece.
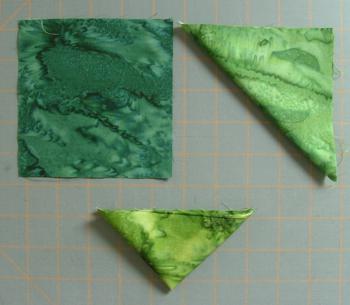
Step Five: Out of scraps of green, orange and brown fabrics cut squares measuring 2" x 2", 2 1/2" x 2 1/2" and 3" x 3".
Fold the squares in half along the diagonal and press. You'll get triangles. Fold them in half again and press. You'll get triangles of different sizes with finished edges. The only raw edge will remain at the bottom of the triangles.
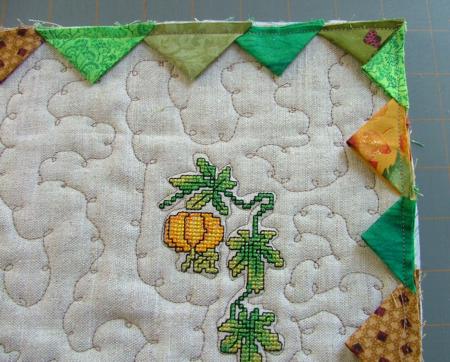
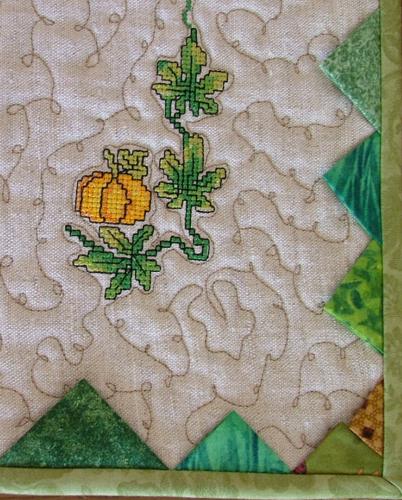
Step Six: Lay out the triangles along the table runner's edges. Align the raw edges of the triangles with the raw edges of the table runner. Pin them in place. Then attach with a running stitch 1/4" from the edge.
Step Seven: Finish the raw edges of the table runner with the binding. Press.
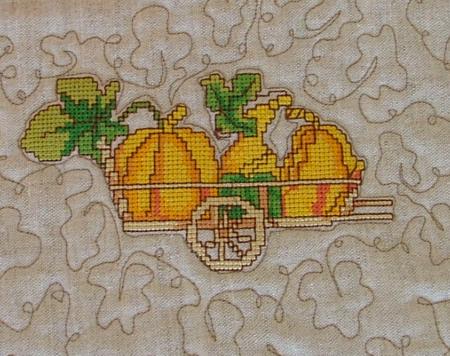
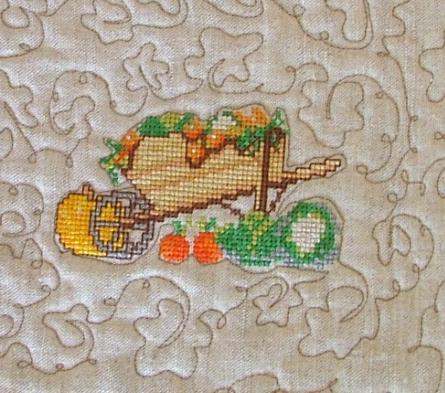
Here are some more close-ups of the embroidery.
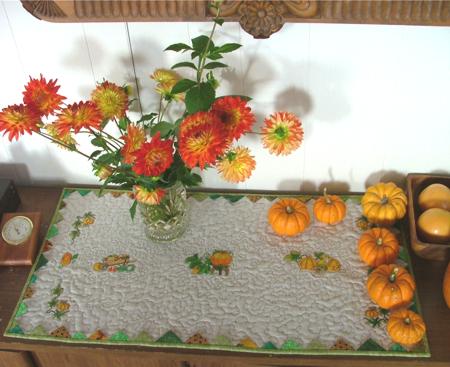
We hope that you liked our idea and will come up with many of your own.


