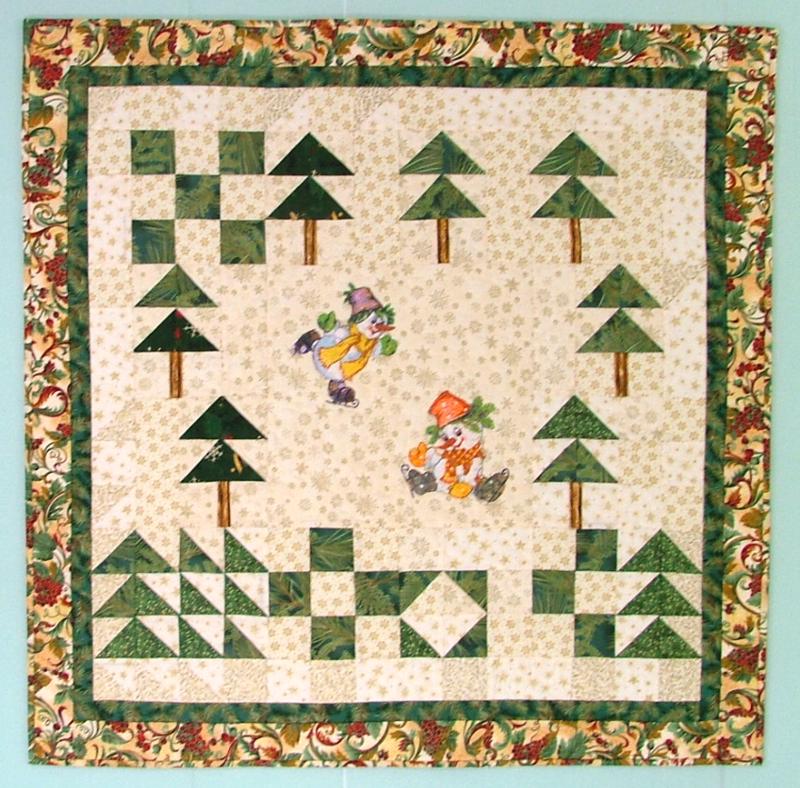
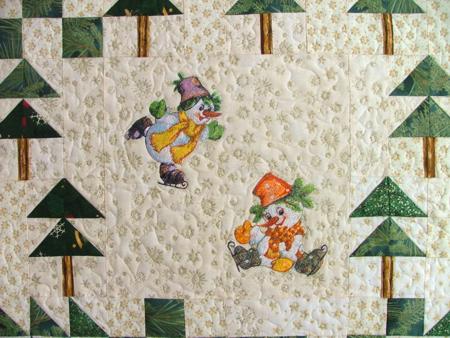
This small wall quilt will add charm to your home decor during the winter season. Its finished size of is 34"x 34". It features the embroidery designs of 2 skating snowmen: Skating Snowman I and Skating Snowman II.
The quilt is pieced of scraps of off-white fabrics with golden pattern, and scraps of green fabrics. |
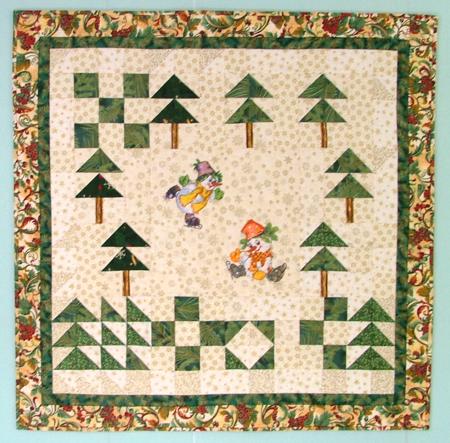
Click to enlarge
|
| You will need a lot of scraps of white, off-white and cream fabrics with golden patterns, green fabrics, and a little bit of brown fabric for the tree trunks. All scraps should be not less than 2 3/4" x 2 3/4". For the central part of the quilt you will need an off-white square measuring 12 1/2" x 12 1/2".
For the inner border you will need 6"-wide strips (the length of the fabric's width).
For the outer border, you will need about 1/4 yard of patterned fabric.
You will also need a piece of batting, fabric for the backing and binding.
|
Cutting:
White or off-white with gold fabrics:
Cut out 102 squares measuring 2 1/2" x 2 1/2" and 23 squares measuring 2 3/4" x 2 3/4".
Out of green fabrics, cut 12 squares measuring 2 1/2" x 2 1/2" and 23 squares measuring 2 3/4".
Out of brown fabric cut strips measuring 2 1/2"x 1" for tree trunks.
For the first border, out of green fabric, cut 2 strips measuring 1 1/2" x 28 1/2"and 2 strips measuring 1 1/2" x 30 1/2".
For the second border, out of patterned fabric, cut 2 strips measuring 2 1/4" x 30 1/2" and 2 strips measuring 2 1/4" x 34 1/2". |
| Sewing |
| Step One: Place white and green 2 3/4" squares together face to face. You'll get 23 pairs. With a lead mechanical pencil, draw a diagonal on the lighter square. Stitch 1/4" from the pencil line on both sides. |
|
| Step Two: Cut along the line. Open the new square. Press the seam towards the green. Trim the ears. Repeat for all the pairs. You should get 46 two-color squares, measuring 2 1/2" x 2 1/2". We'll use them to make trees. |
|
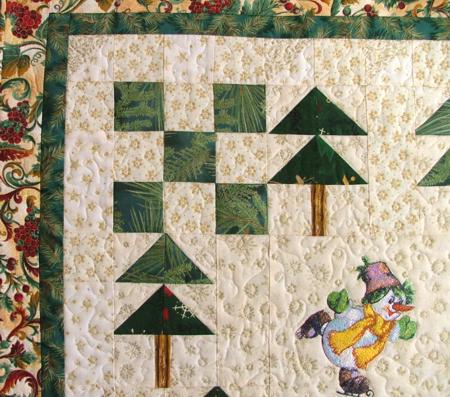
Step Three: To make trees, join the green-and-white squares as shown on the diagram below.
To make the tree trunk, take 2 white 2 1/2" x 2 1/2" squares and a brown strip. Attach the brown strip to both squares. Attach this strip to the strip with tree branches, so that the "trunk" stays in the center. Trim the edges of the white squares.
Assemble 7 thees with trunks and 2 trees without trunks. |
|
|
| Step Four: Out of 2 1/2" x 2 1/2" white squares with gold patterns and four of the trees, assemble the blocks as shown on the diagram below. |
|
| Step Five: Join the blocks into pairs. Attach to the left and to the right sides of the central square. |
|
| Step Six: Assemble the upper row of the blocks according to the diagram below. |
|
| Step Seven: Assemble the lower row of the blocks according to the diagram below. |
|
| Step Eight: Join all rows. |
|
| Step Nine: Add the first border: sew the green 28 1/2" long strips to the left and to the right. Sew the green 30 1/2" long strips to the top and the bottom. |
|
| Step Ten: Add the outer borders. |
|
| Step Eleven: Embroider the designs Skating Snowman I and Skating Snowman II. in the central part of the quilt top. |
|
| After the embroidery is finished, press the top, add the batting and backing, pin all three layers together and start quilting. Quilt with matching or gold metallic threads starting from the center. We free-motioned the quilt. |
|
| Press the quilt with steam. Square. Finish the raw edges. For the binding, we used the 2 1/2" wide strips of the same fabrics with which we made the outer border. |

|
| We hope that you liked our idea and will come up with many of your own. |
|
Back to the Projects Page
|