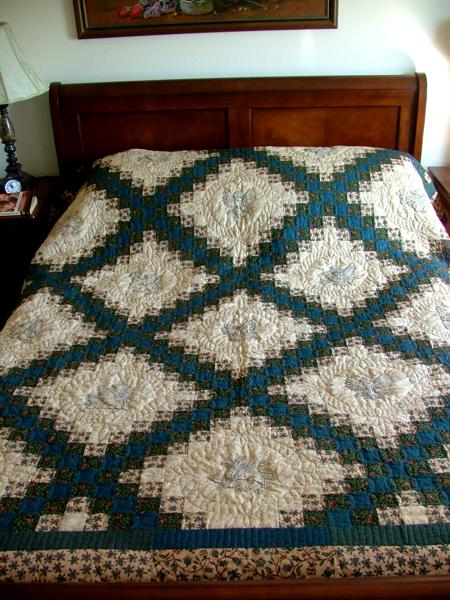
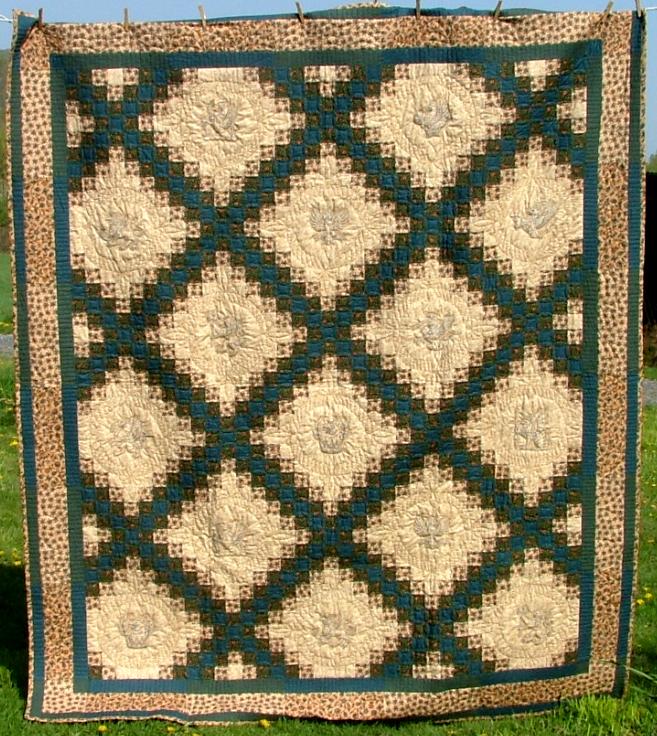
Traditional Irish chain patterns are everlasting favorites. You can give them a contemporary twist by adding some machine embroidery. The large plain fields of the blocks are just asking for something to be stitched there.
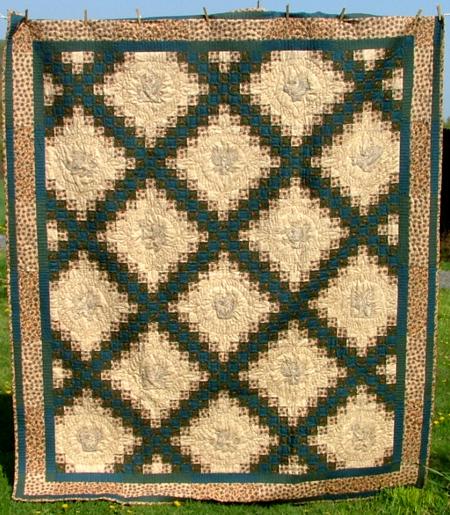
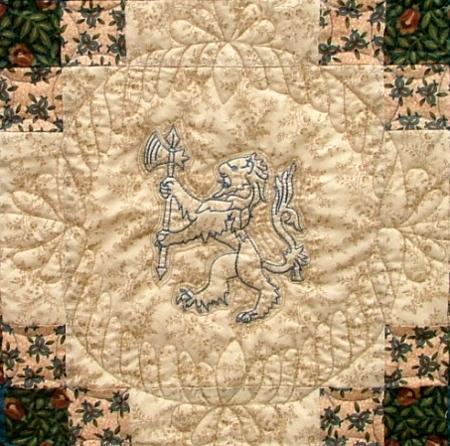
Our triple Irish chain quilt is 86" x 100". We made this quilt as a gift for a young man and that's why we chose to use darker colors, to give it a more masculine look. To embellish the squares, we used the redwork designs from the Griffin Redwork Set.
You can find detailed instructions on Irish Chain patterns in a variety of sources, including books and magazines. You may even try looking online. We highly recommend the book
For a quilt of this size you'll need 4 different cotton fabrics of the following yardage
For the blocks we used:
Dark blue fabric: 1 1/2 yards;
Patterned green fabric: 2 1/4 yards;
Patterned beige fabric: 2 yards; (we used a fabric with a dark blue and green pattern that matched our other colors)
Background fabric: 2 1/2 yards (we used light beige fabric with a very pale pattern)
There are also 3 borders in our quilt, which we describe a little further on.
The finished size of the blocks is 14" on a side (14 1/2" unfinished).
The Irish Chain pattern consists of 2 blocks, A and B, which alternate in rows.
You will need 15 A-blocks and 15 B-blocks.
Make the blocks according to the diagram below. First assemble the rows, then join the rows.
This is our block A:
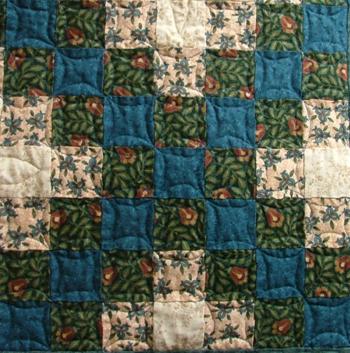
Stitch a strip of the beige fabric to the top and bottom of each of the 6 1/2" strips of the background fabric. Set two of the 4 resultant strips aside. Subcut the other two of these strips into 30 strips 10 1/2" tall and 2 1/2" wide.
To the two strips you set aside, attach a strip of the patterned green fabric to the top and bottom. Subcut these two strips into 30 strips 14 1/2" tall by 2 1/2" wide.
Assemble block B according to the diagram below.
This is our block B:
Assemble the top according to the diagram below:
Our quilt has three borders with boxed corners. The first and the third borders are 2" wide (2 1/2" unfinished) and made out of the dark blue fabric. The second border is 4" wide (4 1/2" unfinished) and is made out of beige fabric with a blue pattern.
If you made the quilt according to our measurents, it should measure 70 1/2" by 84 1/2". However, you should measure through the center of the quilt to exactly determine its length and width. Cut the borders in accordance with your measurements. In our case, the borders were:
1st border: 2 strips measuring 84 1/2" x 2 1/2" and
2 strips measuring 74 1/2" x 2 1/2"
2nd border: 2 strips measuring 88 1/2" x 4 1/2" and
2 strips measuring 82 1/2" x 4 1/2"
3rd border: 2 strips measuring 96 1/2" x 4 1/2" and
2 strips measuring 86 1/2" x 4 1/2"
Stitch the borders to the quilt.
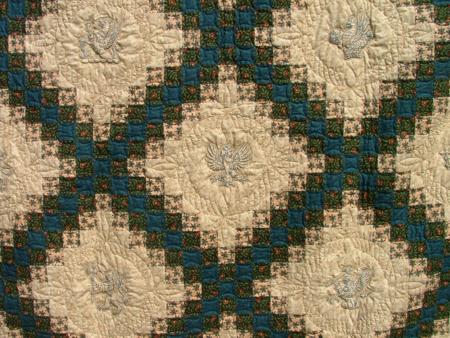
Now the top is ready for embroidery. We chose redwork designs from the Griffin Redwork Set. For embroidery on quilts, we like to use low-loft DreamPoly batting instead of stabilizer. After each design is embroidered, we cut away the excess stabilizer outside the embroidery as close to the stitches as possible. This technique will make the embroidery appear more raised and you will get trapunto-like results.
Now place the backing on a flat surface (table) face down. Cover with batting. Spread the top over this.
Pin all three layers together with 1" pins and start quilting.
We quilted our workpiece in a free-motion style on a home sewing machine. It's usually recommended to quilt from the center but we quilted from the bottom up. First we quilted the blocks, row by row. After this, we quilted the borders.
After the quilting is finished, press the work with heavy steam and square the work. All corners should be 90 degrees and opposite sides should be of the same length.
Finish the raw edges with binding, using your favourite method.
We hope that you liked our idea and will come up with many of your own.


