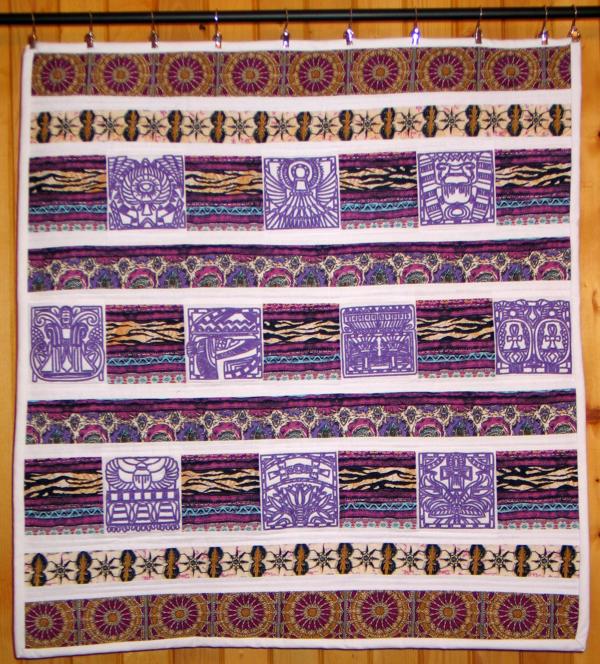
This lovely quilted wall hanging takes its inspiration from Ancient Egyptian murals. The interesting idea and brilliant color scheme are great if you would like to try something new. The finished quilt makes an excellent gift.
The embroidery designs used are from the Ancient Egypt Sets I and II for Small
(4" x 4") hoop.

The finished size of the wall hanging is about 28" x 33".
You will need about 3/4 yard of light-colored solid fabric for the embroidered squares, strips and binding.
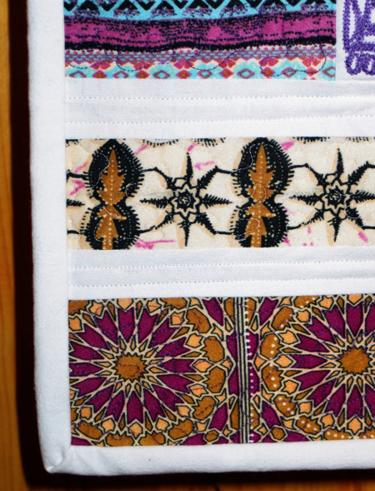
The areas between the embroidered blocks are pieced from multi-colored patterned strips in gold, violet, purple and blue. All measurements are based on 42" wide fabric. For the top- and bottom-most strips, you'll need about 6" of patterened fabric, for the next two strips up and down, you'll need about 5" of patterned fabric, and for the two strips that go between the embroidered rows, you'll need about 6" of patterned fabric. For the squares that go between the embroidered blocks, you'll need about 9" of patterned fabric.
We actually cut all the strips out of one piece of fabric that combined a number of different patterns into stripes of varying widths.
You'll also need a piece of batting and backing.
All measurements are based on 42" wide fabric and 1/4" seam allowance.
Out of light-colored/white fabric cut 8 strips measuring 1 1/2" x 28" and one strip measuring 4 1/2" x 42". For the binding, cut 3 strips 2" wide and the length of the width of the fabric. Subcut the 4 1/2" x 42" strips into 10 squares measuring 4 1/2" x 4 1/2".
Out of patterned fabrics, cut
2 strips measuring 3" x 28";
2 strips measuring 2 1/2" x 28";
2 strips measring 3" x 28";
2 strips measuring 4 1/2" x 42". Subcut these strips into 11 squares measuring 4 1/2" x 4 1/2".
Sew the white and patterned 4 1/2" squares into three strips, with 7 squares per row.
The first and the third strips should begin and end with patterned squares. The second strip should begin and end with the white square. Press seams towards the dark strips.
Assemble the top as shown on the diagram below:
Press seams towards dark fabrics.
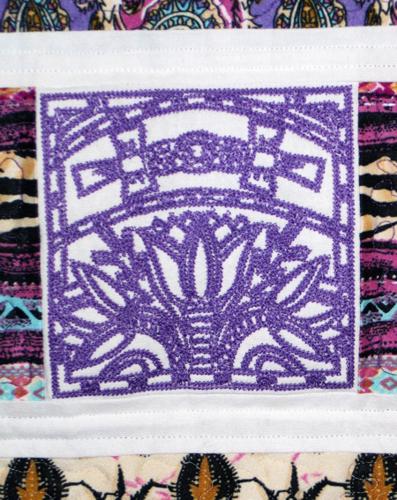
The designs from the Egypt Set 1 and 2 are one-color designs. Select embroidery thread to match the colors of your fabrics.
Stabilize the white rectangle with iron-on cut-away stabilizer. Make the embroidery. Cut away the excess stabilizer.
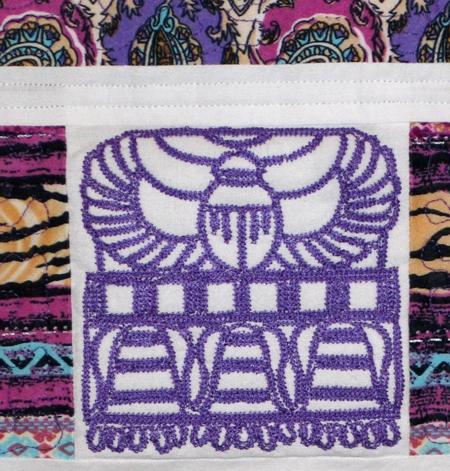
We used purple threads, to fit with our general color scheme, but you may use any color you like.
Now place the backing on a flat surface (table) face down. Cover with batting. Spread your working piece over it. Pin all three layers together with 1" pins and start quilting. We quilted in the ditch and with straight parallel lines all over the quilt.
After the quilting is finished, press the work with heavy steam and square the work -- all corners should be 90 degrees and opposite sides should be of the same length.
Finish the raw edges with the binding.
The quilt is ready. Enjoy!


