This table topper uses all the classic Christmas colors - green, red and white - and features the Christmas Bouquet in the center. It's a fun and straightforward quilt pattern that you will enjoy working on whether you are a beginner or an experienced quilter.
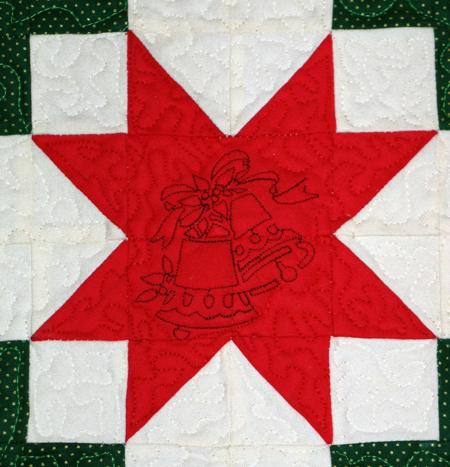
The centers of the stars were quilted with the designs from the Christmas Quilting Set.
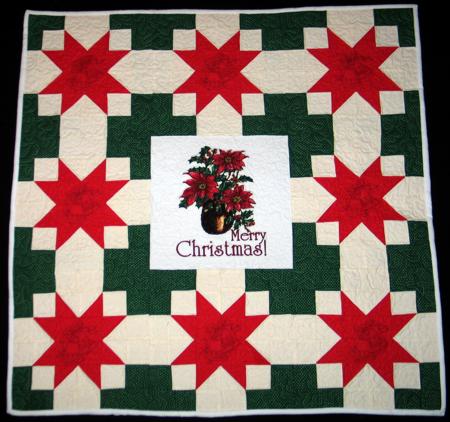
The finished size of the table topper is about 36" x 36".
You will need 3 fabrics: white (about 1 yard), red (about 1/4 yard), and green (about 1/2 yard). You will also need backing and batting, each piece measuring about 40" x 40".
Out of white fabric, cut 1 square measuring 12 1/2" x 12 1/2",
6 strips 2 1/2" wide and the length of the width of the fabric, subcut them into 96 squares measuring 2 1/2" x 2 1/2",
4 strips 2 7/8" wide and the length of the width of the fabric, subcut into 48 squares measuring 2 7/8" x 2 7/8".
For the binding, cut 4 strips 2 1/2" wide and the length of the width of the fabric.
Out of green fabric cut 6 strips 2 1/2" wide and the length of the width of the fabric. Subcut them into 96 squares measuring 2 1/2" x 2 1/2".
Out of red fabric, cut 1 strip measuring 4 1/2" and the length of the width of the fabric, subcut into 8 squares measuring 4 1/2" x 4 1/2".
4 strips 2 7/8" wide and the length of the width of the fabric, subcut into 48 squares measuring 2 7/8" x 2 7/8".
Place white and red 2 7/8" squares together face to face. You'll get 48 pairs. With a pencil, draw a diagonal on the lighter square. Stitch 1/4" from the pencil line on both sides.
Cut along the line. Open the new squares. Press the seam towards the red. Trim the ears. Repeat for all the pairs. You should get 96 two-color squares, measuring 2 1/2" x 2 1/2".
Stitch them together in pairs as shown. You'll get 32 "ray" units.

Using white and green 2 1/2 x 2 1/2 squares, assemble 16 strips as shown: 2 green squares - 2 white squares - 2 green squares.

Usings white and green 2 1/2" x 2 1/2" squares and ray units, assemble 16 strips as shown: green - white - ray unit - white - green.

Stitch the remaining 32 white squares in 16 pairs.

Using these white pairs, ray units and red 4 1/2" x 4 1/2" squares, assemble the strips as shown.

Now using all the strips you have, assemble 8 blocks as shown:
Stitch 2 rows (the first and the third) out of three blocks.
Stitch the second row out of 2 blocks and a white 12 1/2" x 12 1/2" square in the middle.
Stitch all three rows together.
Stabilize the central part with iron-on cut-away stabilizer. Make the embroidery. Cut away the excess stabilizer.
You can also use polyester craft felt instead of the stabilizer. In this case we recommend to baste the quilt top to the felt in the ditch along the colored borders. After the embroidery is finished, rip the baste and cut away the excess felt around the embroidery.
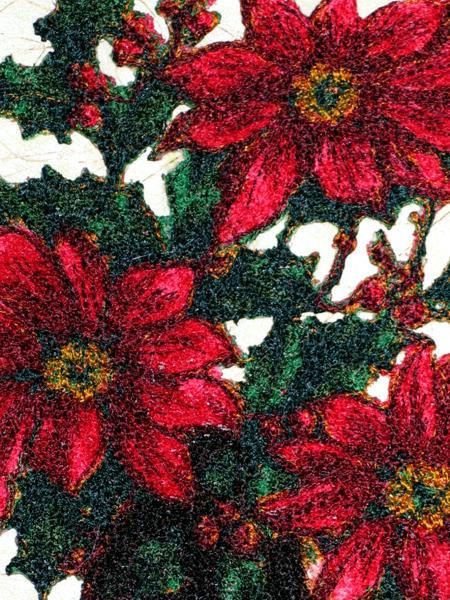
We used the Poinsettia Bouquet design for a large (5" x 7") hoop.

Now place the backing on a flat surface (table) face down. Cover with batting. Spread your working piece over it.
Pin all three layers together with 1" pins and start quilting. We quilted along the lines of the embroidery and made stippling all over the quilt.
The centers of the stars were quilted with the designs from the Christmas Quilting Set.
After the quilting is finished, press the work with heavy steam and square the work -- all corners should be 90 degrees and opposite sides should be of the same length.
Finish the raw edges with the binding.


