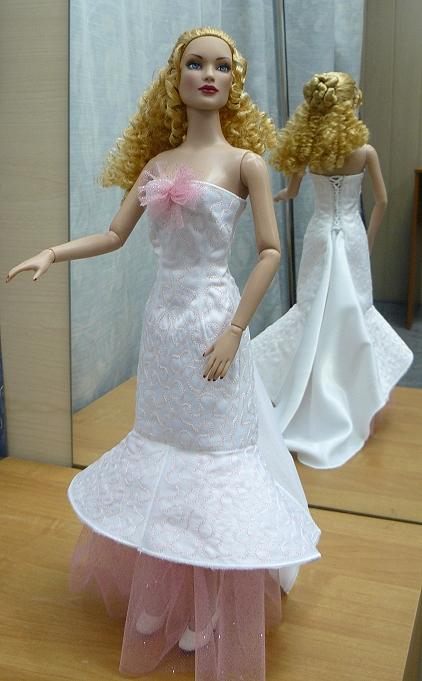
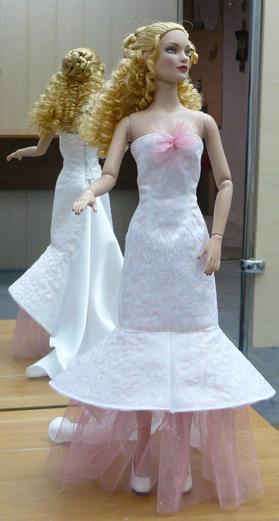
These are instructions on how to make the Ball/Wedding Dress with Train for Tonner 16-in fashion dolls.
 |
 |
You will need any light-weight fabric for the top and the lining. For the underskirt and train, you can use either the same fabric, or a decorative fabric like net, organza, etc. You will also need a narrow (1/8") satin ribbon of a matching color, a disappearing stabilizer (either water soluble or heat removable) and rayon or polyester #40 embroidery threads.
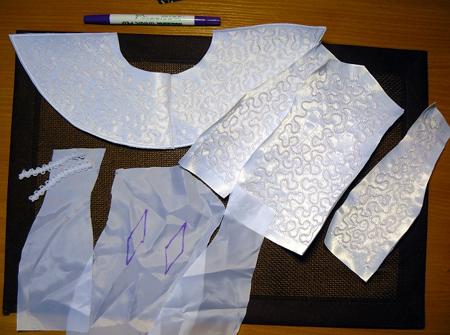
Step One: Hoop the fabric with a disappearing stabilizer and embroider each of the files "Front", "BackL", "BackR", "valance1" and "valance2" once. Remove the stabilizer.
Cut out the parts, leaving 1/4" for seam allowance.
Cut out the valance leaving 1/4" seam allowance along the running stitch. Along the satin-stitch, cut without seam allowance and as close to the stitches as possible.
Embroider the file "LoopTrim" on a disappearing stabilizer only, no fabric! Use threads either of the color of the fabric or the embroidery.
Step Two: From your embroidery software, print-out the screenshots of the files "Front", "BackL" and "BackR".
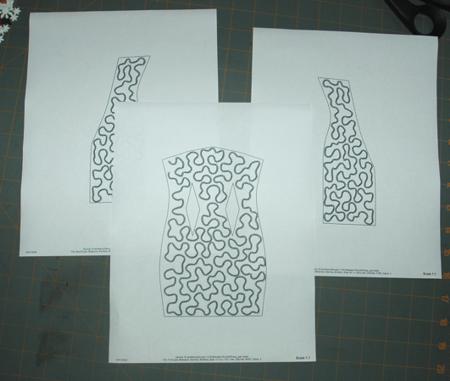
Cut the templates out.
Trace the templates onto the fabric for the lining. Use a disappearing fabric marker.
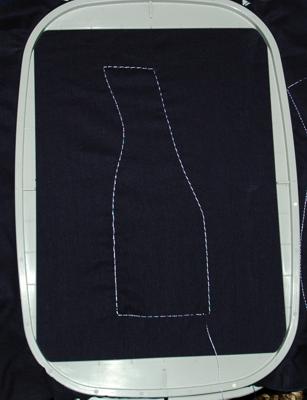
Note: If you cannot print out the templates, hoop the fabric for the lining and embroider the second color of the files.
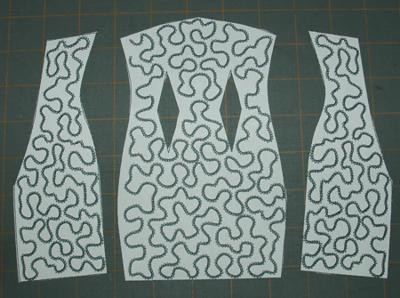
Cut out the lining leaving 1/4" seam allowance.
You will have the following parts:
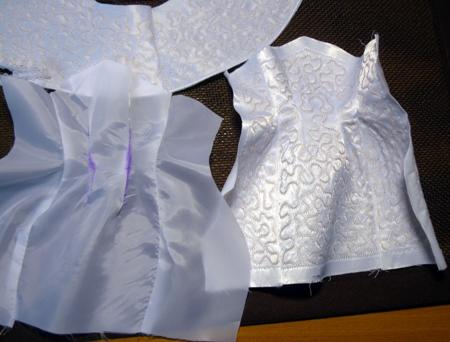
Step Three: Sew the darts on the front of the top and the lining. Press.
Sew the side seams on the top and on the lining. Press.
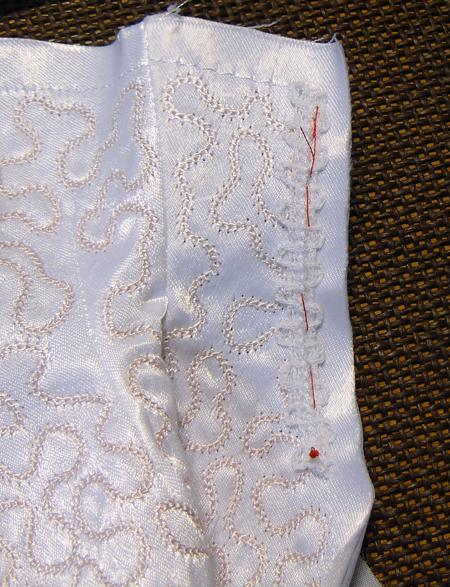
Step Four: Position the trim with the loops on the running stitches along the closure of the dress. Baste. Topstitch in place.
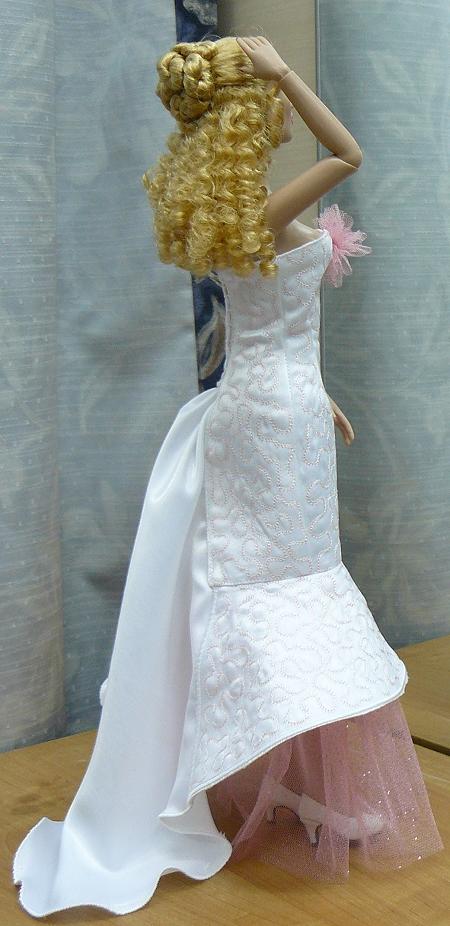
On the photo, you can see the left side with the trim attached.
Step Five: Sew the parts of the valance together, then sew the valance to the top.
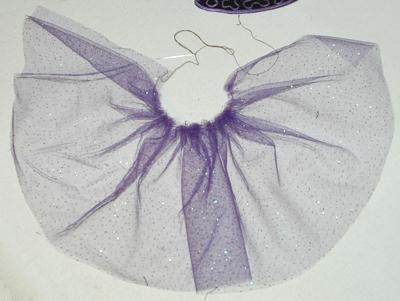
Step Six: To make an underskirt, cut a strip of net 6" x 36". Gather the ruffles. If you use a heavier fabric, the strip can be shorter.
Sew the underskirt to the lining.
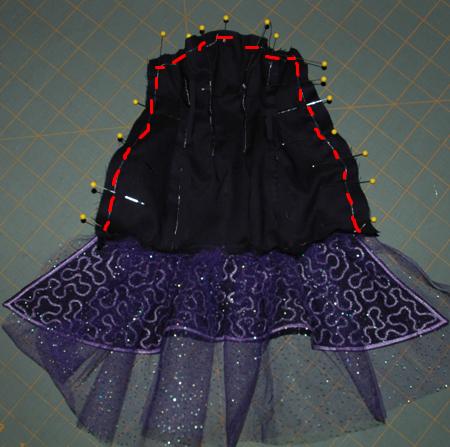
Step Seven: Position the top and the lining face to face. Align all edges and pin together. Sew together along the side and top of the dress (marked in red).
Step Eight: Turn the dress out through the opening between the skirts. Press all the seams.
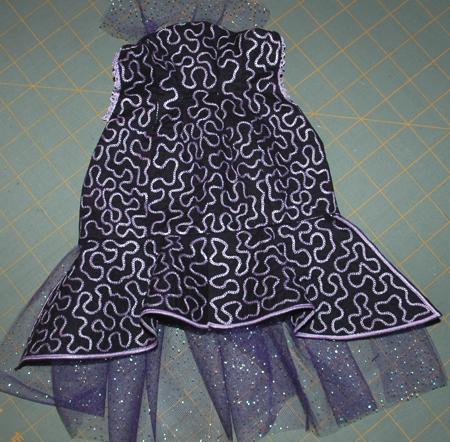
This is a close-up of the left side, with the loops for lacing, after the lining has been attached.

Step Nine: Out of fabric for the train, cut a square measuring 10" x 10".
Round one corner of the square.
The train of the white dress is made of silk, so we finished the raw edges with zigzag.
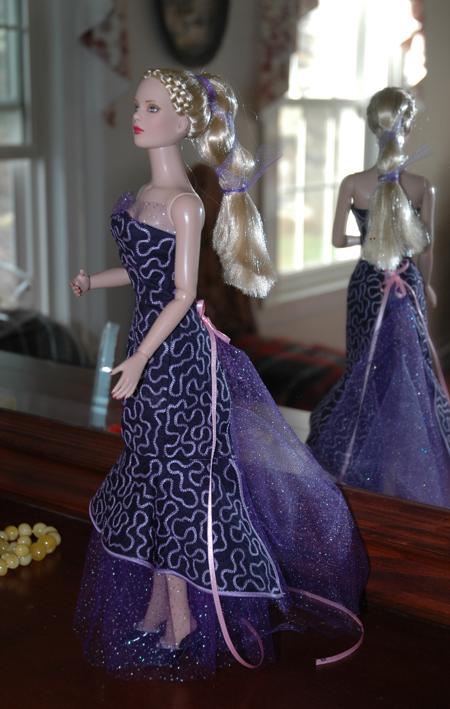
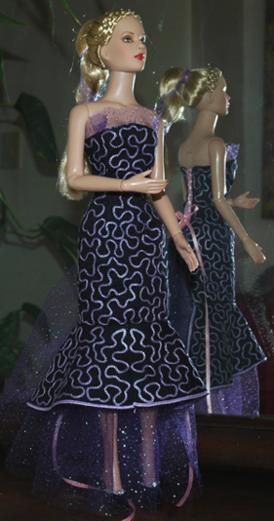
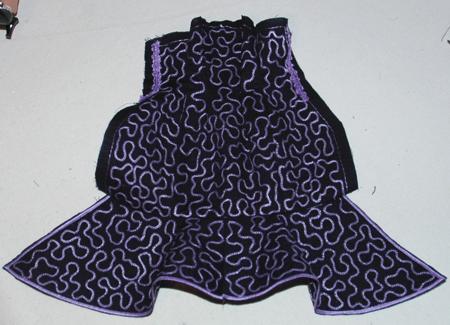
The train of the navy blue dress is made of several layers of net. We did not need to finish the edges.
Step Ten: Pin the train to the right side of the back so that the rounded corner is pointed towards the hem.
Machine stitch in place.
To attach the second side of the train, you'll have to hand-stitch it in place.

Step Eleven: Put the dress on your doll. Make 1-2 pleats on the upper corner of the train and tuck the end under the back closure. Lace the dress with a 1/8" wide satin ribbon or a piece of yarn or floss.