The FSL Battenberg Lace Summer Hat II is sold either as a set of five designs for the large (5" x 7") hoop or a set of three designs for the commercial-size hoop (not less than 8" x 12").
The parts for the commercial size hoop do not give you a hat of a larger size. The larger designs allow you to put the hat together in less steps.
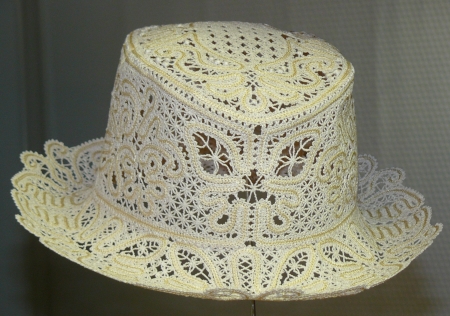
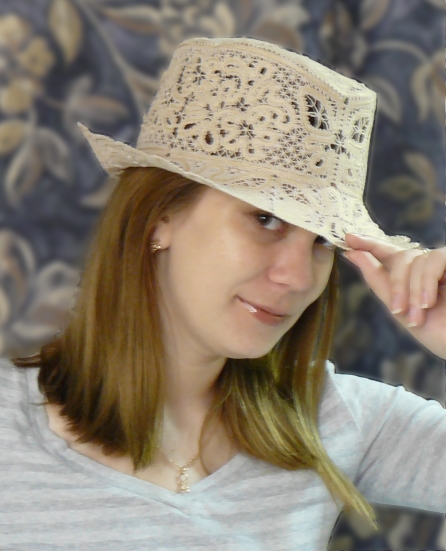
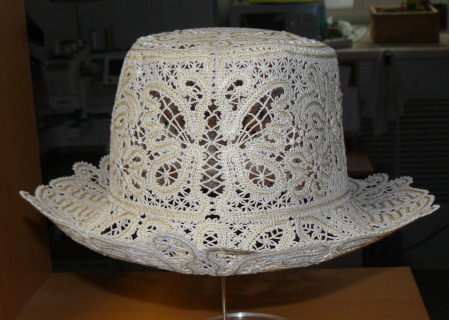
The finished size of the hat is for a lady with hat size 22"- 22 3/4" (56-58 cm).
Stabilizers: We recommend to use water-soluble mesh, such as Vilene. Vilene D0102 is a non woven dissolvable stabilizer which is imported into the US, is sold in large rolls and is sometimes repackaged under different brand names. Two of these brand names are Wash-Away and Aqua Magic.
Film-like water soluble stabilizers, such as Solvy, are not suitable for Free-Standing Lace embroidery.
Threads: For this project we recommend to use cotton thread both in the bobbin and in the needle. Cotton gives bulk to the lace and makes it look hand-made.
Embroidery polyester and rayon threads will make very fine weblike lace, which will not keep the shape of the hat and is not suitable for the project.
You can use 40-, 50- or even 60-weight cotton. If you use 40-weight cotton thread for the needle, you can use 50- or 60-weight cotton in the bobbin.
We used Signature machine quilting cotton thread both in the needle and in the bobbin, but similar threads from other companies should work just as well.
Clean your machine from lint after embroidering each part.
Needles: We used size 80/12 embroidery needles and 80/12 metallic needles. Our experience shows that cotton thread used with metallic needles gives less lint. The needles should be sharp, so it's advisable to change them after every project.
Most Importantly: ALWAYS make a test stitch-out of the design and wash away the stabilizer. This helps you to select the threads, needles, stabilizers and settings of your machine correctly. DO NOT embroider several designs in one hoop.
Check the tension! The embroidered lace parts should be of the same size as given in the description on the design page.
The detailed instructions are included with the embroidery files. This page provides only general information.
If you are working with the designs for the 5"x 7" hoop, you need to embroider the "brim" file 6 times, the two "bottom" files one time each and the two "top" files two times each.
If you are working with the designs for a commercial size hoop, you'll have to embroider the "bottom" file once, the "top" file twice and the "brim" file three times.
Rinse the stabilizer and leave to air dry. While the lace is still wet, slightly stretch it to prevent shrinkage and give it shape.
Press all parts with steam. On your working table, lay out the designs.
You will have to join the parts manually. Use the same thread with which you made the embroidery. Connect the loops on the lace.
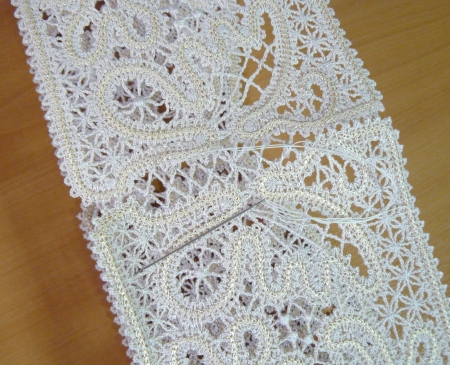
First connect the brim parts to each other to make the brim. Then, in the same way, manually assemble the top parts.
At last join the brim and the top. You can either do this manually or using the zig-zag stitch on your machine. Use the same thread with which you made the embroidery.