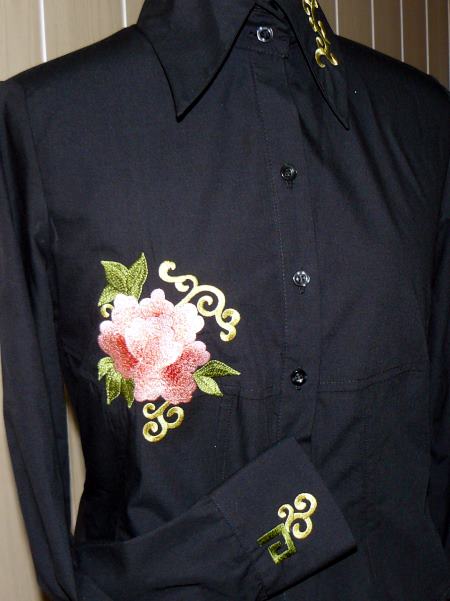
This very simple black blouse takes on a festive and individual look after being embellished with embroidery. It features the designs from the Peony Decorative Set.
For the project you will need a blouse, embroidery threads, self-adhesive tear-away stabilizer and light-weight fusible mesh (we used the black mesh, it's also available in white and off-white colors, choose the one which matches your fabric best). We recommend using an old blouse to experiment on, unless you are confident in your skills.
We used 80/12 embroidery thread and 40-weight embroidery rayon threads.
Step One: Plan the layout of the embroidery. For this, open the designs in your embroidery software on your computer and print out their screenshots. Mark the center of each design and cut out the paper templates.
Use these templates to determine the placement of each design on the blouse.
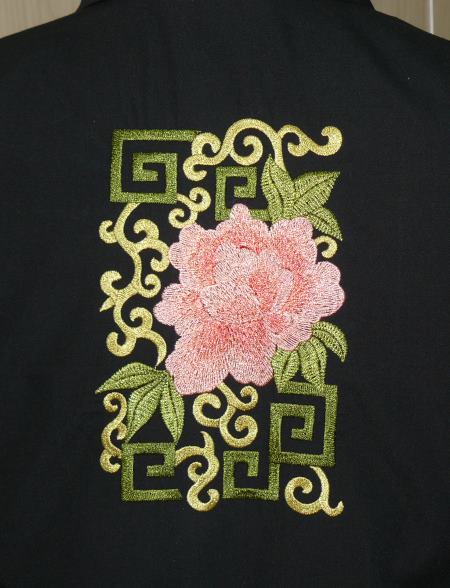
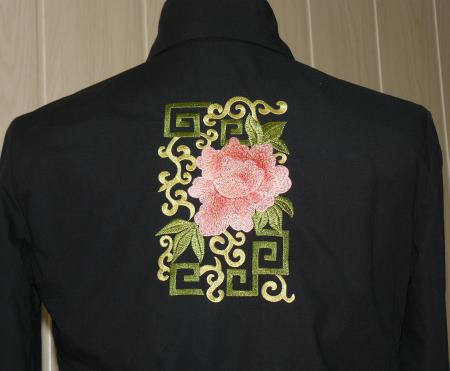
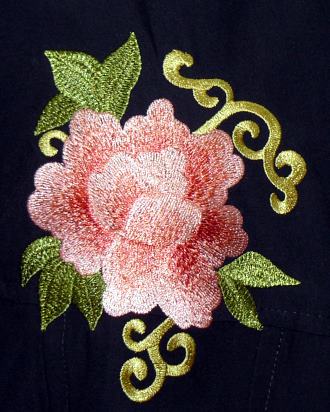
Step Two: We embroidered the largest design (the file "Peony") on the back of the blouse. For this, fuse a piece of mesh to the wrong side of the fabric. Make the embroidery. After you are finished, remove the embroidery from the hoop, lightly press and cut away the excess stabilizer.
Step Three: The smaller peony (the file "Peony3") on the front is embroidered in the same way.
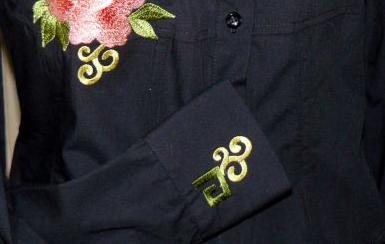
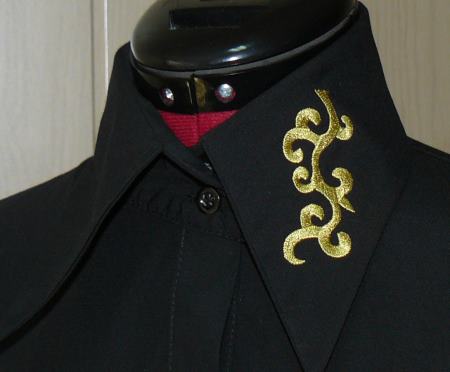
Step Three: To embroider the collar and the cuffs, use self-adhesive tear-away stabilizer.
Hoop this stabilizer and remove the protective paper to expose the stitcky surface. Press the collar onto the sticky surface.
Embroider the design, file "Peony2". Remove the embroidery from the hoop, remove the stabilizer and lightly press the embroidery.
We made the embroidery only on one part of the collar to achieve a more modern assymetrical looks. If you want the embroidery on both sides of the collar, don't forget to use a mirror image of the file.
Step Four: Embroider the cuffs in the same way, using the self-adhesive tear-away stabilizer. We embroidered the cuffs with the fourth design from the set, the file "Peony4".