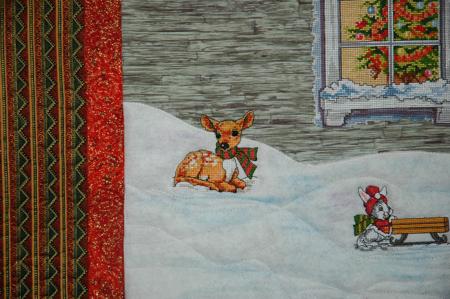
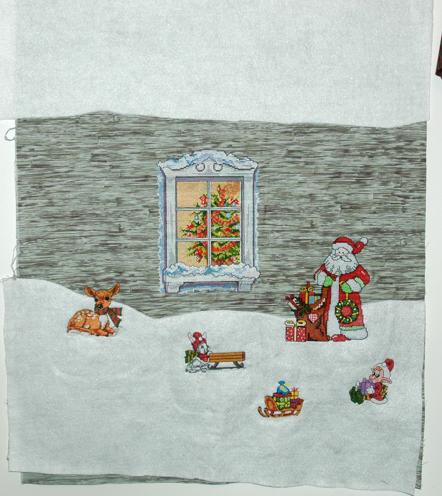
This wallhanging is fun to sew and quilt. The cross-stitch embroidery gives it a special country charm.
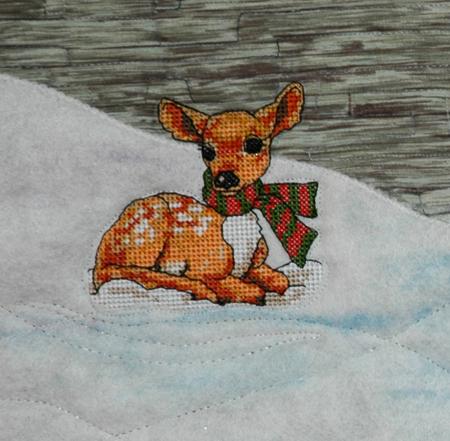
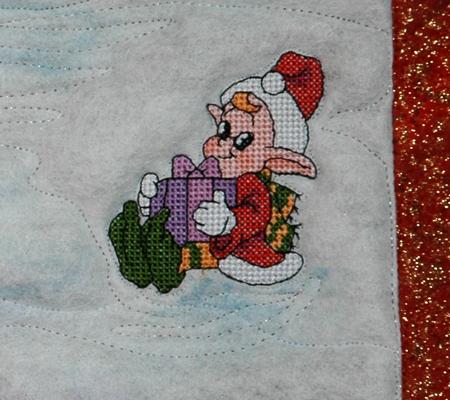
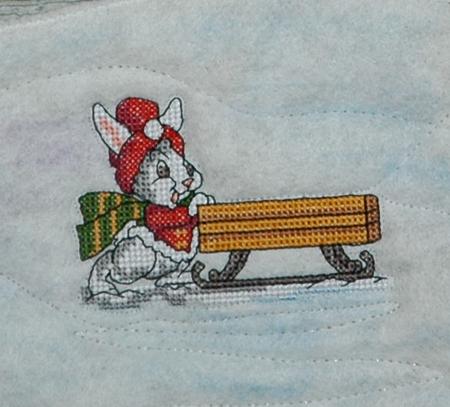
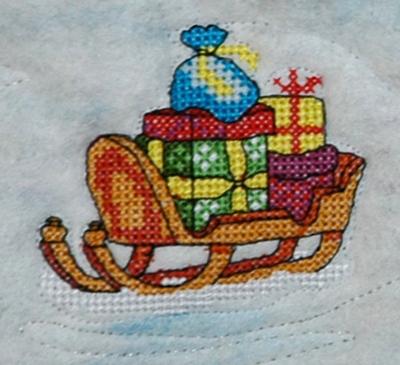
It features the designs Christmas Window, Santa with Gifts, the designs of the fawn, elf and sleigh with gifts are from the Christmas Miniatures Set I.
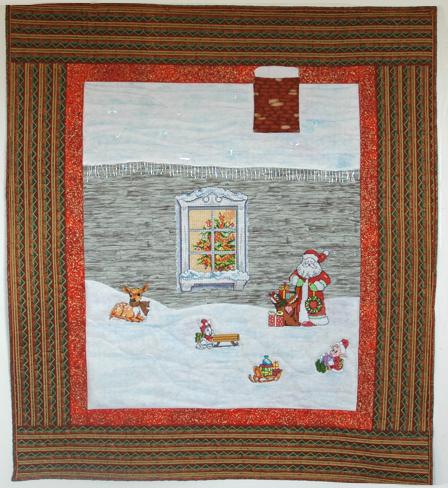
The finished size of the wallhanging is about 37" x 42".
You will need the fabric for the background, a piece measuring about 25" x 30". Choose light-colored fabric with the pattern of a house siding. If you quilt well, you can choose light-colored solid fabric and quilt the pattern of the siding later.
You will also need a 20" x 25" piece of white or pale blue polyester felt, red fabric for the first border (1/8 yard) and 1 yard of Christmas patterned fabric for the second border and binding.
You will also need batting, backing, and any small embellishments you have - we used beaded trimming to make icicles along the roof edge, small plastic snowflakes to add sparkle to the snow and some fabric paint - light blue, violet and silver to make the snow more colorful and interesting.
On the light-colored fabric which will be the wall of the house, mark the center. Stabilize the spot with medium-weight iron-on cut-away (or tear-away) stabilizer and embroider the Christmas Window.
Note: If you chose dark-colored fabric for the wall, use a stabilizer on top as well, because the design is mostly light-colored and the base fabric will show through.
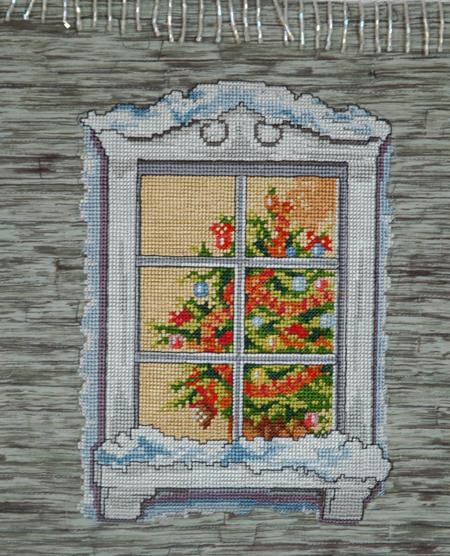
After you finish the window embroidery, cut away the excess stabilizer and press the work.
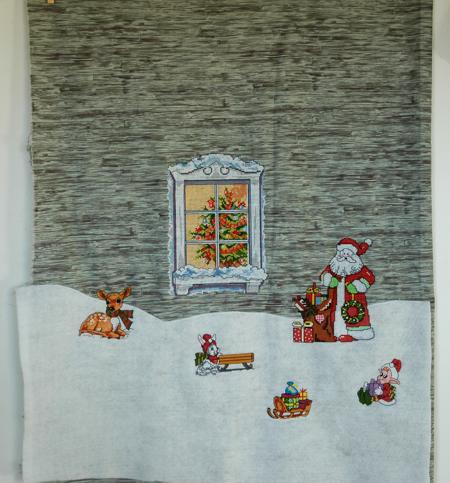
Take your piece of felt and cut it in 2 pieces measuring about 12" x 25" and 8" x 25". Make one edge of the 12" piece curvy to imitate snow drifts.
Position the felt piece over the base fabric under the embroidered window. Pin in place. Zig-zag the upper edge in place.
Print-out the templates of the designs and use them to choose the position of the embroidery on the future quilt.

Embroider the designs one by one, starting with Santa with Gifts as the most complicated one.
To make the snow-covered roof, take the remaining 8" x 25" piece of felt. Cut one of the edges to give it slight curves. If you are not going to use beaded trim, you can zig-zag the curvy edge to the basic fabric. We used the trim and it was sewn later, so at this stage we used temporary fabric adhesive to attach the felt to the fabric.
Press the working piece from the wrong side and square it - all corners should be 90 degrees and opposite sides should be of the same length.
After squaring, our piece was 23" x 28". Measure your quilt top and make appropriate changes to the cutting of the border strips.
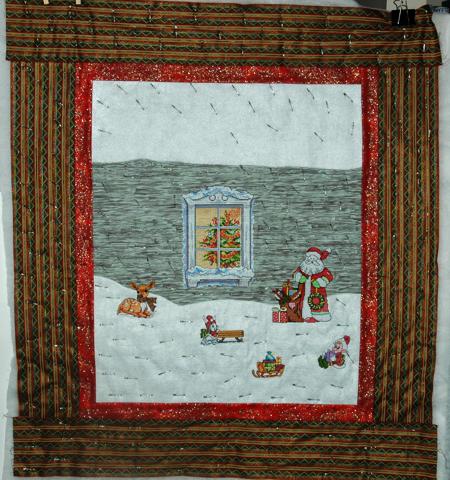
For the first border, out of red fabric, we cut 2 strips measuring 2" x 23" and 2 strips measuring 2" x 32".
Stitch the two strips measuring 2" x 23" to the upper and lower edges of the quilt top.

Stitch the two strips measuring 2" x 32" to the left and right edges of the quilt top.

Now our quilt measures 27" x 32". So, for the second border, out of Christmas patterned fabric, we cut 2 strips measuring 5 1/2" x 32" and 2 strips measuring 5 1/2" x 37".
Stitch the two strips measuring 5 1/2" x 32" to the left and right edges of the working piece.

Stitch the two strips measuring 5 1/2" x 37" to the upper and lower edges.
Now place the backing on a flat surface (table) face down. Cover with batting. Spread your working piece over it.
Pin all three layers together with 1" pins and start quilting. We quilted along the lines of the embroidery and quilted in a free style all over the quilt.
After the quilting is finished, press the work with heavy steam and square the work -- all corners should be 90 degrees and opposite sides should be of the same length.
Finish the raw edges with the binding.
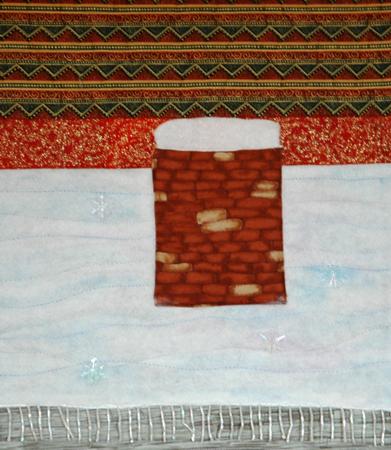
After the sewing is finished, we started to embellish the quilt by adding the beaded trimming and coloring the snow. The snow-covered roof remained too empty, so we decided to add a chimney to the roof. It was made using an applique technique.
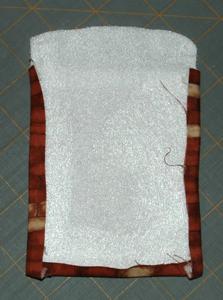
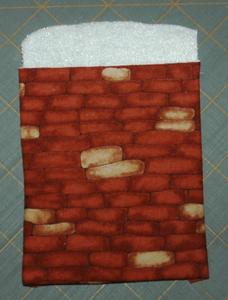
We cut a piece of brick patterned fabric measuring 4" x 5" and a piece of white felt, measuring 3 1/2" x 5". With scissors, slightly round the upper edge of the felt piece. Fold the edges of the brick fabric 1/4" back and press.

Insert the piece of felt into the fabric.
 |
 |
Zig-zag the chimney to the roof.
Here are some more close-ups: