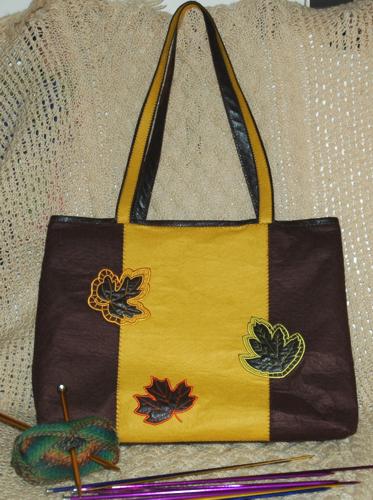
This tote makes an excellent gift for any knitter - it's large and has many inside pockets to accommodate your project, needles, yarns, and all the other stuff you need.
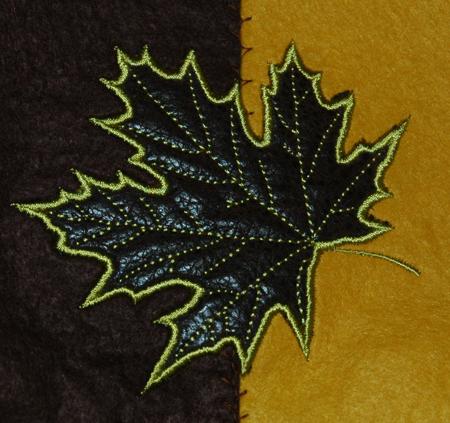
We used fall colors and leaf embroidery from the Leaves Applique Set and Cutwork Applique Leaf Set.
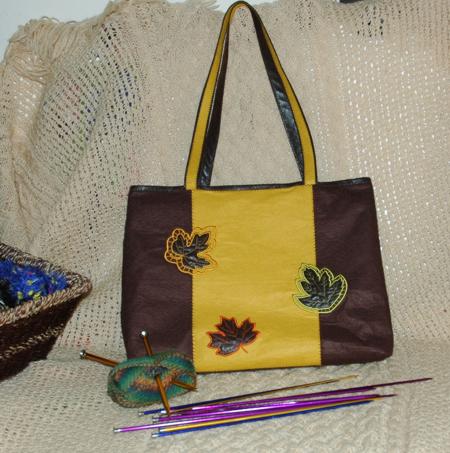
The finished size of the tote bag is about 14" high x 19" wide x 7" deep.
We used 1/2 yard of brown wool felt, 1/2 yard of yellow wool felt, 1/4 yard of brown polyester leatherette, 1 yard of sewing iron-on interfacing, 1/2 yard of cotton fabric for lining, transparent vinyl for the inner pockets, narrow bias tape and a magnetic closure (optional).
Out of brown wool felt, cut 2 strips measuring 9" x 34".
Out of yellow wool felt, cut 1 strip measuring 9" x 34" and 2 strips measuring 3/4" x 36".
Out of leatherette, cut 2 strips measuring 3" x 27", 2 strips mesuring 2" x 36" and one strip measuring 8" x 19".
Out of fabric for the lining cut 2 strips measuring 17" x 27" and one strip measuring 8" x 26".
Out of transparent vinyl, cut a strip measuring 17" x 23".
Spread the iron-on sewing interfacing on the iron board with sticky surface up. Place the strips of felt over the interfacing, aligning the edges.
Set the iron to the "wool" (low temperature) setting and patiently iron the felt onto the interfacing. It will take numerous passes to attach the felt. Note: If you do not have iron-on interfacing, use temporary adhesive and glue the felt strips onto the interfacing.
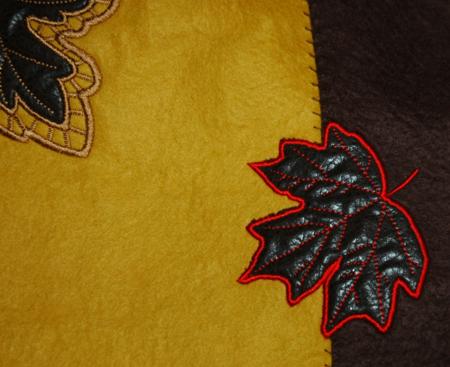
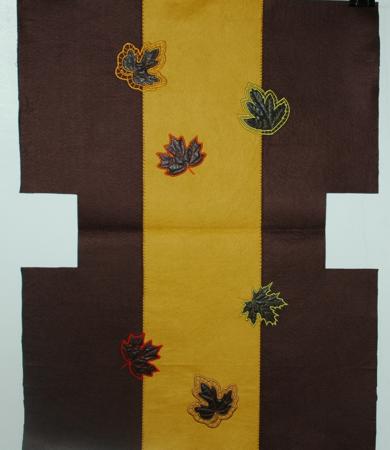
Choose a decorative "bridge" stitch and machine stitch along the felt borders to connect the felt strips to the interfacing and between each other. You should get a panel measuring 27" x 36".
With the help of paper templates, mark the position of the embroidery on the panel.
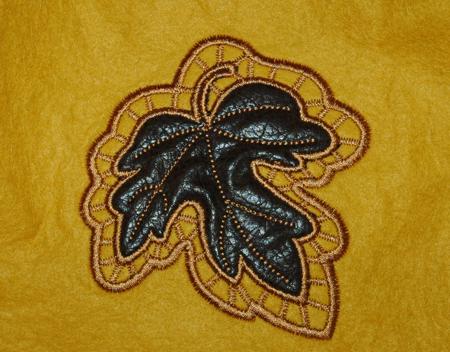
Make the embroidery. You do not need any additional stabilizer for the designs we used.
We used leatherette for the applique leaves. When embroidering the cutwork applique leaves we did not make the cutwork.
After the embroidery is done, cut away the excess interfacing. Square the panel - all corners should be 90 degrees and opposite sides should be of the same length.
Fold the working piece in half widthwise. Align the edges.
Mark 4" squares in the corners on the bottom and cut them out.
Unfold the work, place the 8" x 19" leatherette strip over the bottom. Pin it in place. Then using the decorative bridge stitch, attach the strip to the panel.
For the handles, take the leatherette strips measuring 2" x 26" and yellow felt strips measuring 3/4" x 26".
Fold the long sides of the leatherette strips so that they meet in the center and pin. The wrong side of the fabric should face inwards.
Place the leatherette strips with the raw edges facing up. Cover them with the felt strips. The felt strips are slightly narrower than the leatherette strips. Align them so that the leatherette borders on each side of the felt are the same width. Pin. Topstitch both edges of the felt strip to the leatherette. Use the decorative bridge stitch.
The handles are ready.
Now pin each handle to the edges of the panel, as shown. Position them between the yellow and brown parts. The ends of the handles should protrude 1" beyond the edges.
Cover the edges with the 3" x 27" leatherette strips, face down. Align the edges. Pin in place. Stitch along the upper edge, 3/8" from the edge. Stitch again, this time 1/4" from the edge.
Fold the leatherette strips over the edges to the wrong side of the panel, leaving about a 3/8" border on the edge. Pin to the wrong side of the panel.
Topstitch using the decorative bridge stitch, starting about 7" from the edge and finishing about 7" from the other edge.
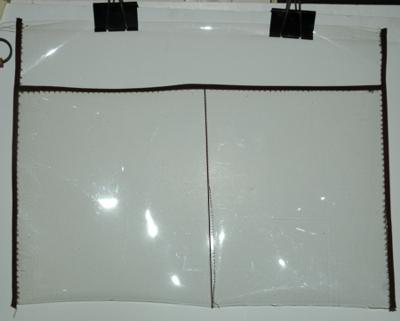
You will need a 17" x 23" piece of vinyl. Finish one of the 17" raw edges of the vynil strip. For this, fold the bias tape over the edge of the vinyl piece and stitch in place.
Fold the side with the finished edge 10" over the rest of the strip.
With the bias tape, stitch the side seams simultaneously finishing the side raw edges.
You'll get a see-through pocket, which you can divide into several smaller ones by using vertical topstich seams. Just don't make the pockets too narrow.
Fold the 8" x 23" strip widthwise, face inwards, and stitch the side edges. Turn out. Press. Tuck the unfinished edges 1/2" inside. Press. Topstitch to close the opening. This will be a pocket.
Position the pocket over one of the 17" x 27" pieces about 3" from the upper edge. Topstitch in place.
Cover the lining piece with the pocket with the second lining piece, face inwards. Sew one side only.
Fold the tote's top in half, face inwards. Align the edges. Sew the sides 3/8" and 1/4" from the edges.
Position the upper edge of the lining, face down, along the lower edge of the leatherette strip.Align the side seam of the lining with the side seam of the tote. Starting from this seam, pin the lining to this strip. You will have about 1/2" of the lining for the second side seam. Watch that the pocket of the lining is situated correctly after you sew the lining in place. When pinning, the pocket should be upside down.
When finished, remove several pins on the side of the lining that does not have the pocket. Tuck the vinyl pocket between the lining and the leatherette strip. Pin again.
Topstitch with 1/4" seam allowance from the edge.
If you want a magnetic closure, install it now.
Now pinch the corners of the tote bag as shown in the diagram below. Pin. Stitch them closed. The seam allowance should be 1/2". Make two seams 1/2" and 1/4" from the edge.
Stitch the side seam of the lining closed.
Unfold the lining over the tote bag. Turn the tote bag out, but leave the lining outside. Tuck the edges of the bottom of the lining 1/2" inside. Press. Machine-stitch it close.
Make box corners at the bottom of the lining. For this, separate the front and back sides at the corners. Center the side seam with the central line of the bottom. Measure 2" along the seam from the corner and machine-stitch perpendicular to the seam across the corner. Do not trim the seam. Fold it onto the side seam and attach with several manual stitches. Repeat for the second corner.
Tuck the lining and all the pockets inside.You're done!