This is a small wall hanging with a charming, cozy feel. Great to hang up anywhere you have free wall space in your home, and an excellent gift.
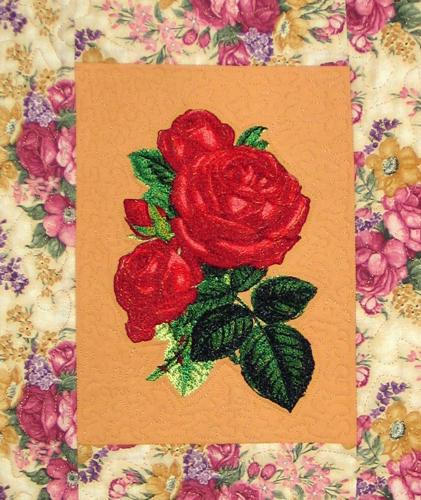
We used the Red Velvet Roses design for Mega hoop (6" x 10"), but you can choose any flower from our large and growing Rose collection.
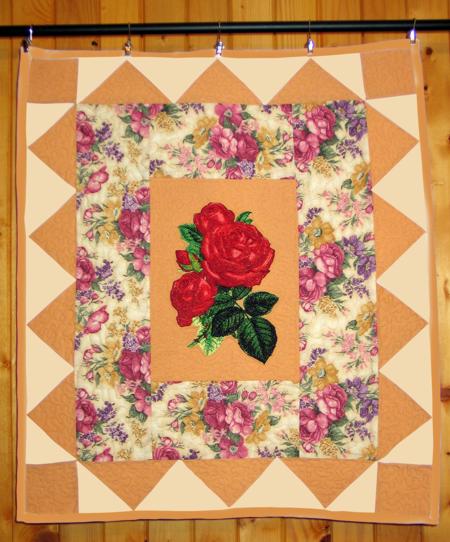
The finished size of this quilt is about 24" x 30".
We used about 3/4 yard of dark cream fabric for the embroidered part, the triangles in the outer border and the binding, 1/4 yard of light cream fabric for the outer border and 1 fat quarter of patterned fabric for the first border. You'll also need a piece of batting and backing.
All measurements are based on 42" wide fabric and 1/4" seam allowance.
Out of dark cream fabric,
cut a rectangle measuring 10 1/2" x 16 1/2",
two strips measuring 3 1/2" and the length of the width of the fabric. Subcut the strips into four 3 1/2" x 3 1/2" squares and twelve rectangles measuring 3 1/2" x 6 1/2".
For the binding, cut 3 strips 2" wide and the length of the width of the fabric.
Out of light cream fabric cut 2 strips measuring 3 1/2 " and the length of the width fabric. Subcut the strips into 24 squares measuring 3 1/2" x 3 1/2".
Out of pattened fabric cut 2 strips mesuring 4 1/2" x 10 1/2" and 2 strips measuring
4 1/2" x 20 1/2".
Sew the 4 1/2" x 10 1/2" patterned fabric strips to the top and bottom edges of the dark cream rectangle. Press the seams to the border strips.
Sew the 4 1/2"x 18 1/2" patterned fabric strips to the left and right sides of the rectangle. Press the seams to the border strips.
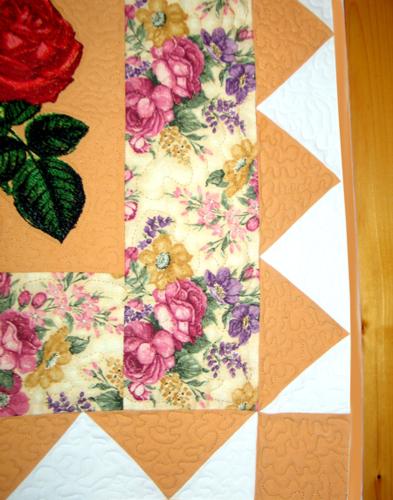
For the second border, you'll need 12 flying geese units.
To make a flying geese unit, take a 3 1/2" x 6 1/2" dark cream rectangle and two light cream 3 1/2" x 3 1/2" squares. Place one of the squares on one end of the rectangle, draw a diagonal and sew over it. Trim the excess fabric, leaving 1/4" seam allowance. Press the seam, unfold the light triangle and press again. Repeat with a light square on the other side of the rectangle.
Assemble the four strips of the second border according to the diagram below:
Attach the borders to the quilt, first the top and bottom borders, then the left and right ones.
We used the Red Velvet Roses design for a mega (6"x 10") hoop.
Stabilize the central part with iron-on cut-away stabilizer. Make the embroidery. Cut away the excess stabilizer.
You can also use polyester craft felt instead of the stabilizer. In this case we recommend to baste the quilt top to the felt in the ditch along the colored borders. After the embroidery is finished, rip the baste and cut away the excess felt around the embroidery.
Now place the backing on a flat surface (table) face down. Cover with batting. Spread your working piece over it.
Pin all three layers together with 1" pins and start quilting. We quilted along the lines of the embroidery and made stippling all ove the quilt.
After the quilting is finished, press the work with heavy steam and square the work -- all corners should be 90 degrees and opposite sides should be of the same length.
Finish the raw edges with the binding.
The quilt is ready. Enjoy!