Bring a bit of the fall woods to your table with this quilted topper! Four embroidered deer circle a wreath of leaves and antlers on a cream center. You stitch the designs first, add a rust inner border and a leafy print frame, then quilt the layers. The construction is very simple, but the embroidery makes the piece unique and beautiful.
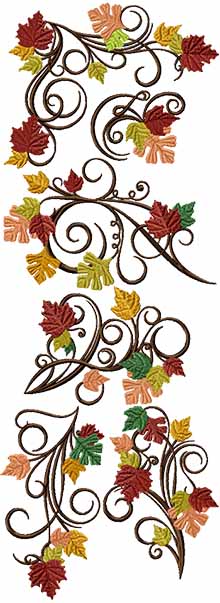
We used the designs from the Woodland Stag Set and Fall Ball Set.
The finished size of the quilt is about 38" x 38".
|

|
You will need:
- embroidery threads, either polyester or rayon, in the colors on the color cards, or colors of your own choosing;
- 1 yard of light-colored fabric for the central part with embroidery;
- a small amount of rust-orange fabric for the first border and the binding;
- 1/2 yard of fabric with an autumn leaves pattern;
- fabric for the backing;
- light- to medium-weight cut-away embroidery stabilizer;
- batting;
- quilter's ruler;
- rotary cutter;
- iron;
- #12 universal needle for piecing;
- quilting threads of matching colors;
- #12-#14 quilting needle.
|

|
| Cutting: |
Out of the fabric for the central part, cut:
- 1 square measuring 27 1/2" x 27 1/2".
Out of the fabric for the first border, cut:
- 2 strips measuring 1 1/2" x 27 1/2";
- 2 strips measuring 1 1/2" x 29 1/2".
Out of the fabric for the second border, cut:
- 2 strips measuring 5 1/2" x 29 1/2";
- 2 strips measuring 5 1/2" x 39 1/2".
|
Assembly:
|
| Note: the seam allowance is 1/4". Press each seam right after you sew it. |
| Sew the 1 1/2" x 27 1/2" strips to the upper and lower edges of the central part. |

|
Then sew the 1 1/2" x 29 1/2" strips to the left and right edges of the central part.
|

|
| Sew the 5 1/2" x 29 1/2" patterned strips to the upper and lower edges of the working piece. |

|
Sew the 5 1/2" x 39 1/2" strips to the left and right edges of the working piece.
|

|
| Embroidery: |
Fold the top along one diagonal and lightly press the line. Unfold.
Fold along the other diagonal, lightly press and unfold again.
You can also use a chalk pencil and draw the 2 diagonals connecting the opposite corners and crossing in the center.
Using paper printouts or test stitch-outs of the designs from the Woodland Stag Set and Fall Ball Set, lay out the picture you are going to embroider.
Position the leaf wreath in the center and the deer in the corners along the diagonals.
Upload the files to the embroidery machine.
Select the threads and stabilize the fabric. Hoop the fabric tightly and embroider the designs one by one, starting with the one in the center. |

|
| Fill in the spaces between the main designs with small leaves and branches from the Fall Ball Set. |

|
| Quilting and Finishing: |
Place the backing face down on a flat surface such as a table. Cover it with the batting, then spread your working piece over it.
Pin all the layers together.
We quilted the whole piece free-motion style with matching thread. Start in the central part and echo-quilt around the embroidery first, then work your way outwards.
On the borders, we mostly traced the pattern of the border fabric. |

|
Press with steam. Square up the piece so that all the corners are 90 degrees and the opposite sides are the same length.
Finish the raw edges with the binding. |

|
|
| Have fun! |

|
|
Back to Woodland Stag Set and Fall Ball Set
|
Back to Projects Page
|

 Menu
 Shopping Cart
 Check Out