Step One: Finish the upper and lower raw edges of your organza sheet: fold back ½" twice and baste; then edge-stitch or slip-stitch the hem in place. (Alternatively you can "glue" the hem with the help of fusible tape; you'll need 2 pieces 58" long each. Follow the directions on the package).
Step Two: Spread the graph stabilizer on a large even surface (large table or floor) and sketch the following layout diagram onto it. This will help a lot with the rest of the work.
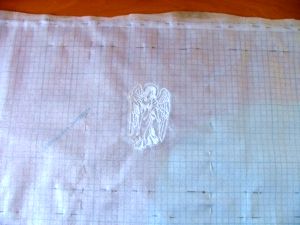
Step Three: Place the organza over the layout. Pin both layers together, aligning the upper edge and both selvages with the straight lines of the grid.
Mark the position of each angel on the organza with a removable fabric marker. On the diagram, the position of each angel is marked with a cross.
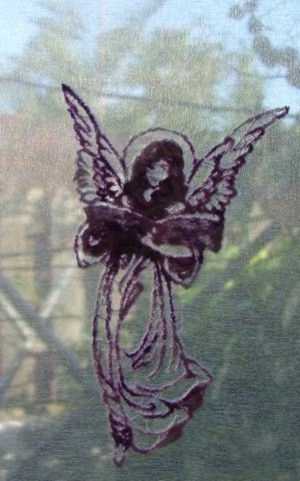
Step Four: Embroider the angels. To make the embroidery on Organza, you'll need to hoop it with 2 layers of extra heavy water soluble stabilizer for backing. Choose thin bobbin thread (no less than #70) of the same color as the upper thread. Use thin or regular needles.
You can embroider the angels in the order we offer on the diagram, or make up your own.
Step Five: After finishing the embroidery, cut away all excess stabilizer as close to the embroidery as possible, but be careful not to cut the fabric. Put the curtain into a bowl of cold water for several hours.
Step Six: Take the curtain from the bowl; pour the water into the toilet; rinse the curtain in running water and hang it to dry without wringing out. When the excess water runs off, press with a warm iron.
Step Seven: Spread the curtain over the layout again and pin them together, aligning the upper edge and selvages. With the help of the layout find the places for the 1" wide ribbons.

Step Eight: Place and pin the ribbons to the curtain, starting with the left selvage. There should be 7 1/8" between the ribbons. 5" of ribbon should stick out from the upper edge of the curtain. Stitch the ribbons to the curtain.
The alternative way is to use fusible tape, which gives neater results, though it's a little bit more complicated.
If you'd like to use fusible tape, you should pin it to the curtain first in place of the ribbons. Following the instructions on the package, press the fusible tape (all 8 pieces) with a warm iron without removing the safety paper. Then remove the paper from the first tape, cover it with the ribbon, pin the ribbon to hold it in place and press again.
The fusible tape should melt and the curtain and ribbon should stick together. Work slowly, pressing each inch of the tape with the ribbon until the tape melts. Notice that you should choose the temperature of the iron carefully, because on one hand organza and silk do not stand high temperatures, on the other hand, the iron should be hot enough to melt the fusible tape.
Step Nine: Fold the upper ends of the ribbons to make loops and stitch them to the curtain.
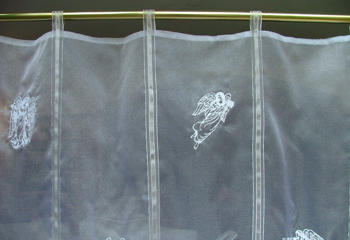
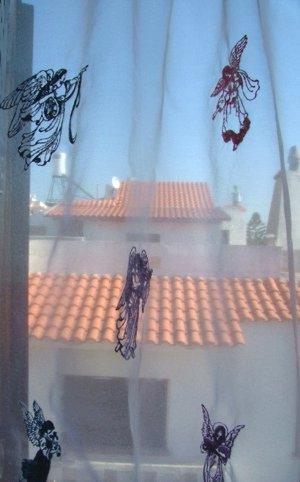
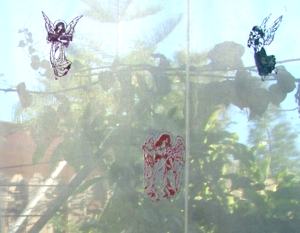
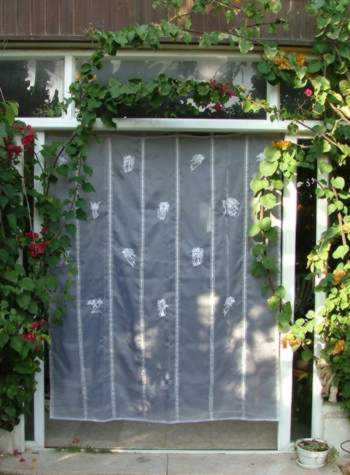
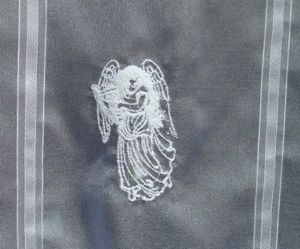
The curtain is ready. See its details on photos below.
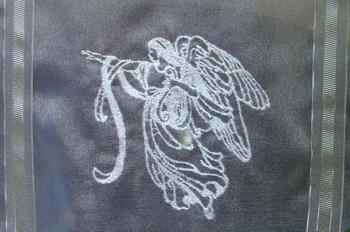
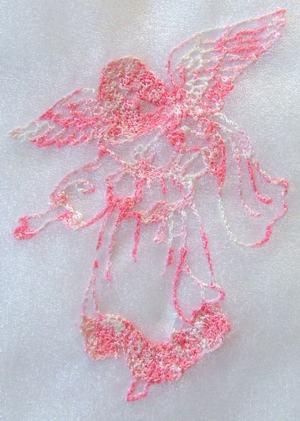
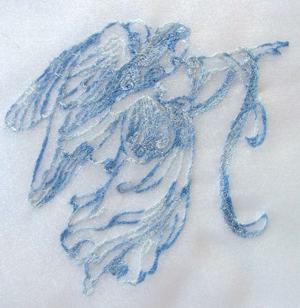
You can make another layout and sew a curtain shorter or longer, as you like. Check out below what interesting results we got when we embroidered the angels with multi-color threads.