|
An appreciable part of our designs are in the photo stitch technique, and our customers often ask us about it. We prepared several lessons and invite you to browse through them.
|
| The photo-stitch technique is more reminiscent of pencil or crayon sketches, rather than embroidery. Multi-colored photo-stitch designs give an almost Impressionist effect, which is why this technique is often used when digitizing works of art. It uses very densely placed stitches, often overlaping each other. In this lesson we're going to try one- to three-color designs. |
| The simplest designs are one-color designs. |
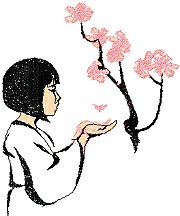
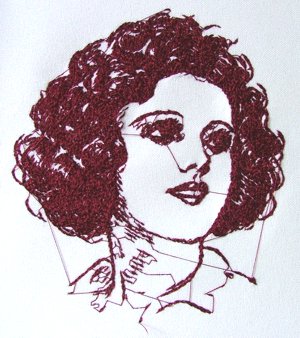
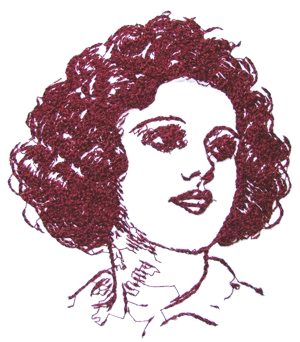
| Step One: Download the design of a Girl. |

For small hoop:
Size: 81.2 x 99.1 mm (3.22" x 3.89")
Stitches: 16130
For large hoop:
Size: 108.2 x 123.9 mm (4.25" x 4.9")
Stitches: 24222
|
| Step Two: Transfer the design to your machine as you usually do. |
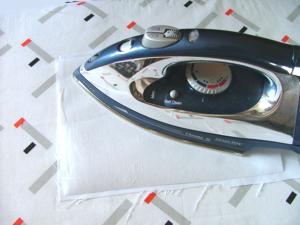
Step Three: Photo stitch is usually dense. That is why it's very important to choose the fabric and stabilizer correctly. For our lesson we've chosen linen-like synthetic fabric, it's medium-weight, evenly-woven fabric, and medium-weight iron-on tear-away stabilizer.
Iron the stabilizer onto the fabric. |
|
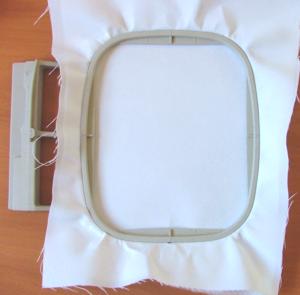
| Step Four: Hoop the fabric with the stabilizer, stretching them across the hoop tightly. There should not be any folds or areas where the fabric has puckered. |
|
Step Five: We used #75/11 needles, 40-weight rayon threads for the needle and the 60-weight thread for the bobbin. For heavier fabrics it's recommended to use # 80/12 - #90/14 needles.
Choose the thread for your work, according to the style that you want for the end result. It might be black, to immitate a charcoal sketch, or any hue of brown to immitate sepia, or blue to immitate ink, or any other color that you like. |
| Step Six: Embroider the design. You should get the following result: The first photo below shows the design with the jump stitches and the second one shows the design after the jump stitches were removed. |
|
|
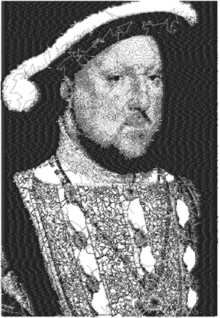
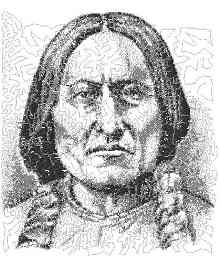
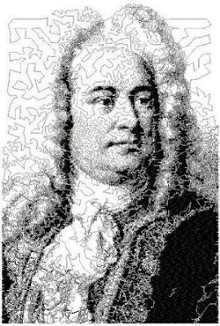
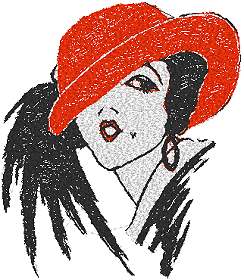
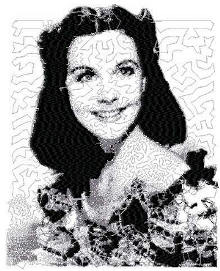
| We have a variety of one color designs on our site, such as Notes and Instruments Sets, Chinese Dragons, and others. All these designs are simple and perfect for a beginner. More experienced embroiderers also like these one-color designs because they give a lot of creative possibilities. You can see works of some of our customers in Works of Our Customers Gallery. Designs that have up to three colors are all considered to be suitable for embroiderers just starting in the photo-stitch tennique. Such designs include Red Hat Set, Red Hat, Girl, and Black-and-White famous people portraits, for example, Jane Austen , Ludwig van Beethoven, Chief Sitting Bull, and many others, which you can find in the Famous People section.
|
|
|
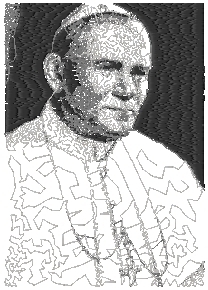
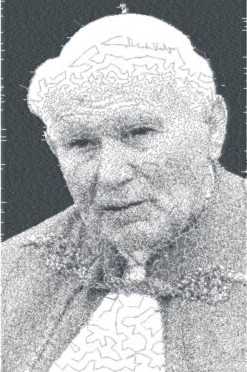
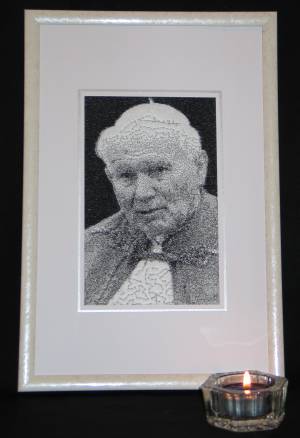
| For Homework, we offer you to embroider a portrait of Pope John Paul II, which has 3 colors. The colors that we suggest in the color card are black, gray and white, which gives the effect of a black and white photo. If you like to experiment, you can try dark brown, light brown and beige instead. We recommend to use white or cream fabric. |
For small hoop:
Size: 70 x 99 mm (3.2" x 3.9")
Stitches: 6793
Colors: 3
For large hoop:
Size 115.5 x 175 mm (5" x 6")
Stitches: 33091
Colors: 3
|
| After embroidering the design, you should get a result similar to the one below or better. |
|
|
Most 3-color portraits in our gallery of famous people are done in the same way. Please also check out the Works of our Customers section, where you will find interesting ideas and photos which our customers have kindly sent us.
|
| To help us to improve this tutorial please don't hesitate to ask questions. |
| Our next lesson will involve more complicated multi colored designs. |
|
Other Lessons: Lesson II, Lesson III, Lesson IV
|