You'll need base fabric (the fabric on which you embroider the applique), a piece of fabric for the applique, and a stabilizer.
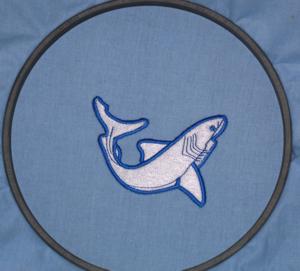
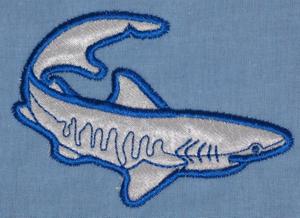
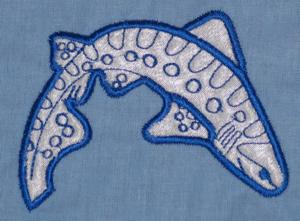
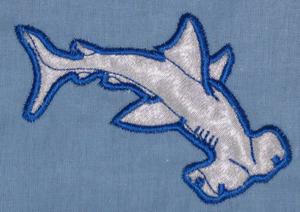
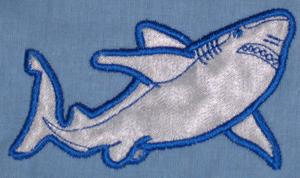
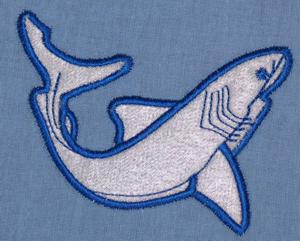
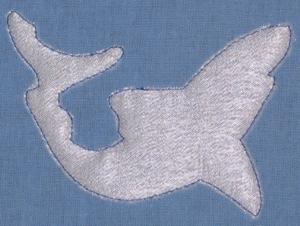
For this tutorial we used designs from the Shark Applique Set.
Tip: The fabric for the applique should not be heavier than the underlying fabric.
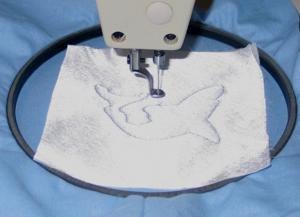
Step One: Hoop your base fabric with cut-away mesh stabilizer. Thread the needle with embroidery thread. Start embroidering. The machine will embroider an outline of the shape and stop.
Step Two: Place a piece of applique fabric over the outline.
You can secure the applique fabric with adhesive tape, or with a temporary adhesive, or small pins. Place them outside the embroidery field.
Start the machine. It will embroider the outline of the same shape again and stop.
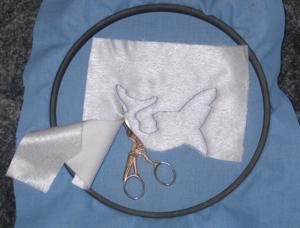
Step Three: With a pair of sharp scissors cut away the excess applique fabric as close to the outline as possible.
Step Four: Return the hoop to the machine. Finish the embroidery. Change threads if needed.