For this mini quilt we used scraps of four differently patterned cotton fabrics. We tried to choose Fall colors like yellow batik, light beige batik, light brown batik, and some dark fabric featuring autumn leaves.
For the borders, we used a piece of chocolate brown batik measuring about 10" x 30".
Of course, the choice of fabric is up to you. You will also need one pack of matching quilter's binding (we used brown), about 40" of fusible tape, fusible batting measuring 26" x 20" and a piece of cotton fabric measuring 26" x 20" for backing.
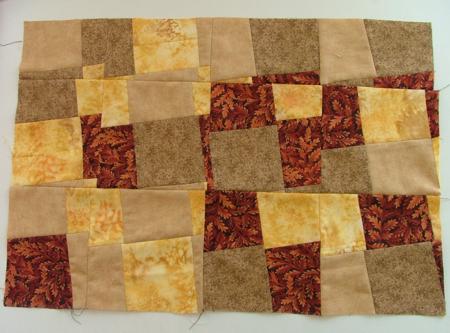
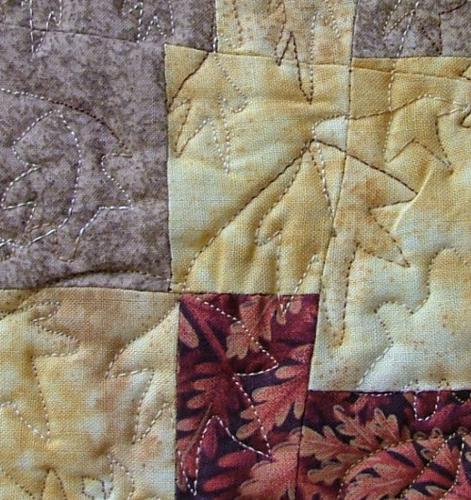
Step One: Out of the 4 colored fabrics, stitch together a rectangle measuring about 20" x 14". Press all the seams. Crop the uneven edges. You should get a cubist effect similar to this:
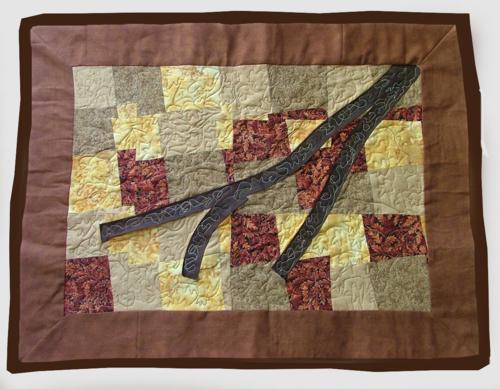
Step Four: Cut out borders - 2 strips measuring 2 1/2" x 25" and 2 strips measuring 2 1/2" x 14". Stitch the left and the right borders on first, then stitch the upper and the lower borders on. Press the seams.
Step Five: When you finish the top, cut out a piece of fusible batting, measuring approximately 26" x 20".
Place the batting on the ironing board, cover it with the quilt top and press. The iron should not be very hot, because if it is, you might end up gluing the batting to the ironing board. As a precaution, you can cover the board with non-stick paper.
Step Six: Cut out the backing, measuring 26" x 20". Place the quilt on the ironing board face down, cover with the backing and press. The fusible batting will adhere to the backing.
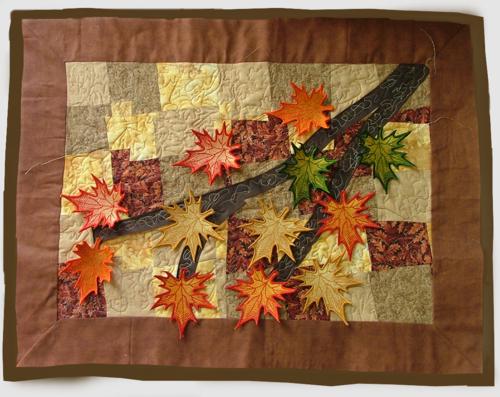
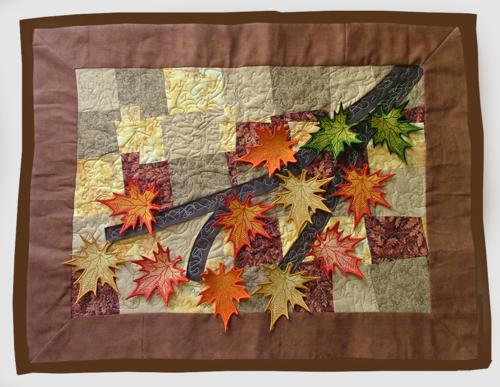
Step Six: Using three pieces of bias tape, about 20", 10" and 5" and pieces of fusible tape of the same length, make a "branch" on the quilt's top.
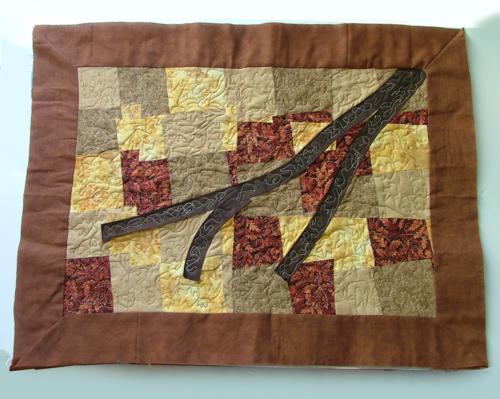
Step Seven: Start quilting. We machine-quilted our piece, trying to imitate leaf-patterns.
Step Seven: Place your mini quilt on an even surface (table) and even up all the edges. Finish the edges with the quilt binding tape.
Step Eight: Embroider the maple leaves. Use 2 layers of Vilene-type water-soluble stabilizer; use the same thread for both the needle and bobbin to get 2-sided embroidery, or use light yellow thread as a bobbin thread. Rinse the stabilizer and leave to air dry. Feel free to use different combinations of autumn colors. We made leaves of dark green and yellow; orange and dark yellow, golden brown and pale yellow, and red and pale yellow.
Step Nine: Attach the leaves to the quilt - you can either glue or stitch them in place.