Holiday season is coming on rapidly and very soon we'll be getting loads of greeting cards. This guide explains how to make a quilted card-holder project with embroidery designs to keep all your cards and letters organized.
You will need plain fabric for embroidery -- white felt is the the best choice, patterned fabric, low loft batting, fabric for backing, 3 yards of matching double fold bias quilt binding and a rod.
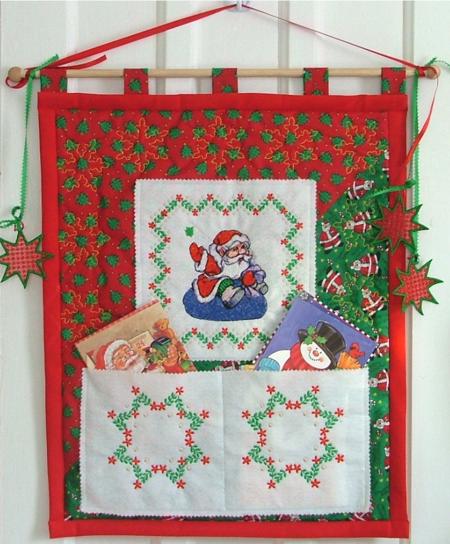
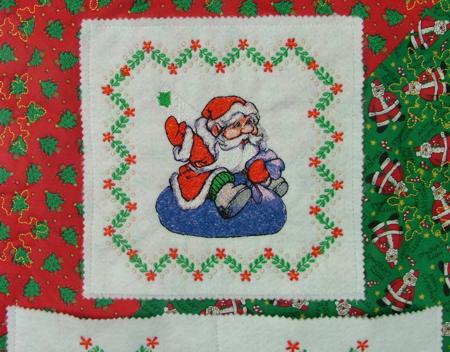
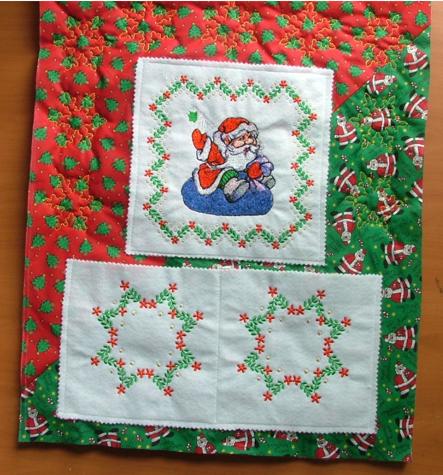
Step One: Embroider the designs on the felt. We chose the designs Santa with Letter and Christmas Border Set. First embroider the Santa, then the border around him. Cut out a square measuring 9" x 9" around the embroidery.
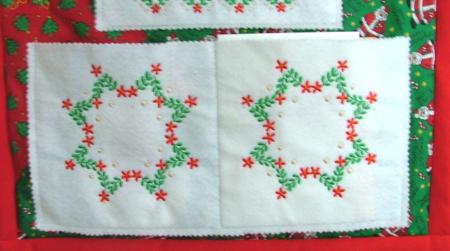
On another piece of felt, embroider the star pattern from the Christmas Border set, re-hoop and embroider the design again; there should be about 7" between the centers of the stars. Cut out a rectangle, measuring 7" x 14" around the embroidery.
Step Two: On patterned fabric, draw a rectangle measuring 18" x 21". If you like patchworking, you can assemble the rectange from different scraps of fabric. Be sure to leave plenty of fabric outside the rectangle, as you will need it for hooping.
Step Three: Pin or baste the embroidered pieces to the patterned fabric.
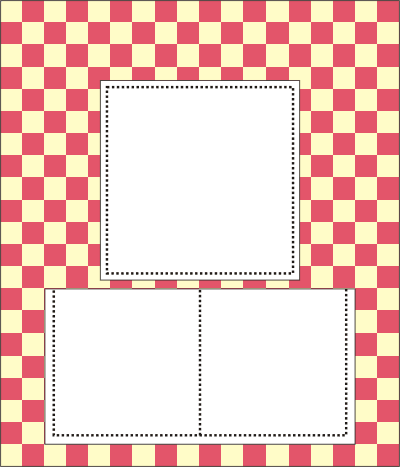
Machine stitch the piece with Santa along all four edges as shown on the diagram by the dotted line.
Machine stitch the piece with the stars along the sides and the lower edge to make a pocket. Find the middle of the upper and the lower edges, draw a line with a removable marker and machine stitch along this line to make two pockets.
Step Four: Place the backing fabric on an even surface (table), cover it with batting, and place your working piece over it face up. Pin or baste all tree layers together. Do not cut away the excess batting and backing at this stage!
Step Five: Hoop all three layers and machine quilt the hanging with the snowflake design. Quilt the area to the left, to the right and above the Santa embroidery, as you will not have any room anywhere else. You can download the snowfake design here:
|
|
|
|
|
|
|
|

Step Six: Align all the layers and cut them along the lines you drew in Step Two.
Step Seven: Finish the raw edges with bias quilt binding.
Step Eight: Out of scraps of patterned fabric cut 5 rectangles measuring 4" x 3" for loops. Fold each in half lengthwise, machine-stitch the edges together. Turn them inside out and press. Attach to the upper edge of the hanging.
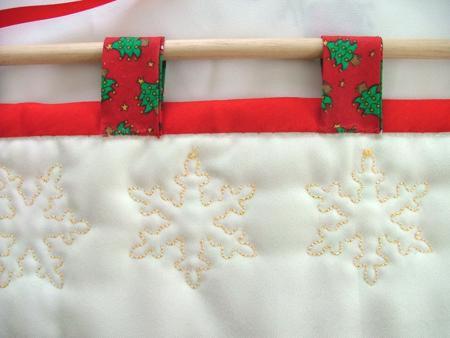
Step Nine: Insert a rod into the loops. Your card-holder is ready. Enjoy!
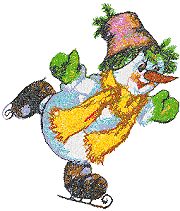
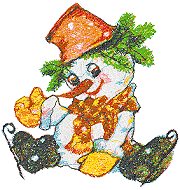
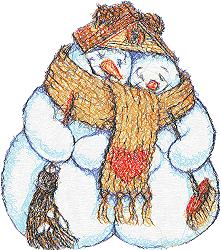
Here are some other designs that can be used to make an attractive card holder.
 |
 |
 |
 |
 |
 |


