
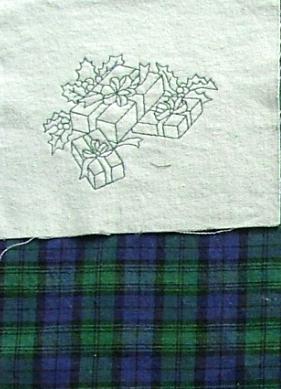
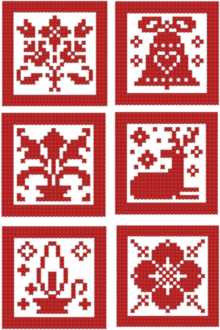
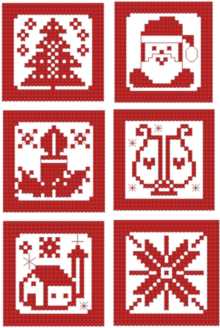
Step One: On a piece of plain, off-white or cream, cotton fabric draw five squares measuring 6" x 6" (seam allowance included). Embroider the redwork patterns. Cut out the squares. Press each square.
Step Two: Cut out 4 squares measuring 6" x 6" (seam allowance incuded) out of plaid fabric.
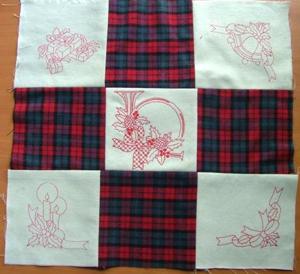
Step Three: Assemble the squares into three strips as shown in the diagram. Unfold the seam allowances and press.
Step Four: Stitch the three strips together. Unfold the seam alowances and press. You will get the face side of the cushion, measuring 16" x 16".
Step Five: If you have enough plaid fabric, cut out the back side of the cushion, 16" x 16" out of it. You can also use any matching plain fabric.
For the sides of the cushion, cut out a strip 3 inches wide and 75" long out of plaid fabric. If you do not have such a long strip, you can sew it from smaller parts. The finished length must be 75", or 5 times the side of the cushion.
Step Seven: Join the short edges of the strip with 1/2" seam to form a loop. Stitch a row of gathering threads along each long side of the strip, 1/2" from the raw edge. Divide the strip into forths and mark the parts with pins on both edges.
Place the cushion's face right side up on a surface and place the strip along its sides, matching the raw edges and the pin marks with the corners of the cushions. Pull gathering threads to fit each side of the cushion. Baste or pin both layers together and then machine stitch.
Step Eight: Place the cushion's face with the attached strip right side up and cover it with the back of the cushion. Match the pin marks of the strip with the corners of the back. Match the raw edges of the strip and the cushion's back. Pull gathering threads to fit. Baste or pin both layers together and then machine stitch three sides; leave the forth side open for turning and stuffing.
Step Nine: Turn the cushion inside-out. Cut three 15" x 15" squares out of high loft batting. Place them one over another in three layers. Insert into the cushion. Slipstitch the opening.
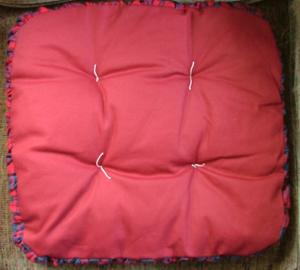
Step Ten: Thread the darning needle with a perle cotton thread (#10) about 16" long. Do not knot the end. Choose a point on the cushion's back which corresponds to the meeting point of four squares on the front. Push the needle through all the way and come up on the face of the cushion in the point where the corners meet. Push the needle back through approximately 1/8" away from where the needle came up.
Pull both ends of the thread and tie a square knot. Clip the thread with scissors. Repeat for the three other such points.
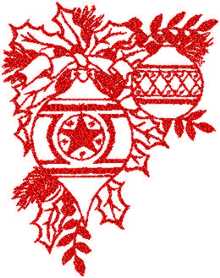
The word redwork suggests that you work with red thread. Fell free to experiment! If you do not have red plaid, you can use any matching thread, like we did below.

You can make a similar project, using other designs from our Catalog
 |
 |
 |


