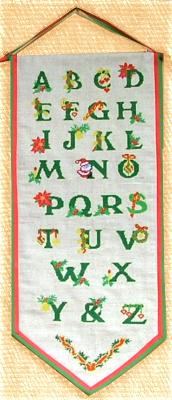
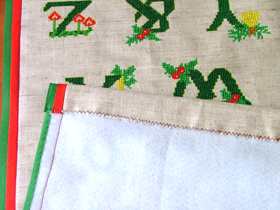
Step One: Mark a rectangle of 13" x 30" on the fabric for the embroidery. Make a layout of the ABC designs: there are 4 letters in the first 3 rows (A, B, C, D; E, F, G, H and I, J, K, L), the forth row has three letters (M, N, O), the fifth has 4 letters (P, Q, R, S), the sixth row has 3 (T, U, V), the seventh 2 (W, X) and the last row has 3 (Y, &, Z). You can customize this however you want. Stitch out the letter designs.
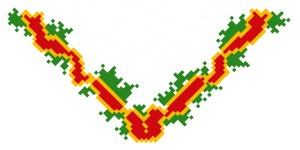
Step Two: Under the last row of your letters stitch out the corner design. You can download it here.
|
|
|
|
|
|
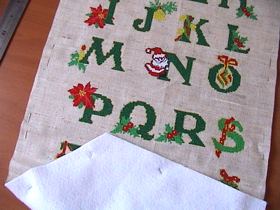
Step Three: Press the fabric with the embroidery. Put a piece of felt on an even surface and cover it with your embroidery. Pin both layers together and cut out a rectangle (13" x 30") by the marks. Mark out an angle for the ending in the lower part of the rectangle and cut it out. Hand-baste the hanging along all edges.
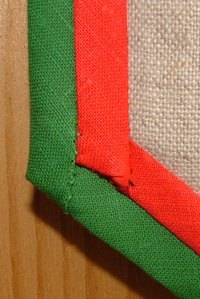
Step Four: Prepare a two-colored bias strip. You will need about 80". Use it to finish the raw edges.
Step Five: Finish the upper edge of the hanging with machine zigzag. At the top, fold 1" back and slip-stitch to make a "sleeve".
Step Six: Insert a rod into the sleeve. Tie a cord to its ends, or decorate it with ribbons. The hanging is ready!


