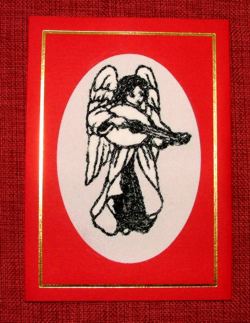
Step One: We embroidered an angel playing the mandoline with black threads on a piece of off-white fabric and inserted it into a pre-cut card of traditional Christmas red.
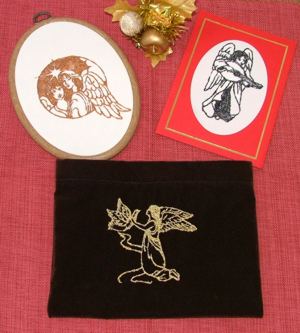
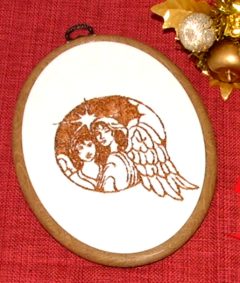
Step Two: We embroidered the two angels with a star in golden brown threads, immitating sepia, and inserted it into a plastic frame for embroidery, bought in a crafts store.
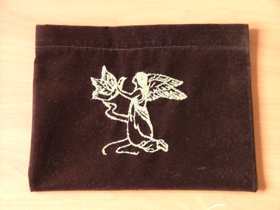
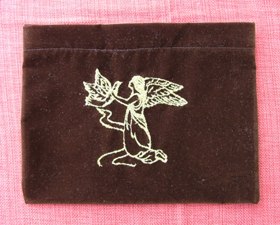
Step Three: To pack our picture and the greeting card we made a purse (9" x 6 1/2"), which is decorated with the third design from the set, the angel with a dove. The embroidery is fulfilled in golden metallic thread.
Step One: On the wrong side of the velveteen, mark a rectangle 9" x 15". Cut it 1/2" outside the marked lines. The shorter sides (9") of the rectangle will be the upper edges of the purse, the longer sides (15") of the rectangle will be the sides of the purse.
Step Two: Hoop the fabric with tear-away stabilizer. Place the fabric in the hoop so that there will remain approximately 3" between the embroidery and the upper edge of the purse. Embroider the angel.
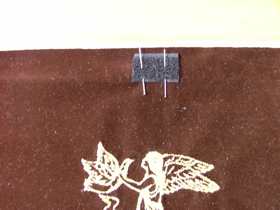
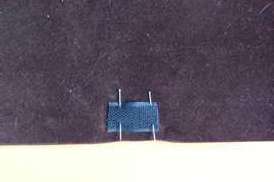
Step Three: Place your working piece on a table face up. We'll work with the 9" sides. With a ruler measure 4 1/2" from the left and right sides on the upper and lower edges and place a piece of Velcro. Pin it in place and machine-stitch.
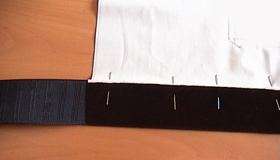
Step Four: Prepare a 1" wide grosgrain ribbon (you'll need 2 pieces, measuring 9 1/2" long each). Place a piece of ribbon along the back of the upper edge. Fold back the fabric with the ribbon to the wrong side and machine-stitch. Repeat with the lower edge.
Step Seven: Fold your working piece in half, wrong side out, and align the upper edges of the purse. Pin the side edges together and machine-stitch them along your marks. Trim the ends of the grosgrain ribbon, if necessary.