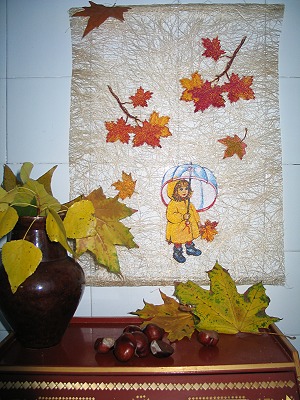
For this wall-hanging, embroider the designs on Organza with water-soluble stabilizer. Place the embroidery into a bowl of water to dissolve the stabilizer and then air dry the embroidery and cut away the excess Organza. If your machine permits, you can slightly enlarge the leaves to create some variation. On this collage, we enlarged one branch and rotated it.

Put some glue on the reverse side of the embroidery and place it on a sheet of a gauze-like fibrous material.
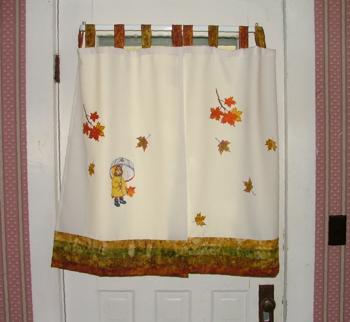
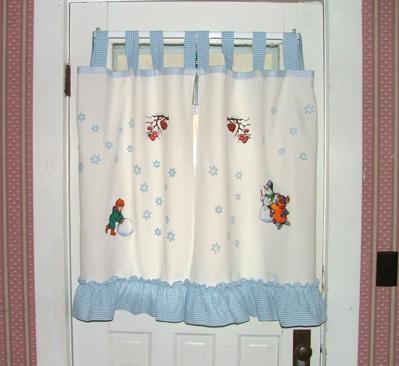
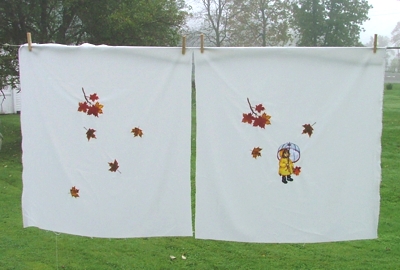
With the same designs, we created a pair of shades to decorate our entrance door.
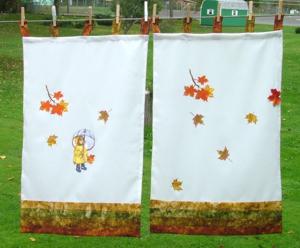
Step One: Embroider the designs on a piece of white fabric with water-soluble stabilizer. Place the fabric with embroidery into a bowl of water to dissolve the stabilizer, then air dry. Press.
Step Two: Cut the shades to the size you need them. Finish the upper and side edges. We used scraps of fabric in autumn colors to make the lower border and the loops for the shades.
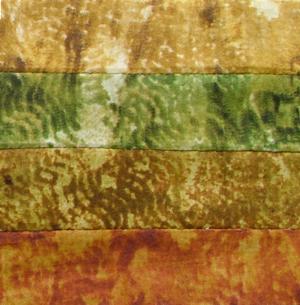
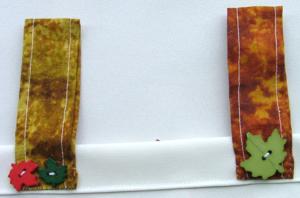
Step Three: To decorate the lower edge of the shades, we are going to make a pattern similar to the one above. Out of colored fabric cut out 3 pairs of strips of the same length as your shades and 1" wide and one thick strip 2" wide. Include 1/4" seam allowance on each of the long sides.
Step Four: Stitch all the strips together to get a colored piece similar to what you see below, then fold the piece back in half. Press. Stitch to the bottom of one of your window shades. Finish the side edges. Repeat for the other shade.
Step Five: For the loops, cut 2" x 5" strips out of colored fabric. Fold them lengthwise with the face inside and stitch the edge. Turn intside-out and press. Finish the short raw edges and attach to the upper edge of the shade. We used decorative buttons to fasten the loops.