Free-standing, or stand-alone, embroidery designs are designs that have dense underlay stitches to provide support for the embroidery when the stabilizer foundation is removed. Some of our FSL designs do not have dense underlay stitches, and in those cases we recommend to embroider them on organza.
We include specific recommendations for stitching out every particular design on the page of that design. This page has some general instructions on using our FSL designs.
Most Importantly: ALWAYS make a test stitch-out of the design. This helps you to select the threads, needles, stabilizers and settings of your machine correctly.
Stabilizers: We recommend to use water-soluble mesh, such as Vilene. Vilene D0102 is a non woven dissolvable stabilizer which is imported into the US, is sold in large rolls and is sometimes repackaged under different brand names.
Some of these brand names are Fabri-Solvy by Sulky, Avalon Plus by Madeira, Wash-Away, and Aqua Magic.
Film-like water soluble stabilizers, such as Solvy by Sulky, Avalon by Madeira, Badge Master, are not suitable for Free-Standing Lace embroidery.
The drawbacks of Vilene are that it leaves lint, so clean the bobbin case with a soft brush after every project. Also, dissolve it only in luke-warm water; in hot water, the chemicals in the mesh can cause the color of the thread to fade.
Threads: Free-standing lace (FSL) designs can be embroidered using rayon or polyester embroidery threads, depending on your preference.
We prefer to use 40-weight polyester theads.
To get 2-sided embroidery you should use the same thread for the needle thread and bobbin thread.
Needles: We use size 75/11 or 80/12 embroidery needles. The needles should be sharp, so try to change them after every project.
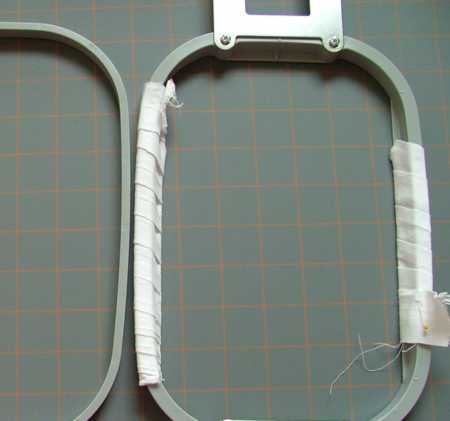
Hooping: We usually use 2 layers of water-soluble Vilene with our FSL designs. It's very important to hoop the stabilizer VERY tightly, like a drum skin. If your hoop does not hold the stabilizer well (this often happens because the stabilizer is very thin), we recommend to wrap muslin strips around the long sides of your hoop's upper frame, like you can see in the picture below.
Impotant Note: It's very important to use as small a hoop as possible. E.g. if your design is for a small hoop, use the small hoop, not the large one; if your design is for a large hoop, use large, not mega. The smaller the hoop, the more stable it is.
DO NOT try to embroider several FSL designs in one hoop. Water-soluble stabilizers have a tendency to stretch and in a larger hoop it will stretch more than in a smaller one. This can lead to misplaced stitches and the design might fall apart after the stabilizer is dissolved. It's always better to embroider one part at a time.
Thread Tension: Freestanding lace designs look best when the needle and bobbin threads meet halfway. Stitch a sample, and adjust the tension if needed. Consult your machine's manual and/or dealer on how to do this.
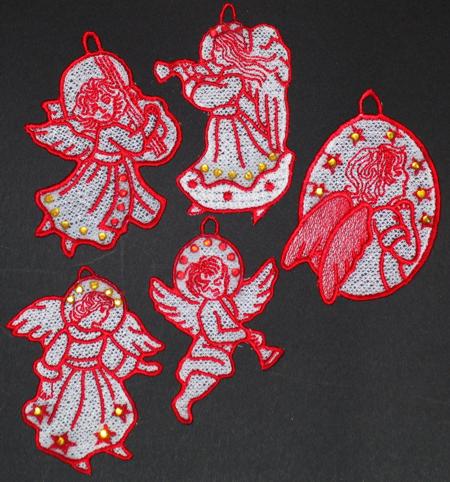
Step One: There are 2 colors in the design. Choose 2 spools of thread of any color, one light and one dark. Wind a bobbin thread from each spool. You'll have 2 spools for the needle and 2 bobbins with corresponding threads. Hoop 2 layers of water soluble stabilizer (vilene).
Step Two: Thread your machine with the lighter threads (the SAME thread should be used for the needle and bobbin if you want a 2-sided embroidery). Start embroidering. When the machine stops for a change of thread, change both the upper and the bobbin threads.
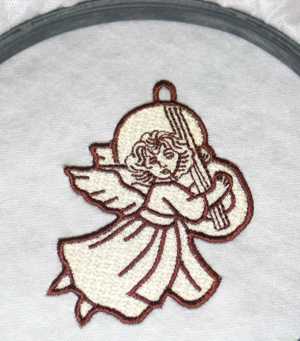
Step Three: Cut the design out. Neatly trim the excess stabilizer. Do not throw away the leftovers of the stabilizer, you can use them for afterwash treatment of FSL bowls (see Step-by-Step Guide to Washing Free-Standing Lace Items).
Step Four: Place in a bowl with warm water to wash away the remaining stabilizer. Vilene dissolves very quickly. A minute is sufficient time, you do not need to squeeze or rub the design.
Step Five: Lay the design flat, spread it and leave to air dry.
Step Six: Press with steam. We added hot-fixed crystals to decorate the ornaments.
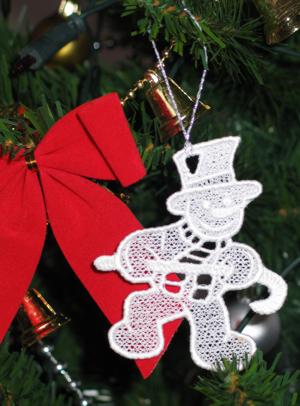
You can try our free sample. The snowman has only one color in it, so prepare a spool and a bobbin with the same thread to get two-sided embroidery. Sometimes, you can get interesting results if you use two contrasting colors for the needle and bobbin threads.
|
|
|
EXP |
|
|
JEF+ |
|
|
|
VP3 |
|

|
|
|
|
|
|
|
|
|
|
|
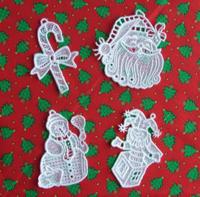 Lace Ornament Set II |
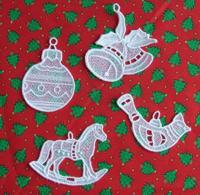 Lace Ornament Set I |
 Nativity Ornament Set |
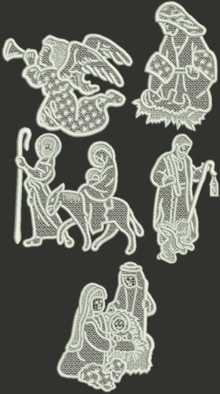 Nativity Ornament Set II |
Here is another free design.Once embroidered, it can be turned into many different and handsome ornaments. It is free standing, but is based on an applique method. All instructions come along with the embroidery file.
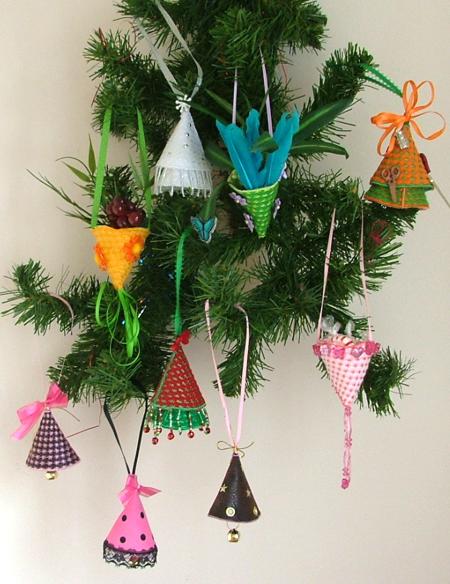
Click to download a zip file containing the corresponding format and instructions.
| ART | DST | EXP | HUS | JEF | JEF+ | PES | VIP | VP3 | XXX |


