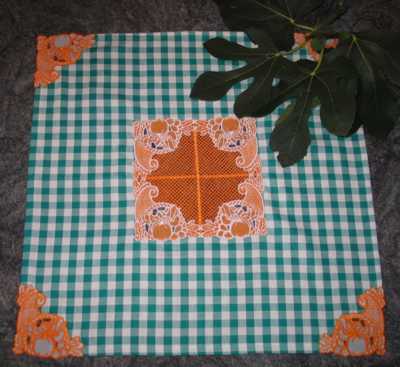
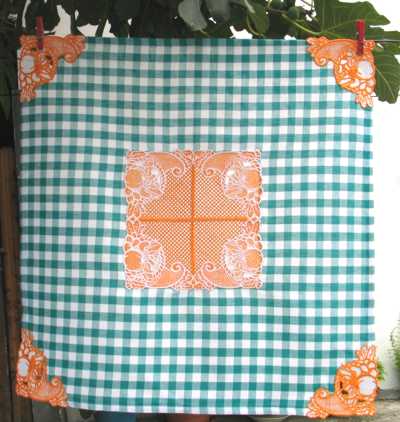
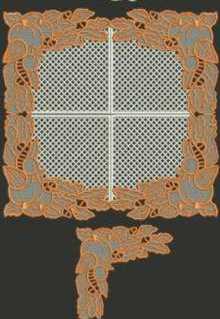
Our Pumpkin Doily and Lace Set and Cornucopia Doily and Lace Set can assembled in different ways. Here is one of the ways that they can be used - a table topper with a FSL insert and corners.
Step One: Embroider the four square parts of the doily.
Use 2 layers of Vilene-type water-soluble stabilizer; use the same thread for both the needle and bobbin to get 2-sided embroidery.
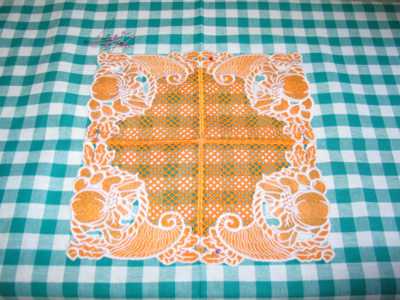
Rinse the stabilizer and leave to air dry. Press all parts with steam. Using invisible thread, zigzag the four parts together. You get a doily that can be used as it is or as a lace insert on the table topper.
Step Two: Take a square of pre-washed fabric. The square can be of any size. Finish the raw edges of the fabric. Find the center of the square and place the lace doily there, aligning their centers. Secure in place with pins.
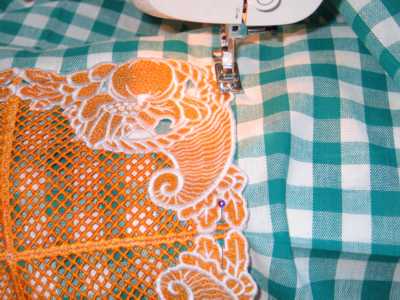
Step Three: Zigzag the lace doily over the edge to the fabric. Use invisible thread.
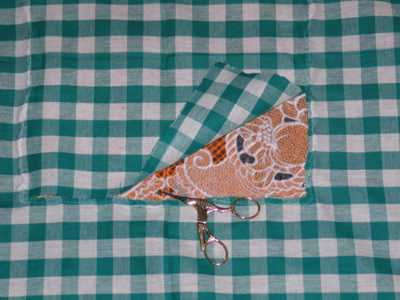
Step Four: Turn the workpiece upside-down and cut away the fabric under the lace insert along the zigzag.
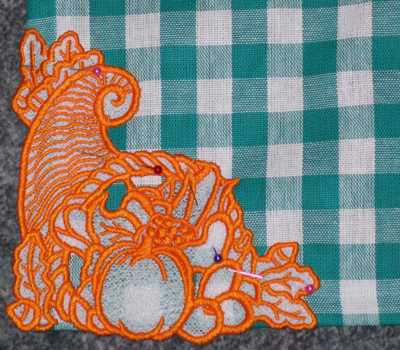
Step Five: Embroider four Cornucopia parts for the corners. Use 2 layers of Vilene-type water-soluble stabilizer. For the decoration, you can use white bobbin thread as it doesn't have to be two-sided.
Rinse the stabilizer and leave to air dry. Press with steam.
Place in the corner of the workingpiece. Secure with pins.
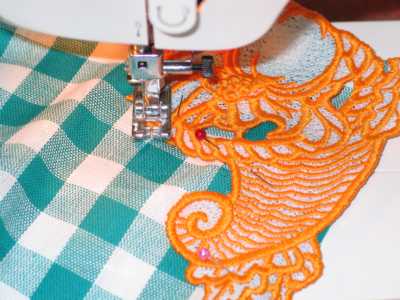
Step Six: Zigzag by diagonal over the edge of the lace part to attach it to the fabric.
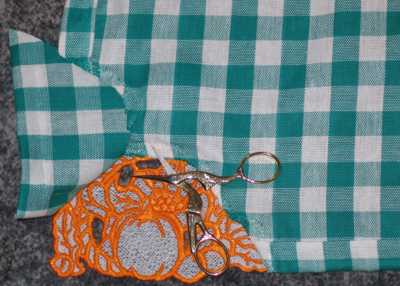
Step Seven: Flip the working piece and cut away the fabric under the lace along the zigzag.
 |
|


