For this quilt we used different patterned cotton fabrics. The embroidery is made on light beige cotton measuring about 9" x 12".
For the first, very narrow border, we used green cotton fabric with a leafy pattern. The width of the first border is 1", so you'll need about 3" x 25" of fabric for the inner border.
For the second border we used plain light brown fabric. The width of the second border is 6". So, you'll need about 13" x 44".
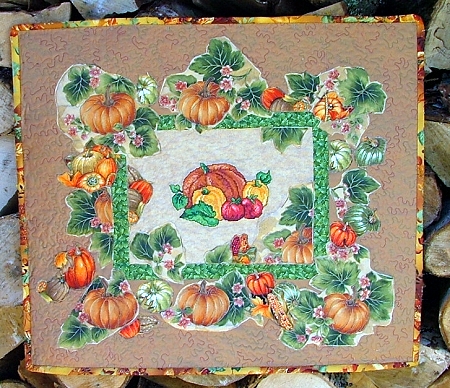
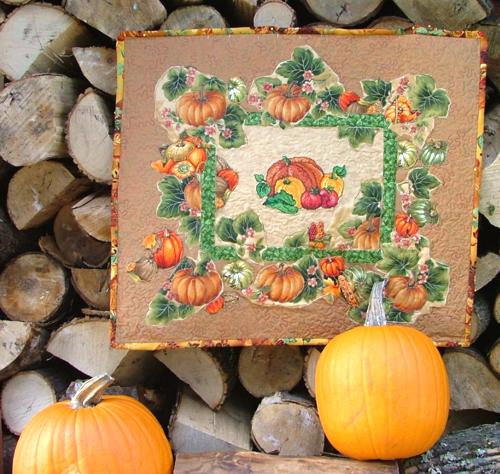
We also used scraps of different autumn-themed patterned fabrics, cutting out pumpkins, squashes, corn, and leaves to use as appliques.
Of course, the choice of fabric is up to you. We recommend to pre-wash all fabrics.You will also need either a pack of matching quilter's binding or a fat quarter to make the binding, batting measuring about 25" x 29" and a piece of cotton fabric measuring 25" x 29" for backing.
Step One: Do the embroidery on the plain beige fabric. We used Hydro-Stick tear-away stabilizer. After you finish, remove the stabilizer.
Step Two: Cut the piece to measure 9 1/2" x 12 1/2" (1/2" is for seam allowance). Press.
Step Three: Cut out the first border - 2 strips measuring 1 1/2" x 12" (these are the upper and lower borders) and 2 strips measuring 1 1/2" x 11 1/2" (these are the left and right borders). Stitch the upper and the lower borders on first, then stitch the left and the right borders on. Press the seams.
Step Four: Cut out the second border - 2 strips measuring 6 1/2" x 14 1/2" (these are the upper and lower borders) and 2 strips measuring 6 1/2" x 23 1/2" (these are the left and right borders). Stitch the upper and the lower borders on first, then stitch the left and the right borders on. Press the seams.

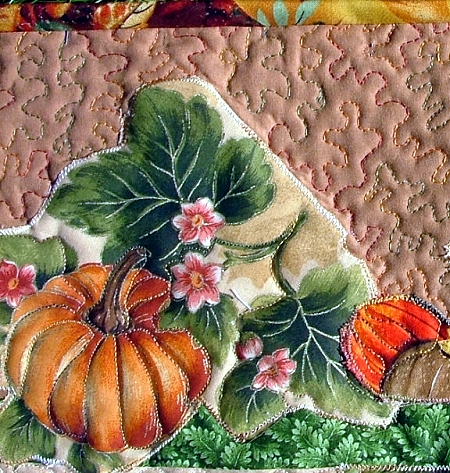
Step Five: Out of autumn-themed scraps of fabric cut different patterns to your taste. Arrange them all over the mini-quilt top. Using temporary fabric adhesive, glue them in place, then zig-zag along the outline.
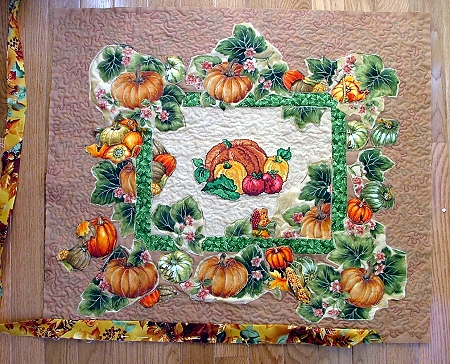
Step Six: Place the fabric for the backing on an even surface (table), cover it with the batting and then cover with the quilt top. Pin all three layers together every 3".
Step Seven: Start quilting. We machine-quilted our piece with a stippling pattern around the embroidery. Then we quilted along the applique outlines and inside the appliqued shapes. The second border was quilted with stippling pattern using variated threads.
Step Eight: Place your quilt on an even surface (table) and even up all the edges. Finish the edges with the quilt binding tape.
Step Nine: If you want to use the mini-quilt as a wall hanging, attach a sleeve through which you can slide a pole to the back of the quilt.