To make the Welcome bow, you'll need 2 pieces of white fabric (we used cotton duck fabric) measuring 10" x 36" for the dangling ends of the bow and 5" x 20" piece for the bow itself; you'll also need about 36" of green satin ribbon, about 20" of red satin ribbon and about 3 yards of bias tape.
Step One: On the 10" x 36" piece, draw two straight lines through the middle, vertically and horizontally, as shown on the diagram. Use removable fabric marker.
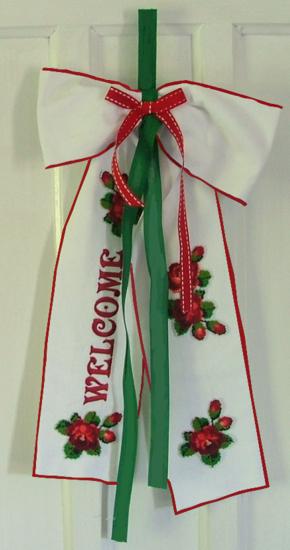
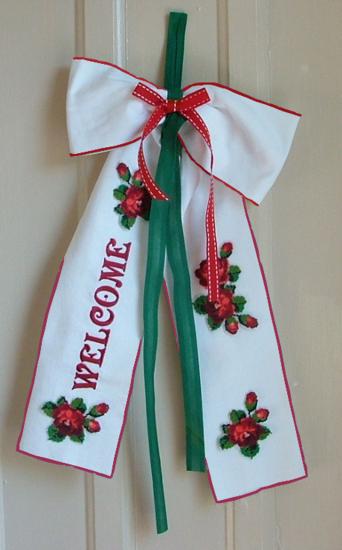
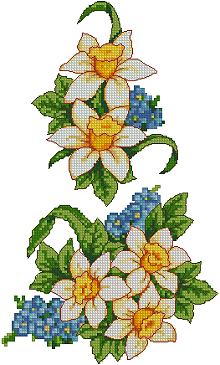
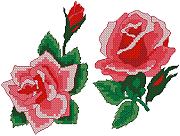
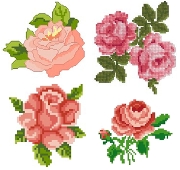
Plan how you are going to embroider the bow. On one side, we embroidered two small roses and the "Welcome" sign, and on the other we embroidered a small rose and a double rose, all from the Rose Linen Set. You should plan for the embroideries to be as far from the center as possible.
Hoop the fabric so that the line runs through the center. Embroider the designs in the places that you have marked. The "Welcome" inscription can be downloaded here:
|
|
|
|
|
|
|
|
Step Two: Fold the embroidered piece lengthwise, embroidery inwards and machine-stitch along the long raw edge.
Press the seam allowances open and turn the workpiece out. Press again.With the bias tape, finish all the edges. Set this piece aside for now.
Step Three: To make the bow, take the second, 5" x 20", piece of white fabric. Finish the long edges with the bias tape. Fold and machine-stitch the short raw edges together to make a loop. Press the seam allowances open. Turn inside out. Place the loop flat so that the seam is in the center.
Step Four: Place the bow piece over the embroidered piece and tie around the middle with a green ribbon. Fold one of the ends of the green ribbon to make a short loop and stitch it to the back of the bow. Let the ends dangle freely.
Step Five: For decoration, you can make a small bow out of red ribbon and stitch it onto the large bow.
 |
 |
 |
 |
 |
 |


