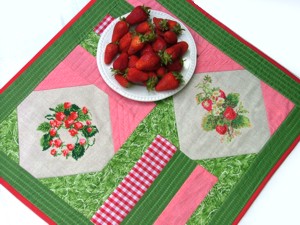
Step One: Attach medium-weight iron-on tear-away stabilizer to the natural-colored cotton. Hoop the first piece and embroider one design.

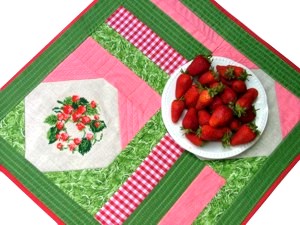
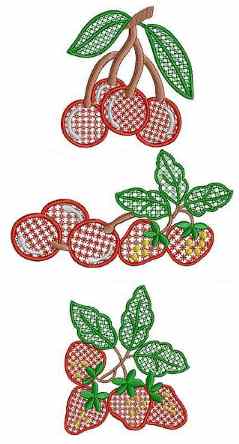
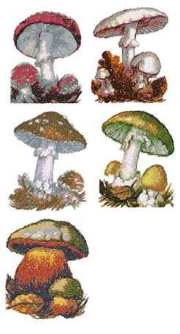
We used the design Strawberries , but there is a variety of suitable designs in both cross-stitch and photo-stitch technique. Maybe you would like another pattern.
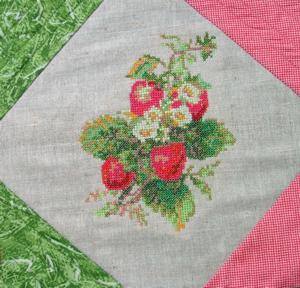
The second design is Strawberry.
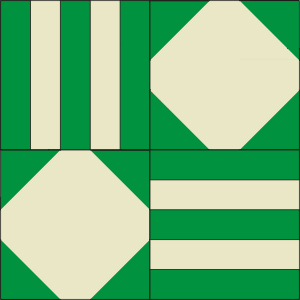
Step Two: When the embroidery is done, take it out of the hoop and press. Draw a 9" x 9" square around the embroidered pieces and cut them out, leaving 1/2" seam allowance on every side (so your squares will end up being 10" x 10"). These will be squares A. Cut eight 4" x 4" squares out of patterned fabric. These will be squares B.

Step Three: Place your A squares on a table, face up. Place the B squares in the corners of the A squares, face down, as shown on the diagram. Mark the diagonal, baste or pin both layers along it, and machine-stitch. Cut away the excess fabric, leaving 1/4" for seam allowance. Fold out and press. Repeat for all corners. You will get two 10" x 10" squares.
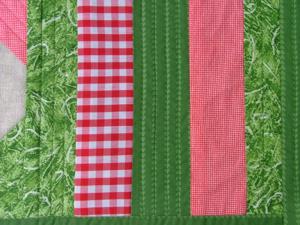
Step Four: Cut five (3" x 20") strips out of patterned fabric. This includes seam allowance. Stitch them together to make a block of size 10" x 20". Press the seams and cut in half to make two 10" x 10" blocks.
Step Five: Stitch all the blocks together. The working piece should be 19" x 19". Press the seams.
Step Six: Cut out four (3" x 22") strips of patterned fabric. Stitch them around the working piece. Press.
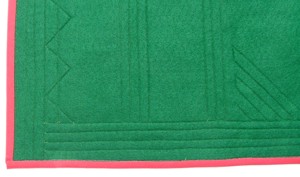
Step Seven: Place the piece of felt (24" x 24") on an even surface and cover it with your working piece. Align accurately and pin both layers together. Now quilt the table top. You can choose any pattern for quilting, the easiest one is straight parallel lines.
The felt backing will make the result soft and neat.
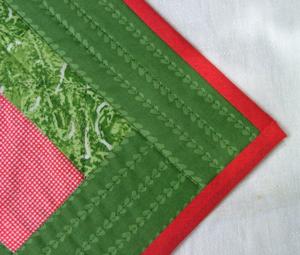
Step Eight: Finish the raw edges with bias tape (You will need roughly 100").
 |
 |
 |
 |
 |
 |


