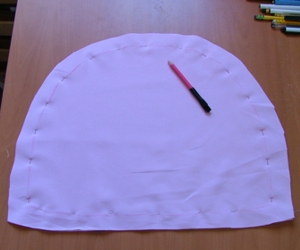
Step One: Fold a large piece of paper in half and draw an outline similar to the one below. Cut it out, and unfold.
Step Two: You can make the embroidery right on the fabric of the cushion. In this case do not cut out the shape.
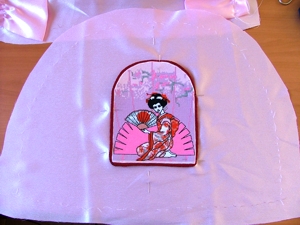
First mark the pattern out on fabric (see Step Three) and embroider it. If the embroidery is slightly off-center mark the pattern out again, so it is centered. Cut the shape out.
Alternatively, you can make the embroidery on another piece of fabric, then cut it out along the borders leaving 1/4" seam allowance. Put it aside for now.
Step Three: Place your fabric right side against right side and pin the paper pattern to it. Draw a dotted line around the pattern with an erasable marker. Cut out the cushion's front and back leaving 1" seam allowances.
Step Four: For the ruffle, cut fabric strips 10" wide and 65" long. If you'd like more fullness add around 33".
If you don't have enough farbic for one complete strip, cut out several strips 10" wide and stitch them together. Press the seams. The combined length of the strips must be about 65", or more, if you prefer.
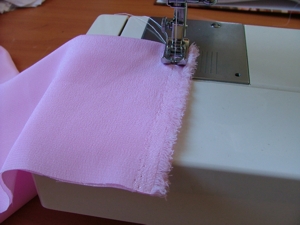
Fold the strip in half lengthwise, right sides together, and stitch across the ends.
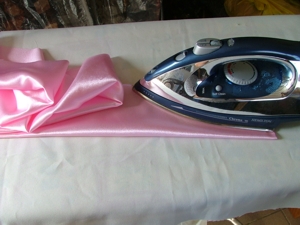
Turn right side out. Press.
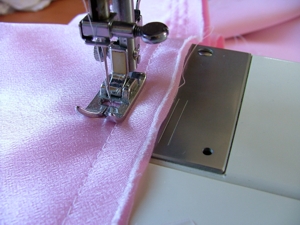
Stitch two rows of gathering threads along the strip, 1/2" and 1/4" from the raw edge.
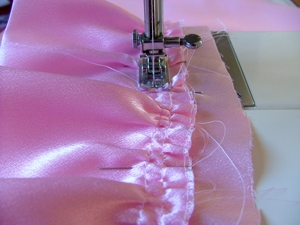
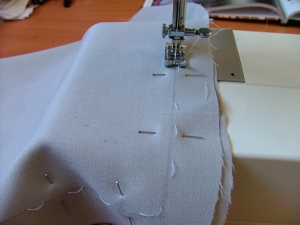
Step Six: Divide strip and the curved edges of the cushion into fourths and mark the parts with pins. Place the cushion's back right side up on a surface and place the strip along its curved edge, matching the raw edges and pin marks. Pull gathering threads to fit. Baste or pin all layers together and then machine stitch. Leave the pins marking the fourths in place.
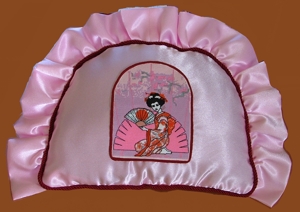
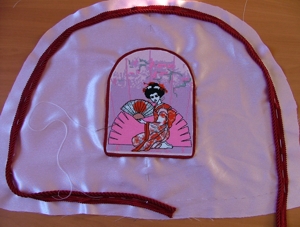
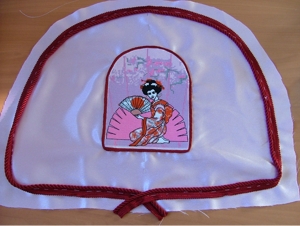
Step Seven: If you embroidered the design on a separate piece of fabic, prepare it now. Place the cushion's front, right side up, on an even surface and place your embroidery over it. Pin the embroidery to the fabric and machine stitch. Disguise the border of the embroidery and the cushion fabric with a cord or ribbon.
Step Eight: Place twisted welting around the edges of the cushion front and pin or baste it.
To join the ends of the welting tape, cross the finishing end over the starting end and tuck them back into the seam allowance.

Step Nine: Place the cushion's back, right side up, on an even surface and cover it with the cushion's front, right side down; match the pins marking the fourths. Baste front and back together, leaving an opening at the bottom for turning out and stuffing. Machine-stitch using a zipper foot.
Step Ten: Using your paper pattern, cut out lining, back and front. Machine-stitch the two halves together, leaving an opening at the bottom for turning and stuffing. Turn the lining inside-out.
Step Eleven: Turn the cushion inside-out. Insert the lining and stuff it with fiberfill, pushing it firmly into corners and along the sides. Slipstitch the openings, first of the lining and then of the cushion.